This post is going to talk about computer dirty bit including its definition, meaning, and configurations (set, reset, and remove). In addition, it also shows you some extra information about dirty bit. Read this post of MiniTool for the details.
What Is Dirty Bit
The dirty bit is a term in the field of computer. It is also known as modified bit. It refers to a bit in memory, which switches on when an update is made to a page by computer hardware. It is just a 1 hex value situated in some place hidden on the hard drive. Microsoft hasn’t revealed this fact until recently.
Tip: When the new data is added or the CPU conducts a cache read/write process, the dirty bit (a single bit of memory) will be removed.
After the dirty bit is switched on, the page is modified and can be replaced in memory. When the dirty bit is in off status, no replacement occurs as no updates have been made. In other words, dirty bits tell you if the corresponding block of memory has been modified.
Further reading:
In addition to the dirty bit, you may also encounter bit rot and disc rot while using a computer. Differently, the dirty bit is used as markers to indicate a notification or write-to. It can be set and removed manually. However, bit rot and disc rot are phenomena occurring after you use hard disks or CD/DVD/optical discs for quite a long period of time.
Also read: What Is All In One Gaming PC and How to Pick the Best
What Does Dirty Bit Mean
Windows can check if a volume contains corrupted files because of hard reset via dirty bits. After a dirty bit is set on a volume, you will be asked to check the disk continuously when computer boots up in the next time.
Though you can skip the disk check window by pressing any key, it pops up again every time you boot up your computer. It won’t appear after you scan it or tell Windows to stop checking the drive.
How to Check If a Volume Is Dirty and Set the Drive as Dirty
The Windows built-in program – fsutil.exe, can help you check if a partition is dirty and set a drive as dirty. You can do that by typing and executing some command lines. However, it can’t clear the dirty bit.
Here, we would like to show you how to check if a volume is dirty and how to set the drive as dirty via fsutil.exe. As the process is a little complicated, we divide it into 2 parts.
Part 1: Enable the Windows Optional Feature
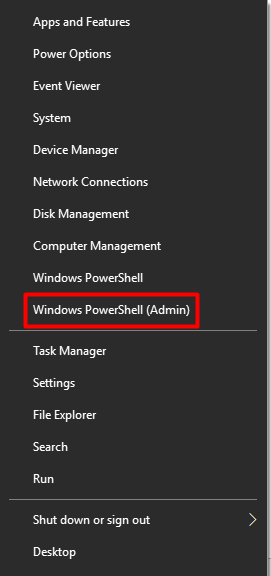
Step 1: Right-click on the Windows icon on the desktop and then click the Windows PowerShell (Admin) option in the pop-up menu.
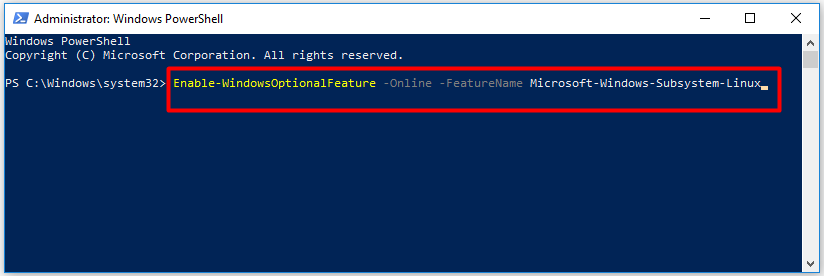
Step 2: In the elevated window, type the command below and hit Enter.
Enable-WindowsOptionalFeature -Online -FeatureName Microsoft-Windows-Subsystem-Linux
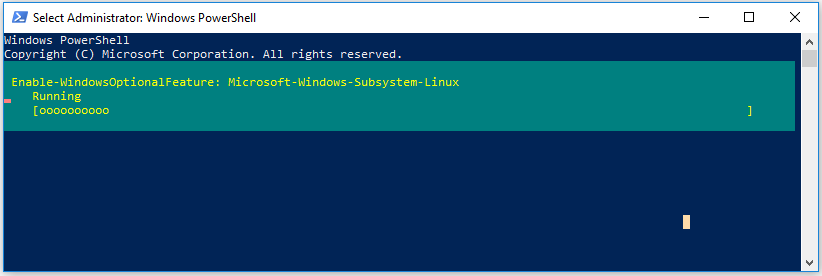
Step 3: Once you hit the Enter key, PowerShell will execute the command. You can view the process. After the Windows optional feature is enabled, your computer will restart automatically.
Part 2: Run Fsutil Command Lines
When your computer boots up again, you can run Fsutil command lines to check if the volume is dirty and set it as dirty.
Step 1: Run Command Prompt as administrator from the search box.
- Type cmd in the search box.
- Right-click on Command Prompt from the search results and click Run as administrator.
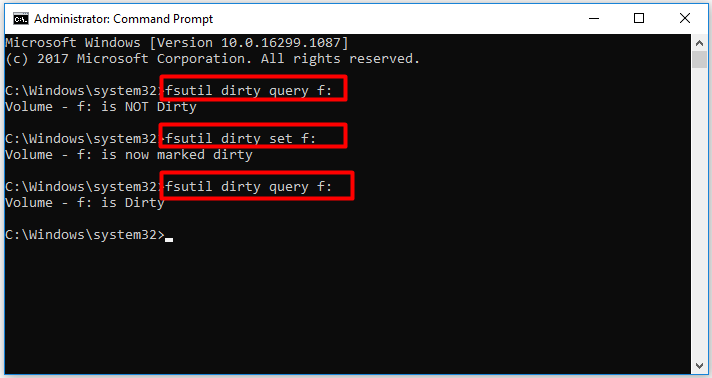
Step 2: In the prompted window, type the following commands and hit the Enter key after each. After executing the command, you can see the status of your volume.
- Fsutil dirty query f:
- fsutil dirty set f:
- fsutil dirty query f:
Recommended reading: Effective Solutions for Error 0x80071AC3: the Volume Is Dirty
Dirty Bit Removal Guide
After dirty bits have served their purposes (showing modification or marking unprocessed data), algorithms or other tools can remove them from memory. Essentially, dirty bit is only temporary spot on the computer memory used to display some functions or conditions.
You have 3 options to remove dirty bits from your computer. The first option is to trust the Microsoft disk checking utility by finishing a disk check operation. The second method is that you move the data from the volume and format the drive. After that, move the data back.
The third method to remove the dirty bit is by using a hex editor with disk editing supported. Here, we only illustrate the second and third method as the first one can be completed by following the on-screen instruction.
#1. Remove dirty bit by formatting the drive
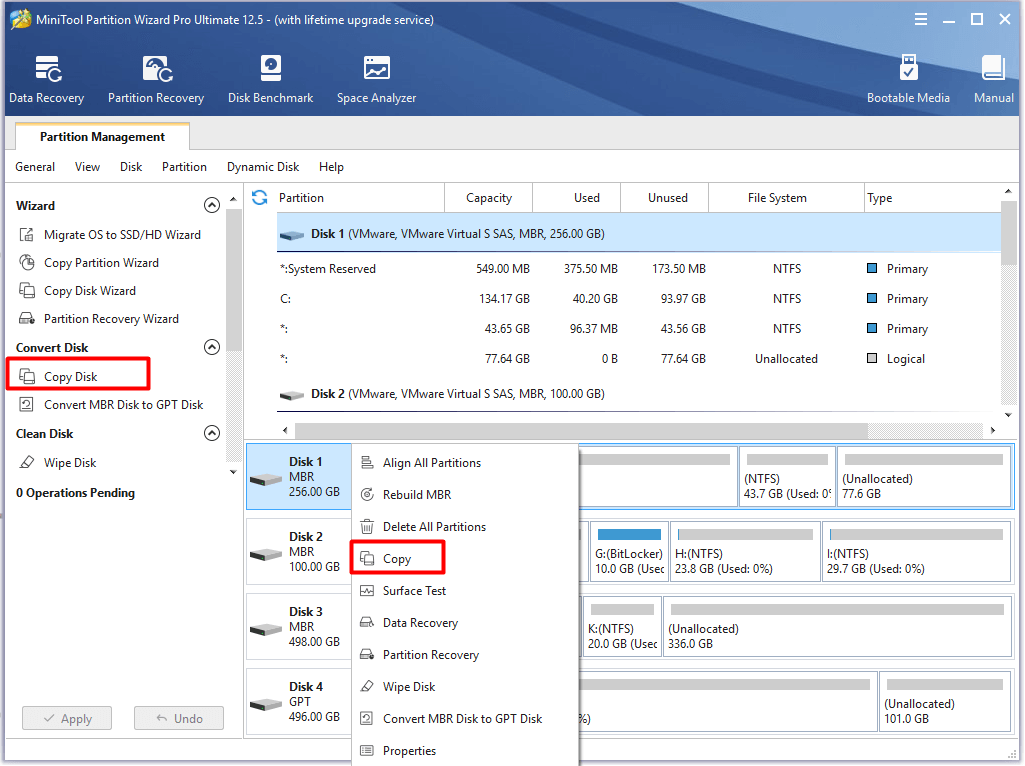
Before formatting the drive with dirty bits, move the data to another place. By doing so, you can avoid data loss because of the drive formatting operation. Thanks to the Copy Disk feature, MiniTool Partition Wizard enables you to fast copy on Windows 10.
It is rather helpful, especially when you have chunks of data on the drive with dirty bits included. You can save much time for removing dirty bits.
MiniTool Partition Wizard DemoClick to Download100%Clean & Safe
After moving the data, you can format the drive with the given steps. As an expert on partition management, MiniTool Partition Wizard allows you to format a drive or partition with ease.
Step 1: Launch MiniTool Partition Wizard to enter its main interface.
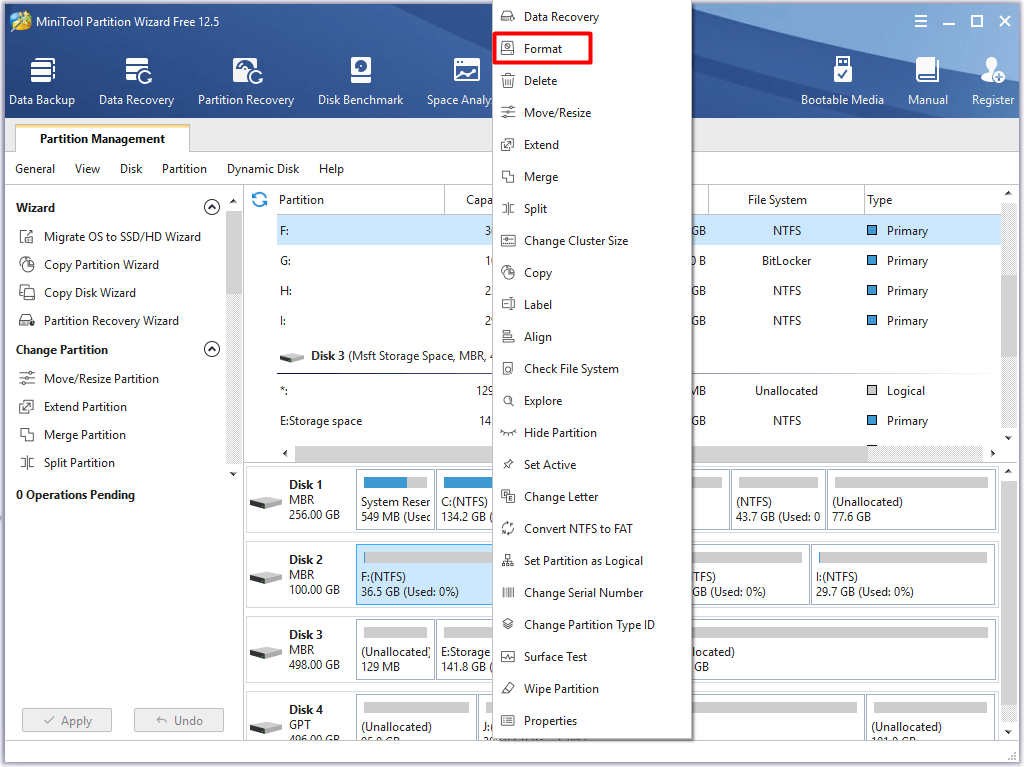
Step 2: Right-click on the drive with dirty bits from the disk map and click the Format option.
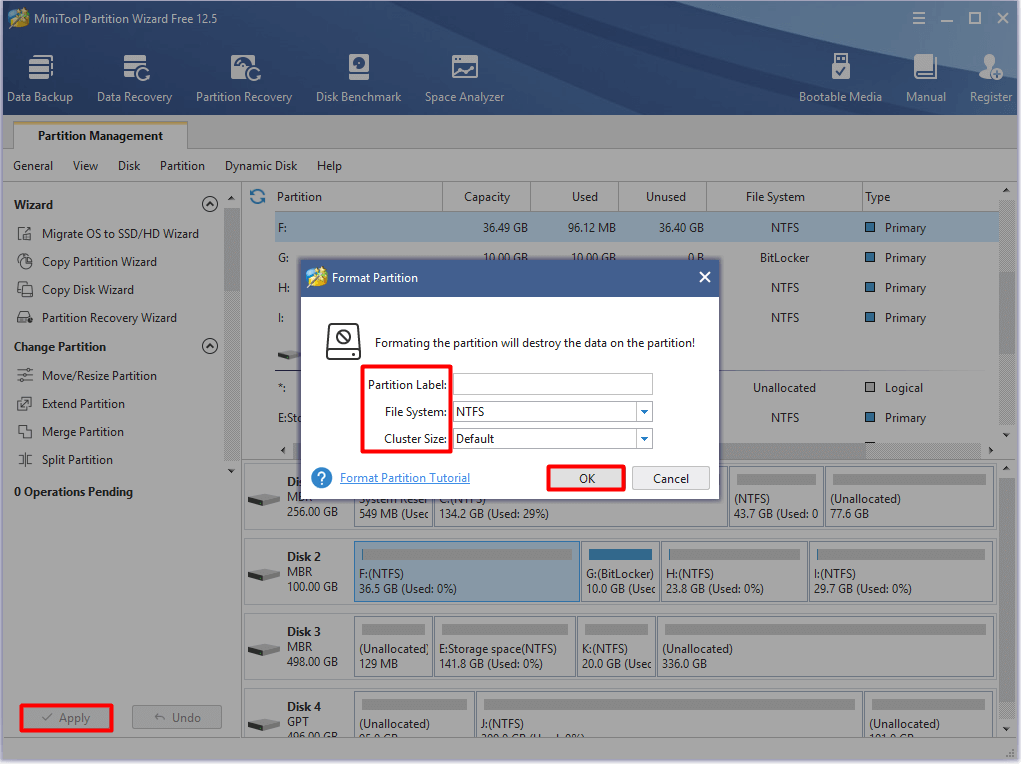
Step 3: In the Format Partition window, configure partition label, file system, and cluster size according to your demand. If you have no special requirements, just follow the default settings and click the OK button to continue.
Step 4: Finally, click on the Apply button to execute the pending operation.
When the drive is formatted completely, move your data back with the way you used before.
MiniTool Partition Wizard DemoClick to Download100%Clean & Safe
Also read: USB Virus Removal and Data Recovery Guide for Windows 7/8/10
#2. Remove dirty bit by using a hex editor
You can also directly remove dirty bits from your drive with the help of hex editors. Though there are multiple hex editors on the market, only a few of them can write data back to the disc. WinHex is such a program. Besides, it is very easy to use.
Here’s the guide on removing dirty bits through WinHex.
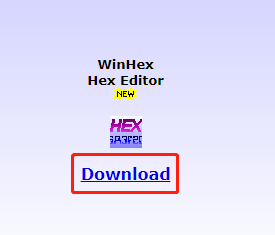
Step 1: Click here to move to the official website of WinHex and then click the Download button on the page.
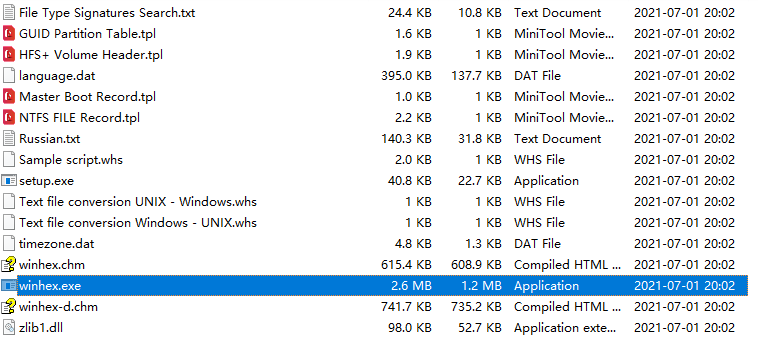
Step 2: After the download finishes, open the downloaded zip file and double-click on the winhex.exe file. This will open the WinHex program.
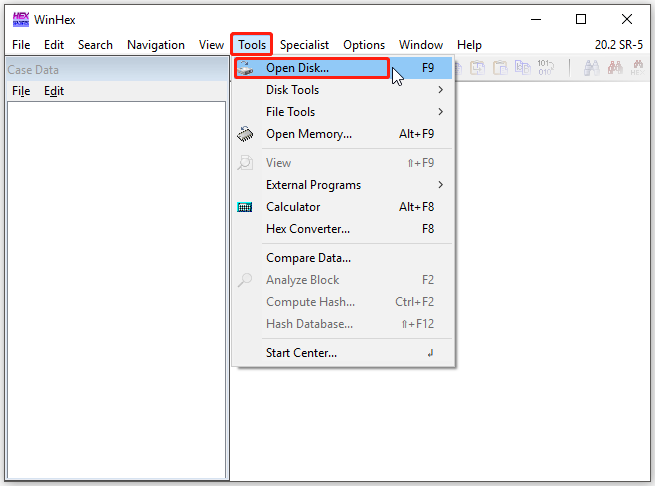
Step 3: Click on the Tools tab and then click Open Disk in the prompted menu.
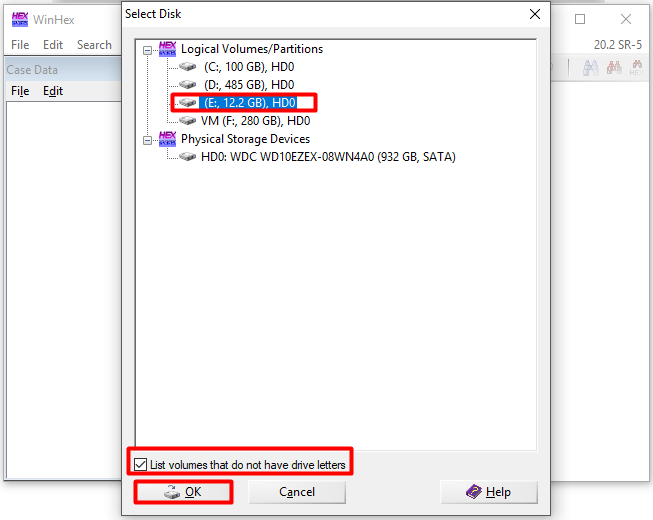
Step 4: In the prompted window, choose a logical volume or partition from the list and click OK.
Step 5: The operation varies according to the types of volume file system. The dirty bit for FAT32 volume usually is located at offset 0x41. If the volume is dirty, the bit should be 01. You can remove the dirty bit by changing 01 to 00 and saving the changes.
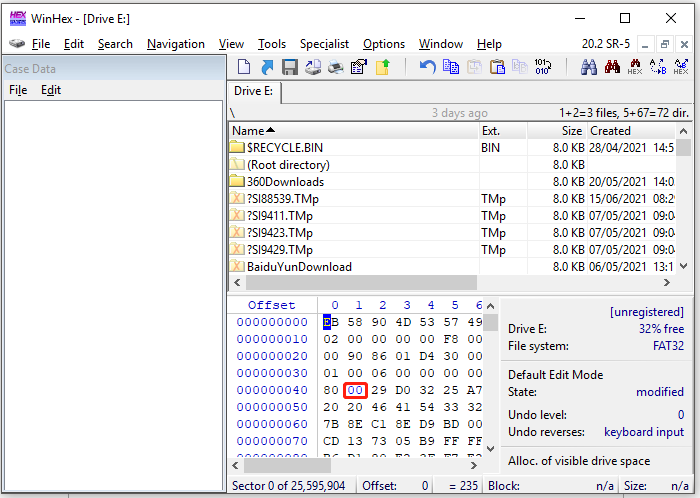
For NTFS volumes, the offset of the dirty bit is not fixed. It means that the offset of the dirty bit is different on every NTFS volume. You can find the dirty bit by finding a hex string of 13 bytes (starting with 03 01 and ending with 80 00 00 18). As shown in the following picture, the dirty bit is the 3rd byte of the hex string.
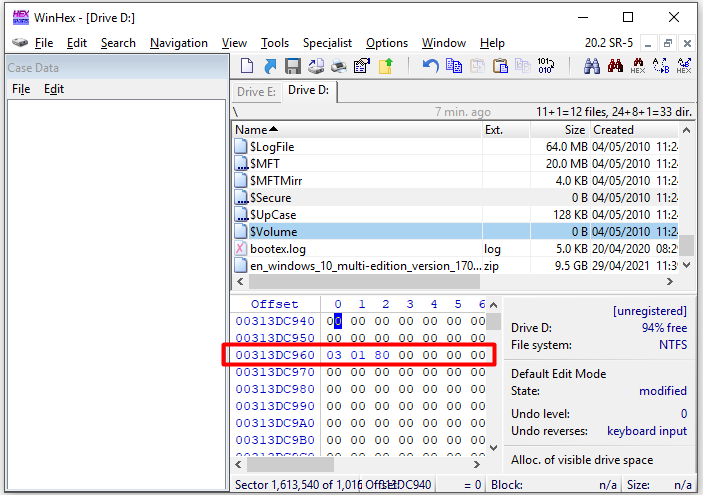
To clear the dirty bit, you need to change 80 to 00 and then save the changes.
Bottom Line
As explained in this post, dirty bits have both strengths and weaknesses. On the one hand, dirty bit can offer you some benefits. On the other hand, it brings you some troubles. You can set it as a marker and then clear it with the offered dirty bit removal guide.
Is this post helpful for you? Do you have other thoughts on dirty bit? You can write them in the following comment area. If you encounter any issues while using MiniTool Partition Wizard, please contact us by sending an email via [email protected].
User Comments :