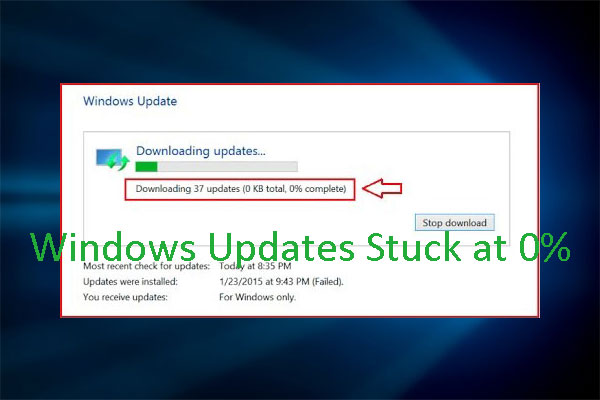
Have you received error 0x800f0988 when you update Windows 10? If so, you can read this post, in which MiniTool offers you 3 ways to solve this problem. I hope these methods can help you.
Please can anyone tell me how to solve this problem because every time I try to install the following Windows Update [2019-09 Cumulative Update for Windows 10 Version 1903 for x64-based systems KB4515384], it fails and shows the error 0x800f0988? — answers.microsoft.com
There are many people reporting that they have received error 0x800f0988 when updating Windows 10. This error will prevent them from installing some updates. If you also encounter the error 0x800f0988, then this post will help you resolve the problem. Please read the following content to get solutions.
Fix 1. Run the Windows Update Troubleshooter
Windows Update Troubleshooter can fix a variety of update problems. If you face any Windows update problem, it is an excellent idea to run the troubleshooter. Please follow the steps below to run it:
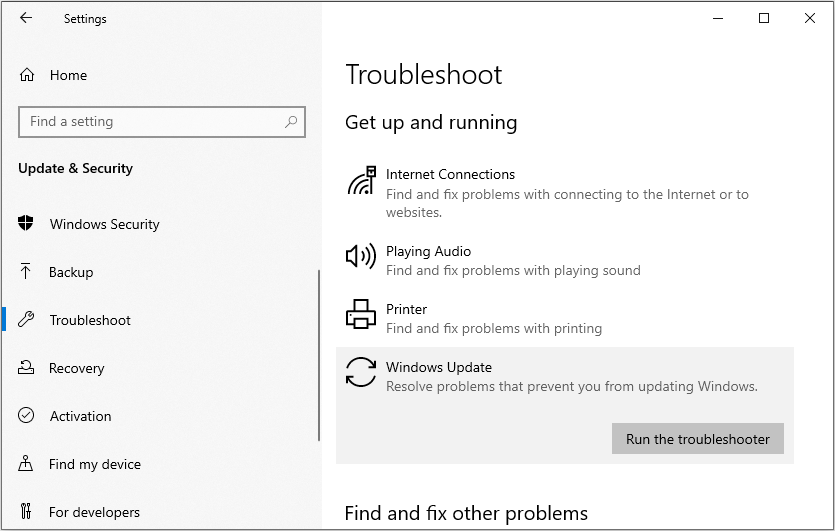
Step 1: Press “Windows + I” keys simultaneously to open Settings window.
Step 2: Click on Update & Security and then navigate to Troubleshoot.
Step 3: Scroll down to choose Windows Update and then click Run the troubleshooter.
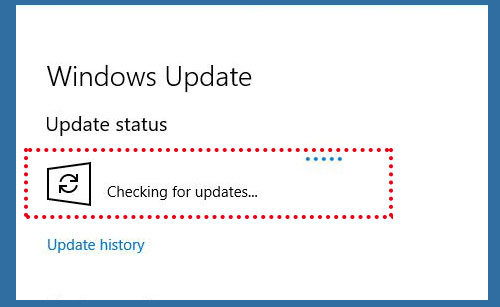
Then, it will check for any pending restart, initialize the diagnosis and restart services like BITS. After that, you should retry the Windows update to see whether the problem is solved.
Fix 2. Run StartComponentCleanup Task
Some users report that running StartComponentCleanup task can fix this problem. The StartComponentCleanup task was introduced in Windows 10 and will be triggered regularly by the operating system to clean up Windows components when they are not in use.
Usually, after an updated component has been installed, it will wait for at least 30 days before uninstalling the previous versions of the component.
However, we can run this task manually either using Task Scheduler or using DISM, and the two methods will allow us to delete the useless components without the 30-days grace period. But there is a difference between the two methods.
While running the StartComponentCleanup task via Task Scheduler, there may be a timeout for an hour. It is possible that some of the cleanups might be left out. When using DISM, updated components will be immediately deleted without the 1-hour timeout limitation.
Here is the tutorial on how to run the StartComponentCleanup task via Task Scheduler:
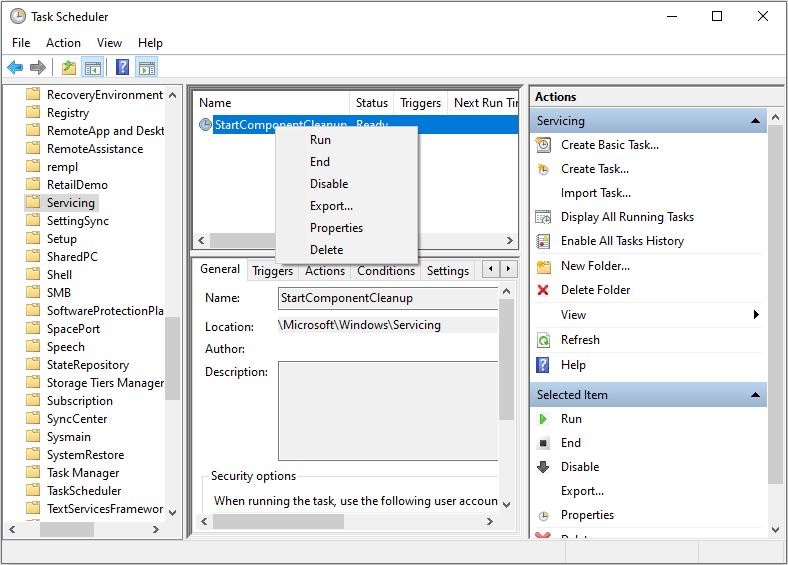
Step 1: Press “Windows + R” keys simultaneously to open the Run prompt. Then, type “taskschd.msc” and hit Enter to open Task Scheduler.
Step 2: Navigate to Task Scheduler Library > Microsoft > Windows > Servicing. Then, highlight the Servicing and right-click the StartComponentCleanup task in the upper middle box to choose the Run button.
Then, wait for the process to finish and check for the update again to see whether the problem is solved.
Here is the tutorial on how to run the StartComponentCleanup task via DISM:
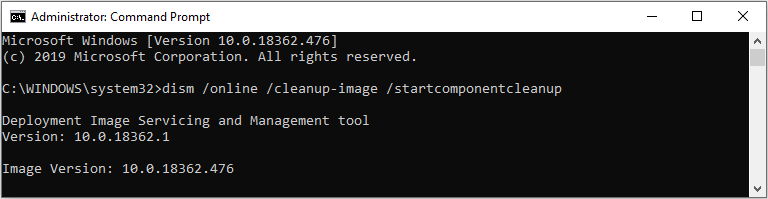
Step 1: Type “cmd” in the Windows search box and right-click the best-matched result to choose Run as administrator. Thus, you can open the Command Prompt with admin privileges.
Step 2: Type or copy and paste the following command into the Command Prompt window: dism /online /cleanup-image /startcomponentcleanup. Then, hit the Enter key and wait for the command to finish.
Then, restart the computer and check for the update again.
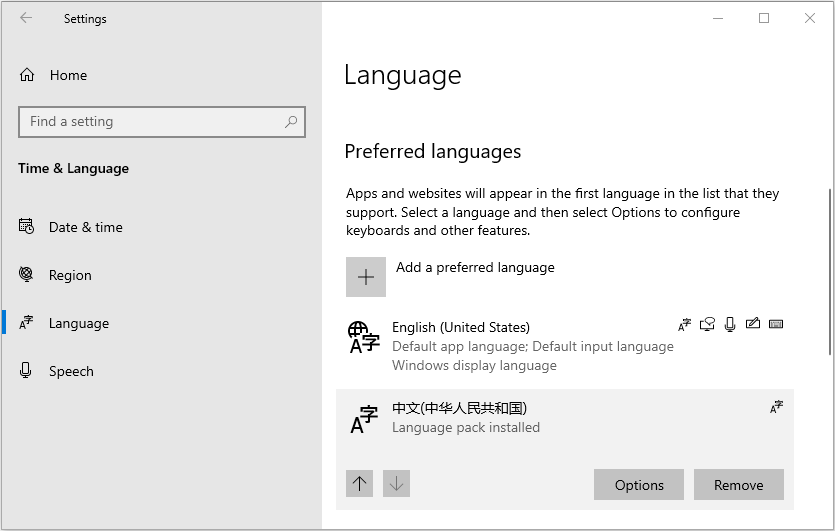
Fix 3. Remove Additional Languages
Some users report that they can fix this problem by removing any additional languages and leaving English as default. So, you can this method. Please follow the steps below:
Step 1: Open Settings window and choose Time & Language. Then, navigate to Language and scroll down to see whether there are languages other than EN-US under Preferred language.
Step 2: If you have installed additional language packages, you should remove them by clicking the language and then the Remove button.
About The Author

Position: Columnist
Linda has been an editor at MiniTool for seven years. She continuously learns about computers and puts her knowledge into practice. Moreover, she is particularly knowledgeable in disk management, data recovery, system installation, and PDF editing. Her articles typically reference multiple examples or are based on her own experience, providing users with the most suitable solutions.
User Comments :