When you send or reply Emails, you could set signature in Gmail to show your detailed information simply. In this post, MiniTool Partition Wizard guides you how to add/change a signature, and how to manage multiple signatures.
How to Add or Change a Signature in Gmail?
As a Gmail user, you can enjoy an effective way to show your information with your contacts. You may have used signatures on some social media platforms. What’ s your feelings about it? It could help you show your friends your mood, hobby or condition. Signature on social platforms can show some information directly to others. Do you know how to set signature in Gmail?
If you do not know how to add or change a signature in Gmail, you are supposed to follow the steps below.
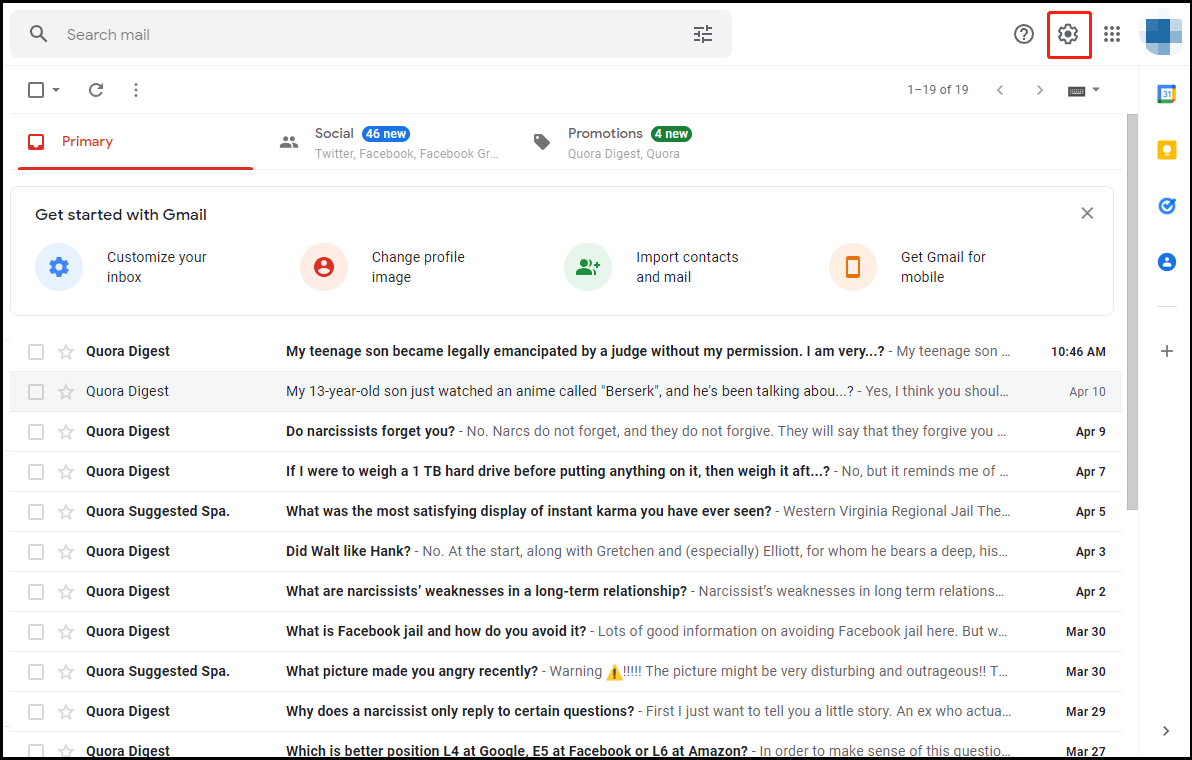
Step 1: After opening Gmail, you ought to click the Gear icon to open Settings.
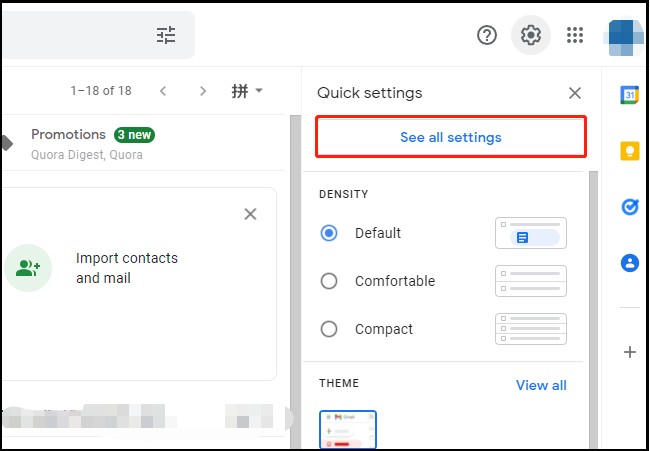
Step 2: Please pay attention to the changes of the interface, and hit See all settings.
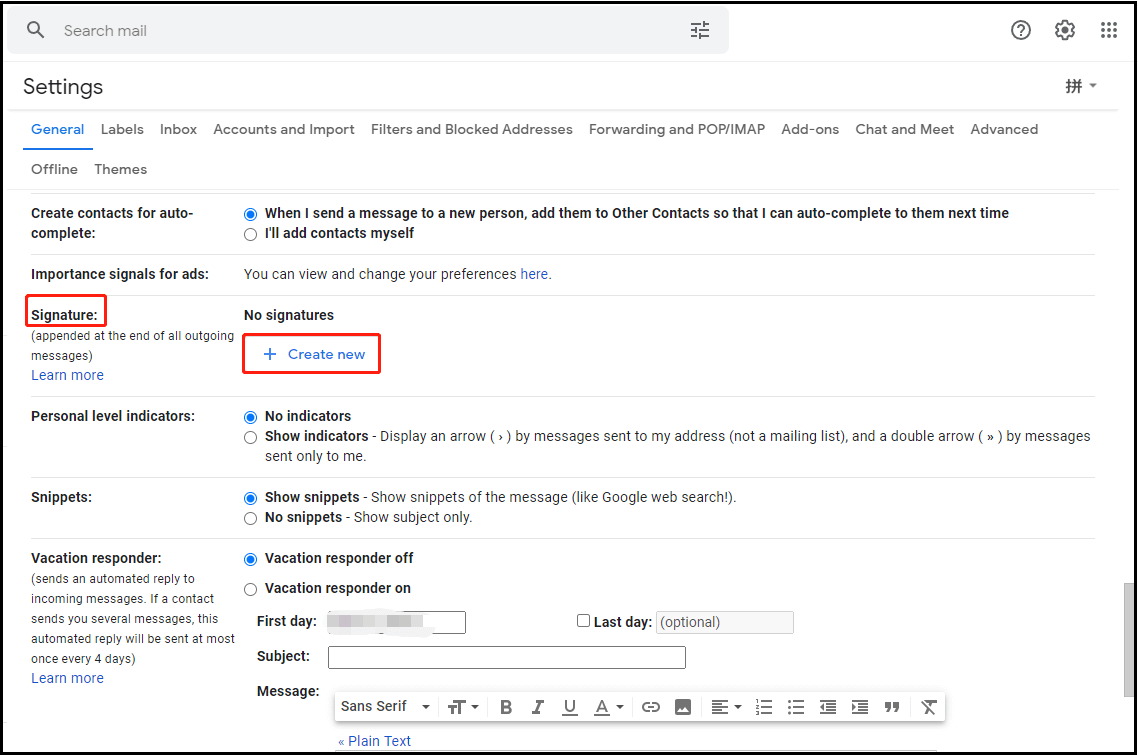
Step 3: In the new interface, you should scroll your mouse to the Signature part and hit the option of Create new.
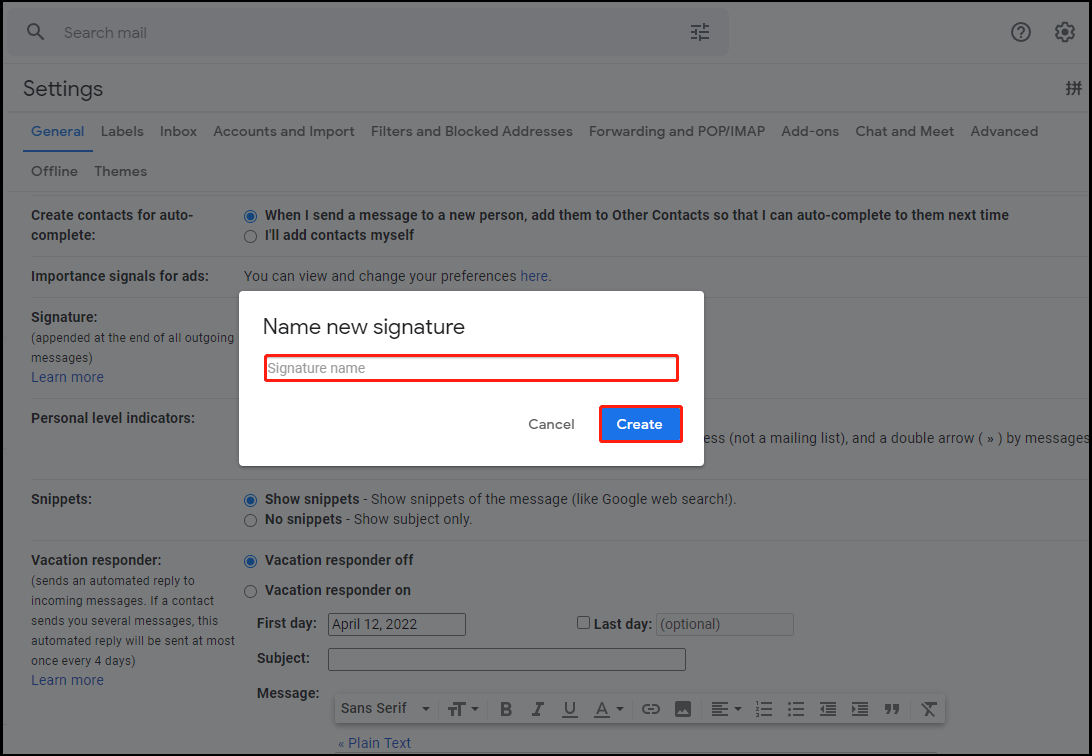
Step 4: The Name New Signature window will pop up. As the tip implies, you need to type your signature name. After typing, do not forget to hit Create.
Step 5: After inputting your signature name, you can edit your detailed information such as your address, phone number, or anything that you want to tell your friend. Besides, you could set the font size, the text color, or the signature font to have a personal email signature by hitting the icons in this section.
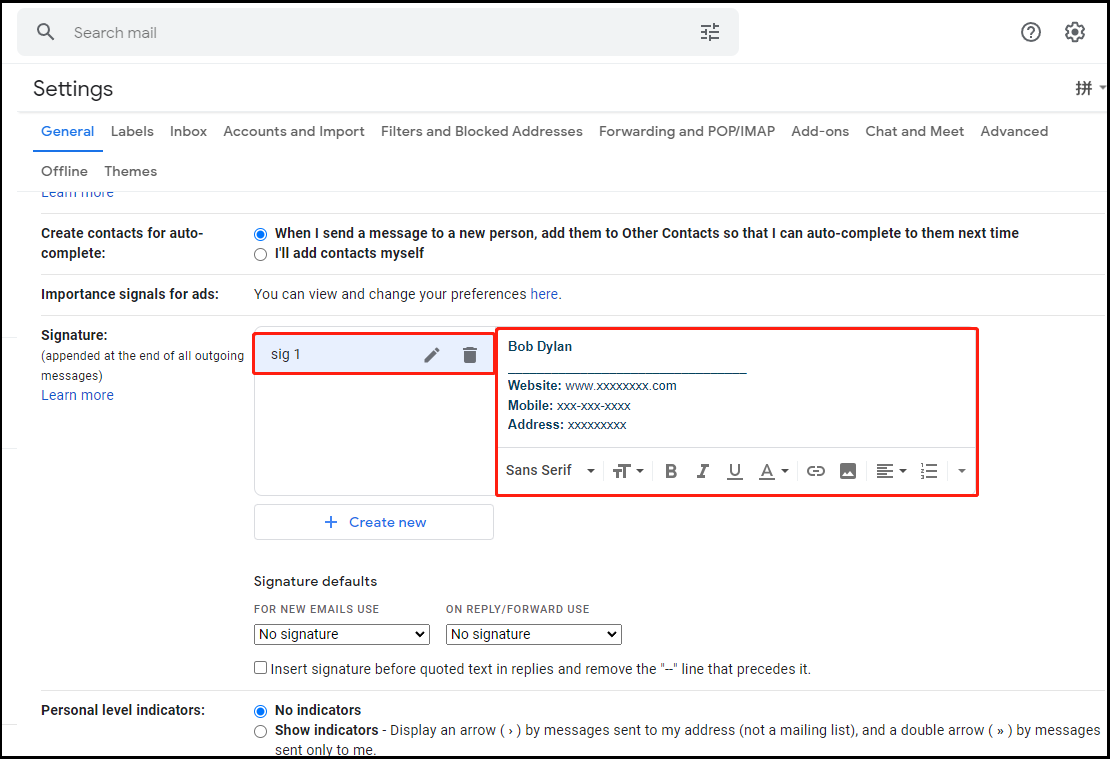
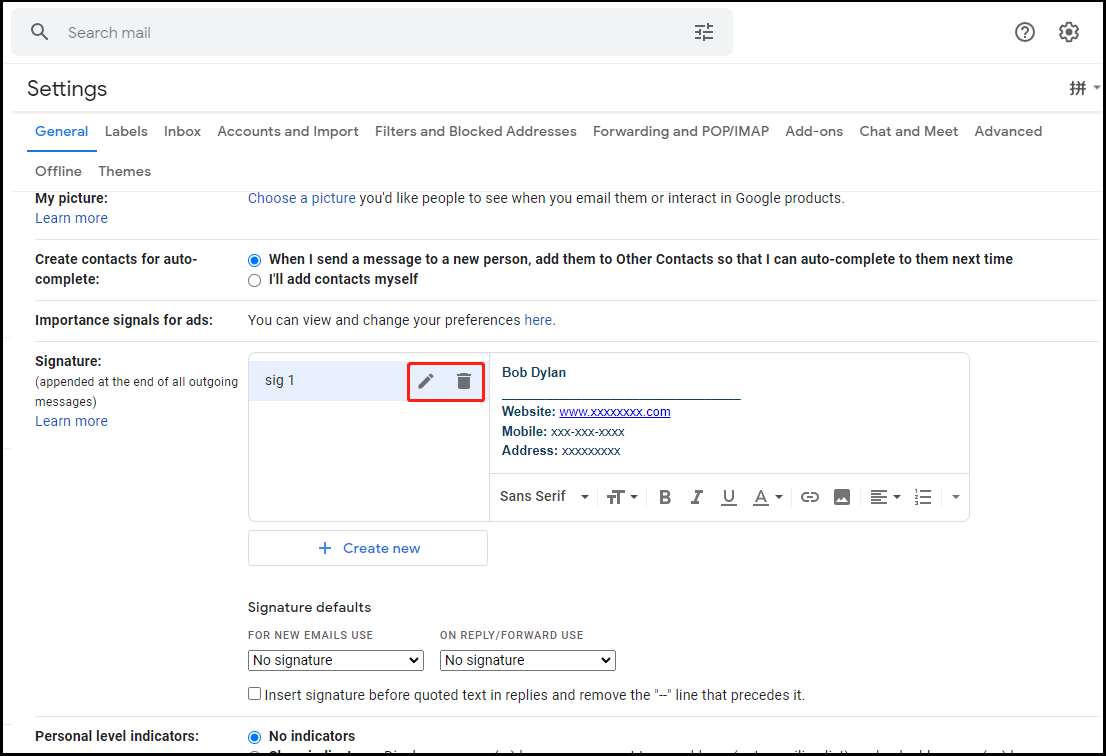
If you want to change your signature name or just delete it, you could hit the icon in the picture. You can change the details to have a personal Email signature too.
Step 6: Last but not the least, you need to scroll your mouse to the bottom of the interface to save your operations by hitting the Save Changes option.

Also read: How to Add Gmail Account to Mail App in Windows 11?
How to Manage Multiple Signatures in Gmail?
If you have ever used multiple Gmail signatures, do you know how to manage them? In fact, you could choose different signatures to show different information to your contacts according to your purposes.
If you have multiple signatures, it’s time for you to learn how to manage them. Now, find the full steps.
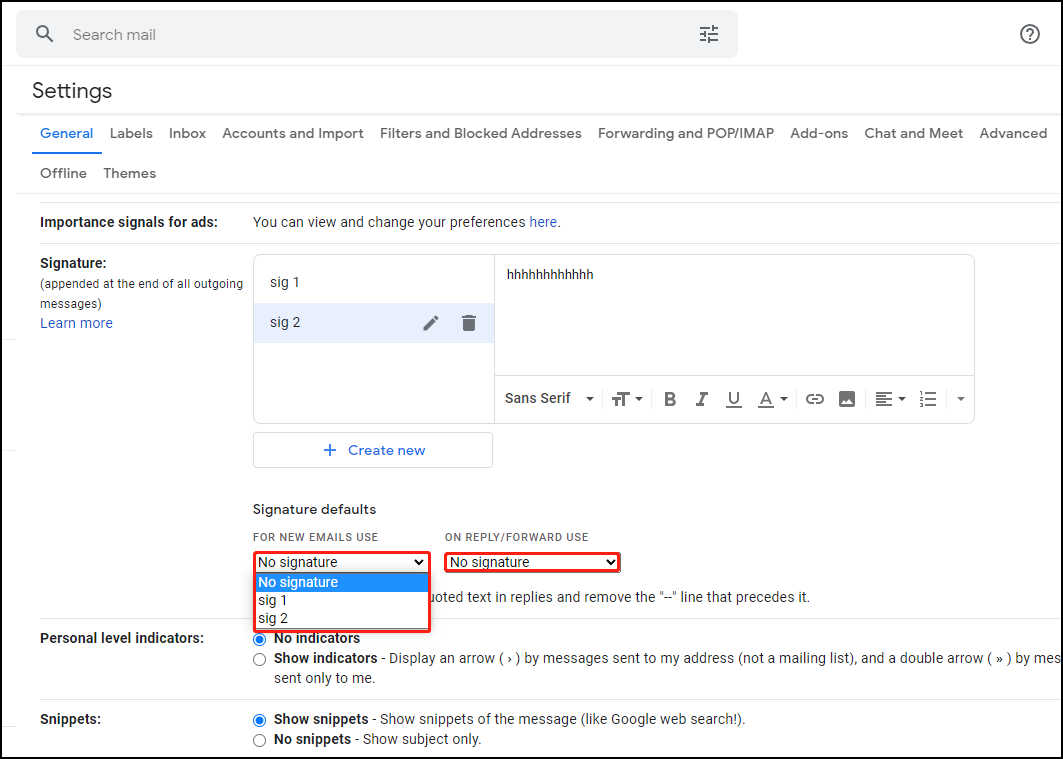
Step 1: After opening Gmail, you need to find the default signature by following the Step 1 to Step 3 in the above section.
You ought to distinguish the differences between For New Email Use and On Reply/Forward Use. Besides, you should think about the purpose of each signature. Here, take the former for example. If you want to set sig 1 for the new Email use, you should hit it.
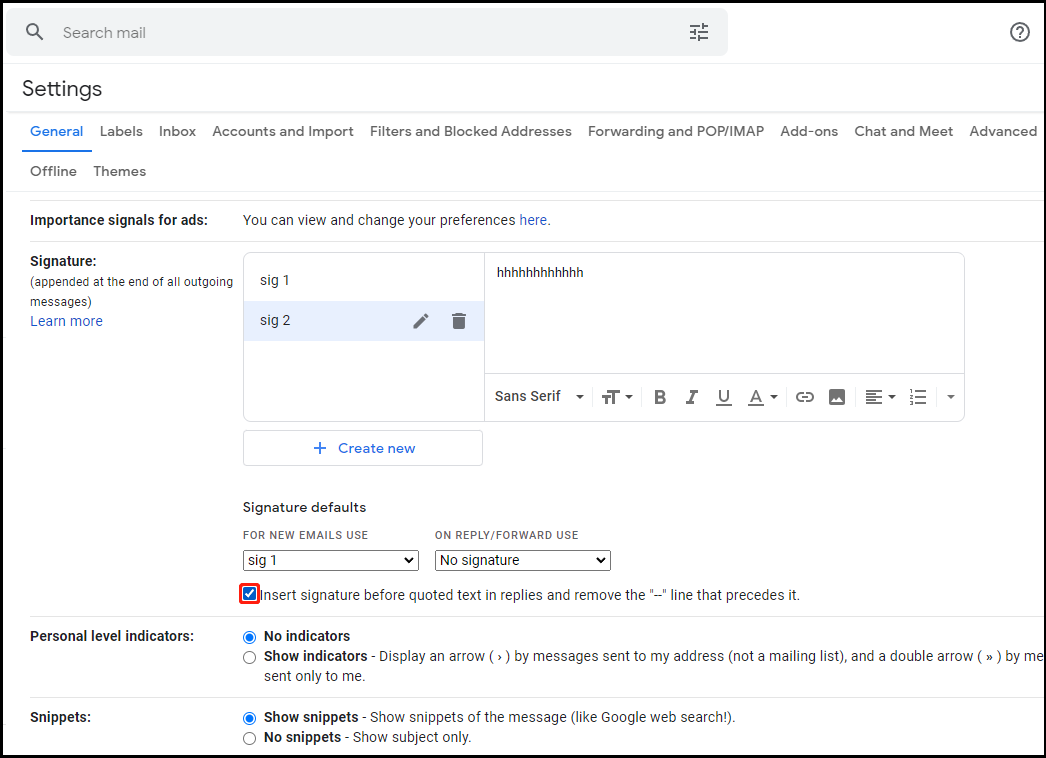
Step 2: After hitting your target signature, you can check an additional option. Just as the description in this picture implies, you can check or uncheck it.
Step 3: Do not forget to save your settings by hitting Save Changes. In addition to the operations to set signature in Gmail, you are supposed to hit Save Changes too if you have made any other changes like setting Gmail Display language, setting default styles, etc.
Read more: How to Change or Reset Your Gmail Password
Bottom Line
If you want to show your information directly and simply in Gmail, the steps to set signature in Gmail may deserve your attention. This post guides you to add/change a signature or manage multiple signatures step by step. If you have any ideas about this topic, share them with us!
User Comments :