Sedlauncher is a program that can often be observed in Task Manager. It is vexing that this program also brings the Sedlauncher high disk usage problem. In today’s article, MiniTool Solution will walk you through several best troubleshooting methods to fix this problem.
What Is Sedlauncher
There are a great number of users inquires “what is Sedlauncher” on Google. According to the reports from users, they often see the “SedSvc.exe” and “SedLauncher.exe” program in the Task Manager when downloading and installing Windows update features.
Usually, you can find this program in the “Rempel” folder inside Program Files. The service and the launcher of Sedlauncher are associated with the Windows Remediation Service that is responsible for installing Windows 10’s update features. These features often contain some patches.
If you want to have the Windows updates that include the latest security patches and additional features, you can remain this service and launcher. Well, if you don’t want the new patches or features of Sedlauncher, you can disable it.
How to Prevent Sedlauncher High Disk Usage
Now, many users complain that the Sedlauncher high disk usage occurs when downloading and installing a huge feature update. Besides, high disk usage by Sedlauncher can also arise if the program is facing a problem.
The Sedlauncher high disk usage problem will impact on the speed of the computer. So how to prevent Sedlauncher high disk usage? Please keep reading the following part to get the answer.
Method 1. Stop the Sedlauncher in Task Manager
This method enables you to stop the service temporarily. Here is how to do this.
Step 1. Press the Ctrl + Alt + Dele keys to call out the Task Manager window.
Step 2. Then select the Windows Remediation Service in the list of running services and click on the End Task at the bottom right.
In addition to the method, you can also stop the service permanently to bring down the Sedlauncher high disk usage through the methods below.
Method 2. Uninstall Sedlauncher in Windows Settings
Here are steps you can follow to uninstall the service.
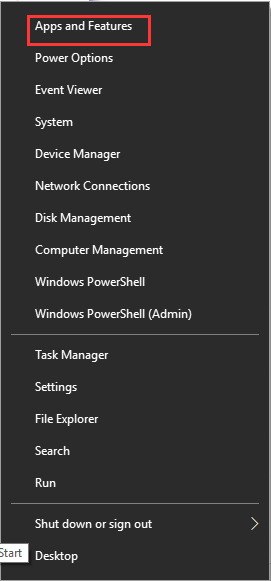
Step 1. Right-click the Start menu at the left bottom and select Apps & Features from the left panel.
Step 2. Inside the Settings window, navigate to the “Windows Setup Remediation” or the “Update for Windows 10” option from the left panel.
Step 3. Right-click this program and click on Uninstall. After that, you can follow the prompts to delete the Sedlauncher completely.

Method 3. Disable the Sedlauncher from the Windows Services Management
Another method to prevent the Sedlauncher high disk usage is to disable it from the Windows service management. For that:
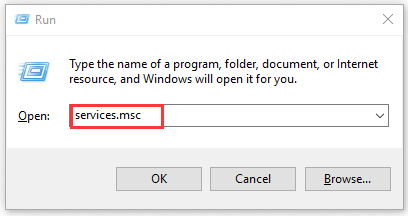
Step 1. Press Win + R keys to open the Run prompt. Then type service.msc in it and hit Enter.
Step 2. Inside the pop-up window, find Windows Mediation Service in all items. Then right-click it and click on the Properties button from the menu.
Step 3. Select the Startup Type and click on Disable option from the dropdown menu.
Method 4. Delete the Windows Task Scheduler
The Sedlauncher downloading and installing process are scheduled by Windows Task Scheduler. So, you can solve the high disk usage by the Sedlauncher problem by deleting the scheduler.
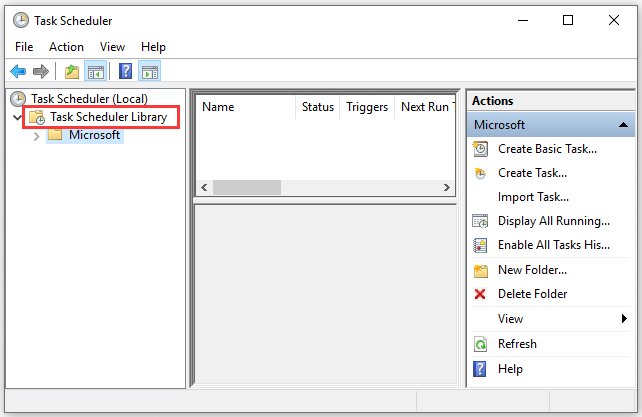
Step 1. Press Win + R keys to open the Run prompt. Then type taskschd.msc in it and hit Enter.
Step 2. Inside the Task Scheduler window, double-click the Task Scheduler Library in the left pane. Then navigate to the following path Microsoft>Windows>Rempl.
Step 3. Right-click the Rempl folder and select the Shell task on the right. Then you can press Delete key and click on Yes in the prompt to confirm the action.
User Comments :