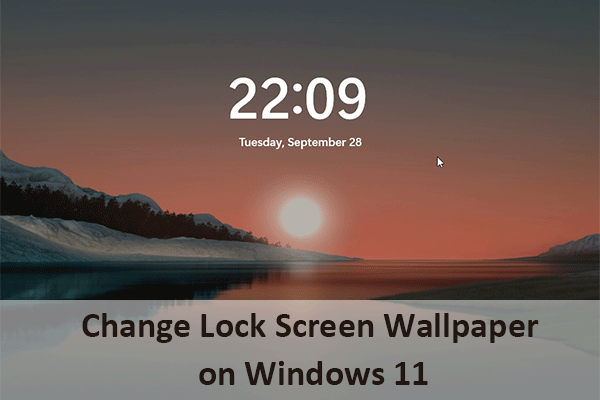
The screen saver is a classic feature used frequently in old times. It is also supported on the latest operating system, Windows 11. If you want to use a screen saver on Windows 11, you should not miss this post provided by MiniTool Partition Wizard.
Before the LCD screens appears, most old computer screens were based on CRT.
Unfortunately, when you left the computer and the same image was displayed on the CRT screen, the exposed areas of the phosphor coating on the inside of the screen would change gradually. It usually led to a screen burn-in eventually, which means a darkened shadow or ghost image on the screen.
A screen saver (or screensaver), a computer program, can help prevent phosphor burn-in on CRT or plasma computer monitors by showing slow animations on the screen when you left. It was usually used on Windows Vista. You can set the time when the animations appear.
Modern screens don’t come with such a CRT screen program, but screen savers are still in use, mainly for decorations or password protection.
How to Enable Screen Saver on Windows 11
On Windows 11, a new operating system provided by Microsoft, the screen saver is disabled by default. If you want to use a screen saver on Windows 11, you can follow the tutorial below.
Step 1: Press the Windows key along with the I key to open Settings.
Step 2: In the left pane, select Personalization. In the left pane, select Lock screen.
Step 3: Click the Screen saver and select one option from the list to turn on a screen saver. There are seven options available:
- None: If you select this option, the Windows 11 screen saver will be disabled.
- 3D text: A 3D message will show up as the screen saver. You can customize the message according to your preferences.
- Blank: You will get a black screen if you select this option.
- Bubbles: Colorful bubbles will move around your screen.
- Mystify: Colorful lines will display on your desktop.
- Photos: You can customize a folder containing photos, and you can view a slideshow of those images on your screen.
- Ribbons: It displays colorful ribbons.
Step 4: Click the Settings button under the Screen saver section to make configurations for your screen saver, such as a custom message, visual style, speed, and more. You can click the Preview button to preview your screen saver.
Step 5: Input a number in the box next to the Wait option to decide when the screen saver turns on after you leave.
Step 6: Click Apply and OK to save the changes.
Do not move your mouse or type with your keyboard. Then the screen saver will show up after the time you specified.
How to Customize Images for Windows 11 Screen Saver
If you want to set photos as a screen saver in Windows 11, you can:
Step 1: Go to Settings > Personalization > Lock screen.
Step 2: Click Screen saver and select Photons.
Step 3: Click the Settings button. In the pop-up window, click Browse and choose the folder that includes the images you want to use. Then select the Slide show speed and click Save.
Step 4: When you go back to the Screen Saver Settings window, click the Preview button. If you are satisfied with the new Windows 11 screen saver, click Apply and OK to save it.
Now you have learned how to use a screen saver on Windows 11. Customize your screen saver according to your needs!
You might be interested: How to Customize Windows 11 to Let It Look Like Windows 10?
User Comments :