If you want to restrict document editing in Windows 10, you can read this post and get some ways to make it. With MiniTool Partition Wizard, you can recover lost files from Windows.
Restrict Document Editing to Protect Information
It is crucial to make sure the content keeps accurate when sharing an Office document with your colleagues or group.
Even if you have a password to protect the document, people who has access can still make changes. Information errors may occur if unwanted changes are made.
Here is a good way to avoid this mistake: to restrict document editing in Microsoft Office. In Microsoft Office, you can lock certain parts of a Word document or the entire file.
And in case of losing files, you can back up data before you make any changes to the document.
Herea step by step guide for you.
How to Restrict Document Editing
Restrict Modifications in Word
You can prevent the ability to modify styles and the ability to apply direct formatting to the document so as to get away from mistaken changes.
Here are steps to restrict document editing in style and formatting.
Step 1: Open a Word document and click File. Then choose Info.
Step 2: Select Protect document from the right side, and click the option Restrict Editing.
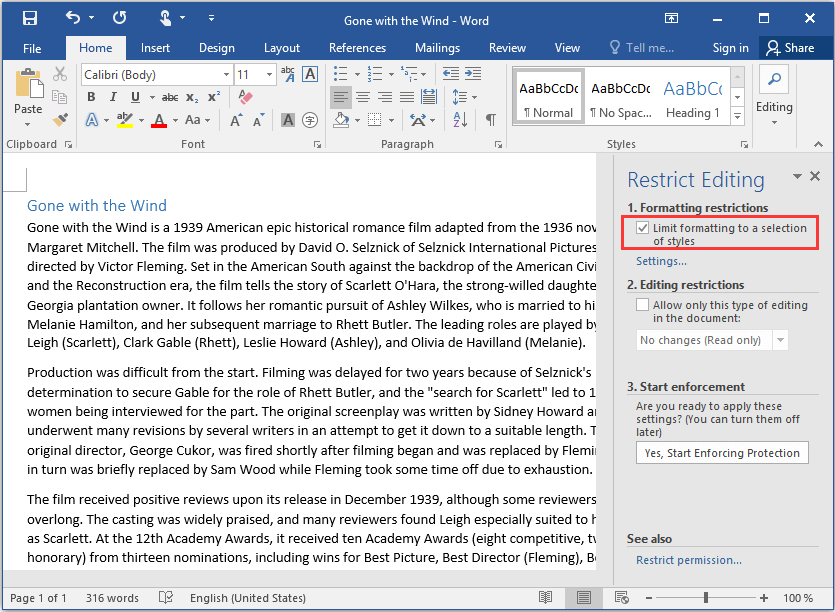
Step 3: Check the Limit formatting to a selection of styles option under the first section Formatting restrictions and click Settings.
Step 4: Uncheck the styles you want to restrict. And choose Formatting option.
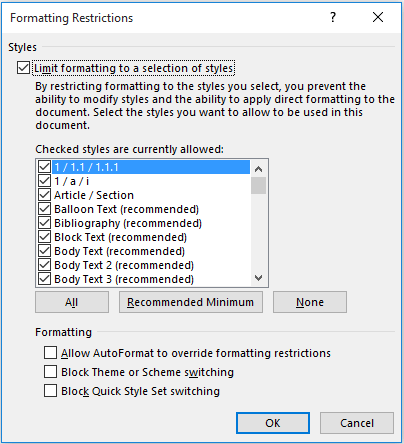
Step 5: Click OK. And you will be reminded that this document may contain formatting or styles that aren’t allowed. Click Yes to make sure the restriction or click No to retain the original changes.
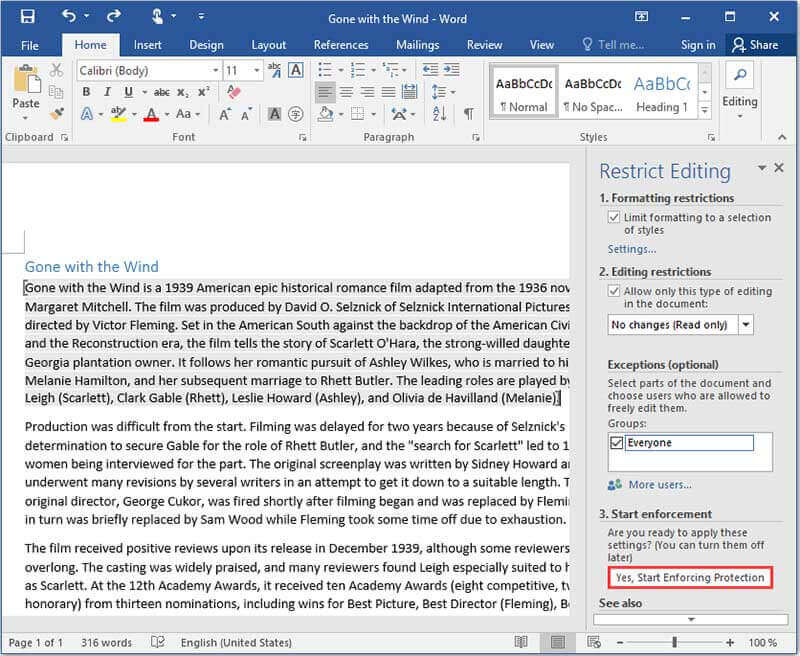
Step 6: In the second section Editing restrictions, you need to check Allow only this type of editing in the document. And you can choose one type from the drop-down menu for your needs.
- No changes(Read only)
- Tracked changes
- Comments
- Filling in forms

Step 7: In Exceptions (optional) of the second section, you can select some parts of the file and choose users who are allowed to freely edit them to lock certain parts of a Word document.
Step 8: In the third section Start enforcement, you can add password for the document by clicking Yes, Start Enforcing Protection.
Step 9: Set a password and click OK.
Now you successfully restrict document editing and block users from making mistaken changes.
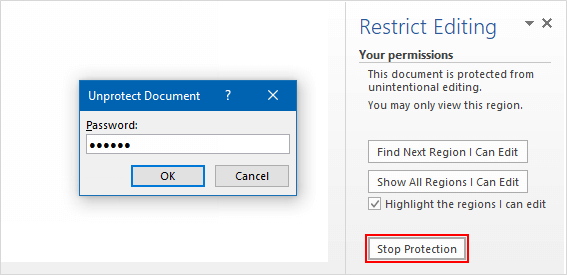
If you want to undo the restriction, you can click Stop Protection at the bottom and type the password.
If you lost files, you can try to recover data from your hard drive.
Restrict Document Editing by Marking the Document as Final
To restrict editing from a Word document, you can also mark the document as final, which helps to disable changing comments, typing, and proofing.
Step 1: Open the document and go to Protect Document.
Step 2: Choose Mark as Final.
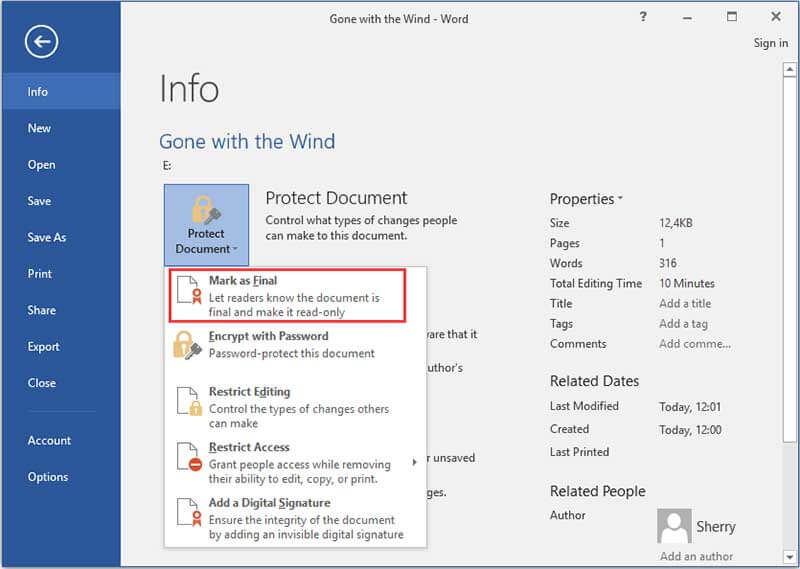
Step 3: Click OK.
Related article: Microsoft Store Keeps Updating the Same Apps in Win10.
User Comments :