Overwatch is a popular game among game lovers. However, some Overwatch users report that Overwatch stops working suddenly and an error message “Overwatch lost connection to game server” appears sometimes while they are playing the game. MiniTool offers 5 solutions to this problem.
Overwatch lost connection to game server is a nightmare for players. It could happen any time. Sometimes, you’re playing the game Overwatch and all of a sudden it flashes to the title screen with the red error message “Lost connection to game server”.
This is a relatively common error that could occur for various reasons. You might be unsure about which one you’re facing. Don’t worry. Try the solutions below one by one and you can fix the problem eventually.
Fix 1: Reconnect Your Network
When you encounter the error lost connection to game server Overwatch, the first thing you need to take into consideration is the network issue.
You can reconnect your network to troubleshoot the problem.
Step 1: Unplug your network devices (router or modem) from power for 60 seconds.
Step 2: Connect your network devices to the power again.
Step 3: When the indicator lights are back to the normal state, you can try launching Overwatch again to check if Overwatch lost connection to game server has been solved.
Fix 2: Update the Network Driver
The drivers listed under the section of Network Adapters might also be a cause of this particular issue.
A network adapter is the component of a computer’s internal hardware for interfacing or connecting with a network.
If you are trying to fix slow internet speed on Windows 10, you can check drivers of Network Adapters and update or reinstall them.
Step 1: Type the command “devmgmt.msc” in Run window to open the Device Manager.
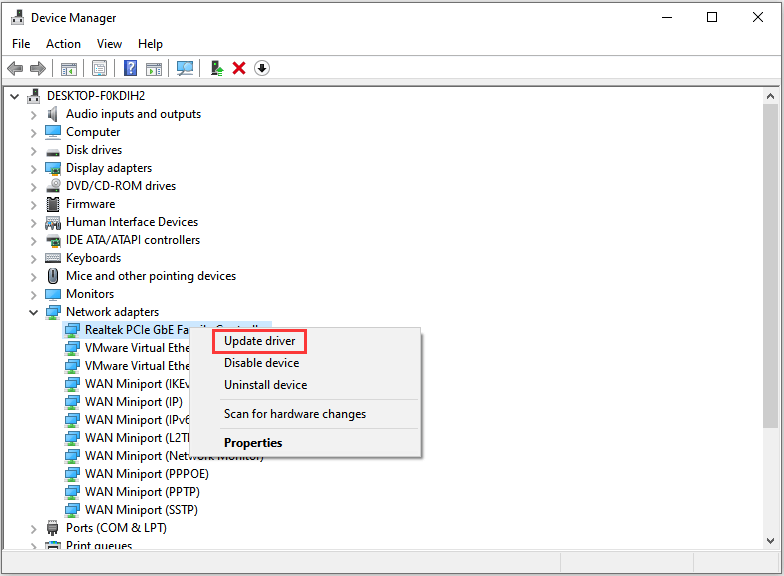
Step 2: Double-click Network Adapters and drivers related to your network will be listed under Network Adapters.
Step 3: Right-click the driver which is working currently, and select Update driver from the drop-down menu.
Step 4: A dialog window should appear. Click Search Automatically for Updated Driver Software.
Then Windows will search, download and install the latest network driver for you. Just wait until the process is completed and then restart your computer. After your computer starts, you can check if Overwatch lost connection to game server has been fixed.
Fix 3: Reset Winsock Data
Winsock is a program that defines how Windows network software access network services. When you are facing Overwatch lost connection to game server, resetting Winsock data could be a nice solution.
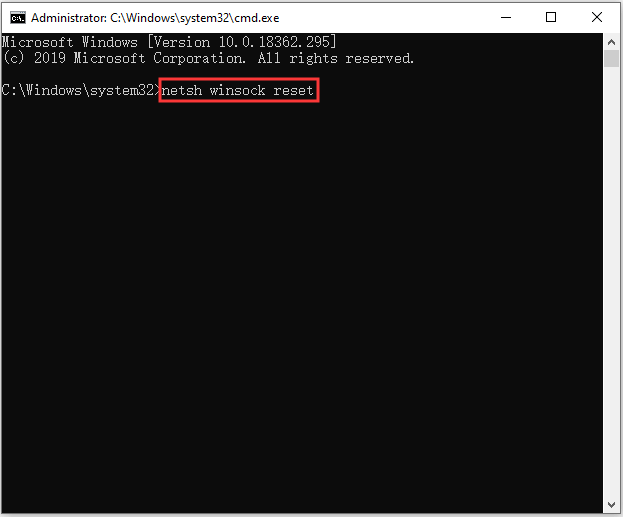
Step 1: Run Command Prompt as administrator.
Step 2: Input the command netsh winsock reset and then press Enter.
Now you can restart your PC and launch Overwatch. If you still see the error message “Lost connection to game server”, you need try the next fix.

Fix 4: End Bandwidth Hogging Applications
If you’re running other applications like OneDrive and Dropbox that require Internet to download or upload files, Overwatch may encounter the problem “Lost connection to game server”. You can close these programs in Task Manager and then relaunch Overwatch to see if the issue can be removed.
To end applications, you just need to press Ctrl + Shift + Esc. When you get into Task Manager, right-click the applications which need to be closed and select End task.
Fix 5: Change the DNS Server
You can also fix the problem “lost connection to game server Overwatch” by changing the DNS server.
Here is how to do it.
Step 1: Go to Control Panel > View network status and tasks > Change adapter settings.
Step 2: Right-click your current network and select Properties.
Step 3: In the pop-up window, select Networking tab and then double-click Internet Protocol Version 4(TCP/IPv4).
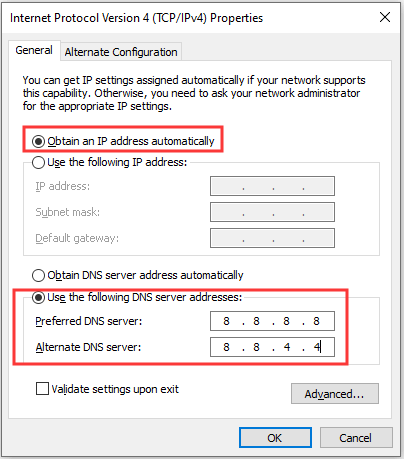
Step 4: Configure the General settings.
- Select Obtain an IP address automaticallyand Use the following DNS server addresses.
- For Preferred DNS server, enter 8.8.8.
- For Alternate DNS server, input 8.4.4.
Step 5: Click OK to save the changes you have made.
Then you can launch Overwatch and check if the problem lost connection to game server has been solved.
User Comments :