What Does Flush DNS Cache Do
DNS, short for Domain Name System, is an index of all available public websites and their IP addresses. It can be used by the network equipment to communicate with websites without having to remember their addresses. The DNS cache is a sort of temporary database that can speed up information about your recent visits to websites and other domains.
However, the DNS cache may get corrupted or piled up over time, which can slow down your network connection and cause some network issues. So, it is necessary to flush DNS cache timely. Flushing DNS cache will remove all stored information and force your computer to search DNS information of a website from scratch. How to flush DNS cache on Windows 11? Let’s keep reading.
MiniTool System Booster TrialClick to Download100%Clean & Safe
How to View the Current DNS Cache
Before you clear DNS cache in Windows 11, you can view the current DNS cache. Here’s a quick guide for you.
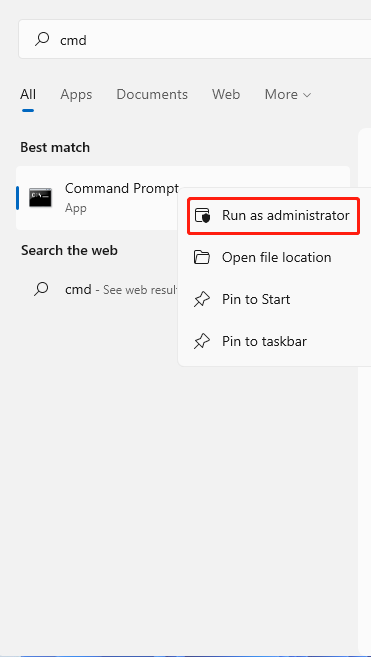
Step 1. Press Win + S keys to open the Search box, and then type cmd in it and right-click the Command Prompt app, and select Run as administrator. Click on Yes when you are prompted to confirm the operation.
Step 2. In the elevated command prompt, type the ipconfig /displaydns command and hit Enter. Then Windows will show you the current DNS cache data.
How to Flush DNS Cache in Windows 11
There are 3 simple methods to flush DNS cache in Windows 11. Let’s start exploring them one by one.
Method 1. Flush DNS Cache Windows 11 via Command Prompt
The first and most common way to flush DNS cache on Windows 11 is to use the Command Prompt app. To do so, follow the steps below:
Step 1. Open the elevated Command Prompt again like Step 1 in the above part. Also, you can press Win + R keys to open the Run dialog box, and then type cmd in it and hit Ctrl + Shift + Enter keys together.
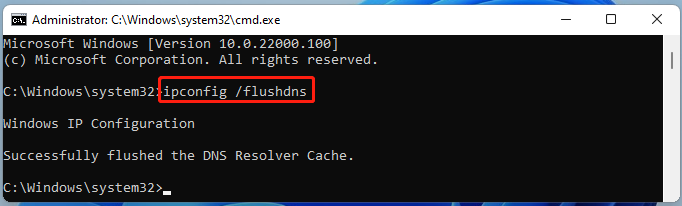
Step 2. In the pop-up window, type the ipconfig /flushdns command and hit Enter. Once done, you will receive a message “Successfully flushed the DNS Resolver Cache.”
Method 2. Flush DNS Cache Windows 11 via Windows PowerShell
Windows PowerShell is an easy tool like Command Prompt to flush DNS cache Windows 11. Here’s how to do that:
Step 1. Type PowerShell in the Search box, and then right-click the Windows PowerShell app and select Run as administrator.
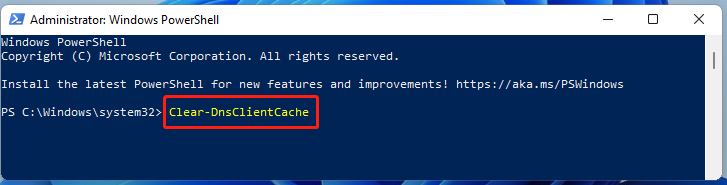
Step 2. Type the Clear-DnsClientCache command in the pop-up window and hit Enter. Then Windows will start clearing the DNS cache instantly.
Method 3. Flush DNS Cache Windows 11 via the Run Command
Apart from the 2 above methods, you can flush DNS cache on Windows 11 directly from the Run box. It is very easy to operate. For that:
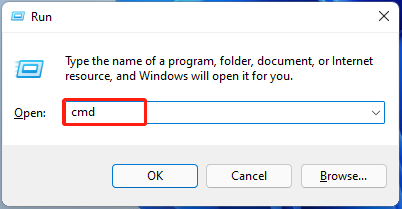
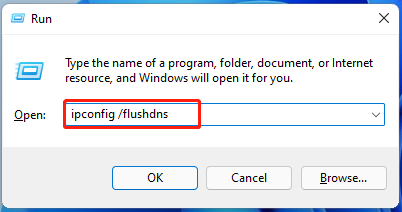
Step 1. Open the Run window by pressing Win + R keys.
Step 2. Type the ipconfig /flushdns command in it and hit Enter. After a split second, the DNS cache will be flushed.

User Comments :