You might have encountered the Ethernet not working issue once. Did you solve it successfully? If you still don’t know how to fix the Ethernet not working issue, take this post as a reference. MiniTool will illustrate some effective methods for you.
If you can access the Internet through Wi-Fi but cannot connect to the Ethernet through cable, you don’t have to worry. There are many factors for the Ethernet not working issue such as cable issues, hardware issues, faculty network driver, etc.
As for the Windows 10 Ethernet not working issue, the post will offer you five methods to choose from. You can try them one by one until you solve the issue. Now, let’s explore these methods together!
Solution 1: Try Different Ports on the Router
When there’s nothing wrong with Ethernet connection, you can check other places like the ports on the router. If the Ethernet port being used is not working or damaged, you are unable to connect to the router.
As for the Ethernet port not working cause, unplug the cable and plug it into another port to check whether the issue still appears.
Solution 2: Turn off any Antivirus or Firewall Temporarily
Ethernet not working sometimes is caused by interface from antivirus software. Therefore, when the issue shows up, try to turn off antivirus software to check whether the issue still persists. Here is the guide to disable antivirus software.
If the Ethernet not working issue can be solved in this way, contact the vendor of your antivirus software and ask him for a favor or install a different antivirus software.
Solution 3: Make Sure the Ethernet Is Enabled
After trying the above methods, check whether the is disabled. Here are steps to check the Ethernet status.
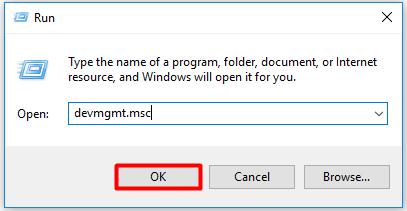
Step 1: Press Windows and R key to open the Run window.
Step 2: Type devmgmt.msc, and then click the OK button to continue.
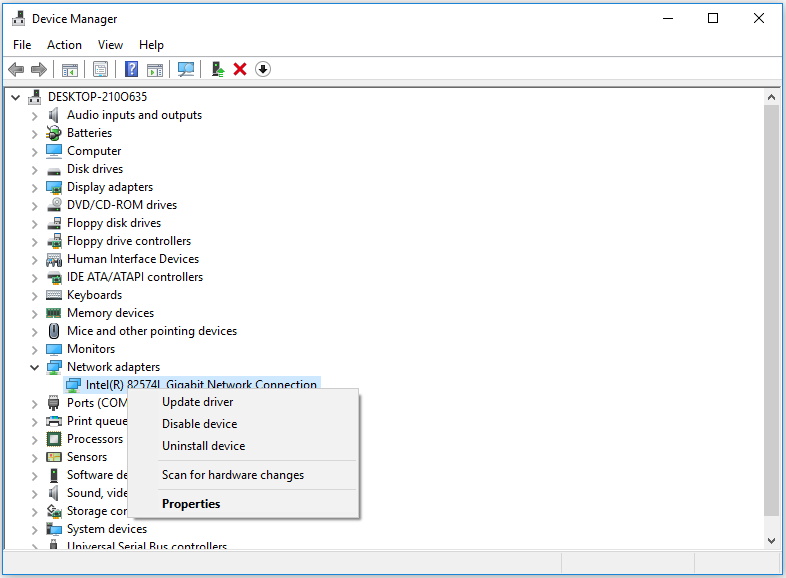
Step 3: Expand the Network adapters category in Device Manager.
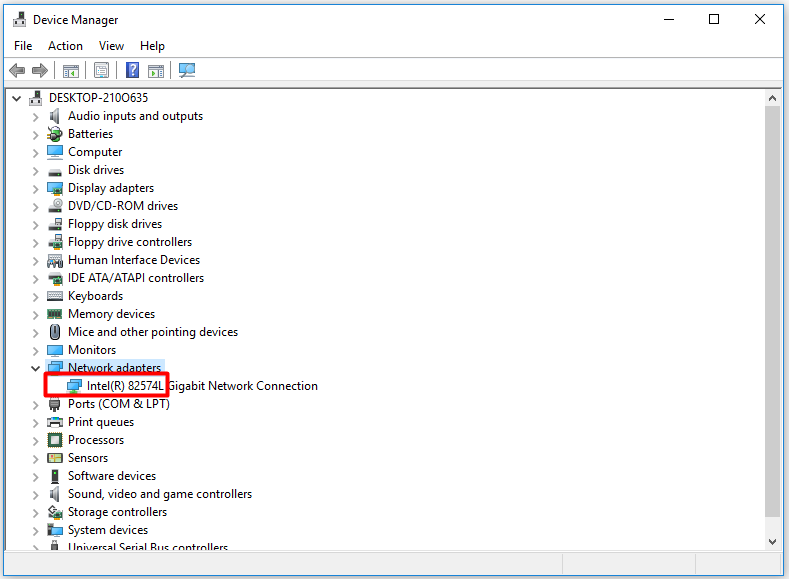
Step 4: Check if there is a computer icon with an arrow beside the Ethernet card device name. If so, the Ethernet has been disabled.
Solution 4: Run Troubleshooter
Troubleshooter is a built-in tool in Windows that can help you fix the Ethernet not working issue. Some basic issues like black screen issue, no sound on the computer and Bluetooth not available can be addressed via Windows Settings.
Step 1: Launch the Settings by pressing Win and I key.
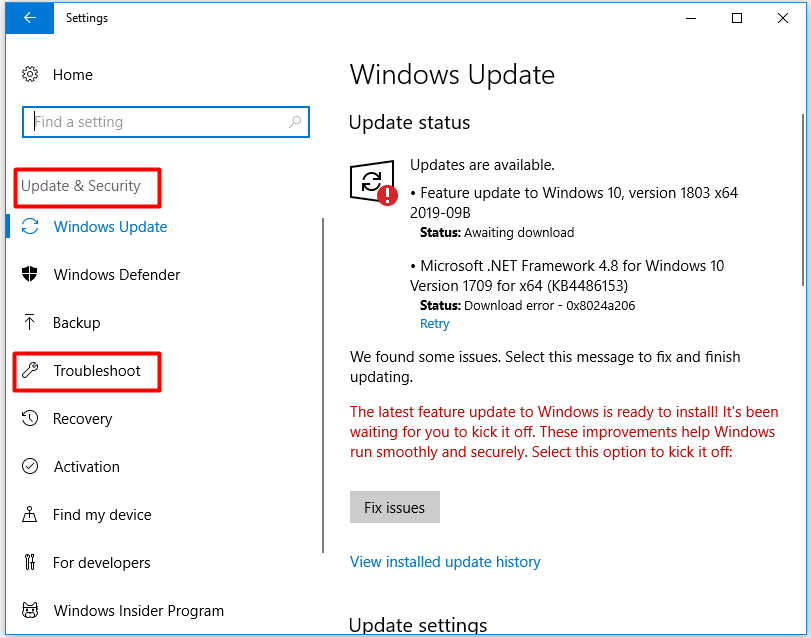
Step 2: Find and go to the Update & Security menu.
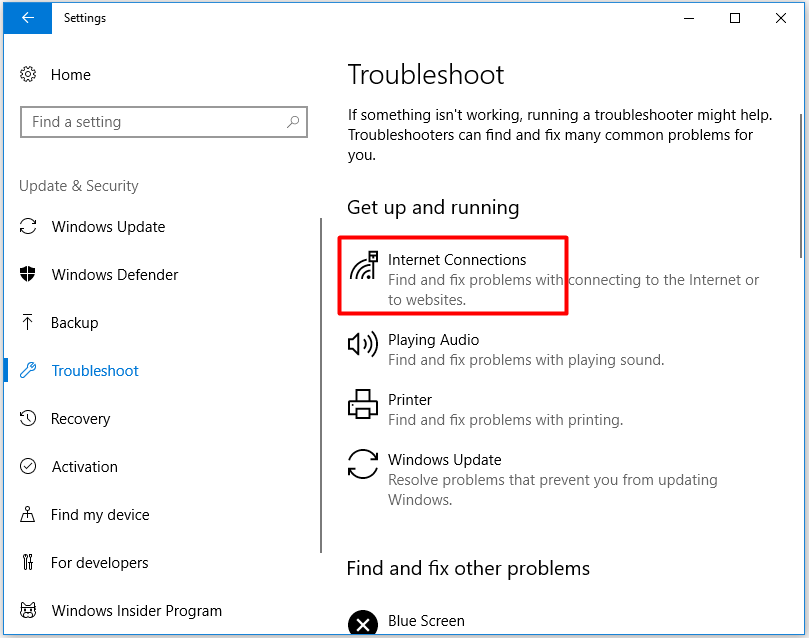
Step 3: Select Troubleshoot from the left side.
Step 4: Select the Internet Connections.
Step 5: Click the Run the troubleshooter option.
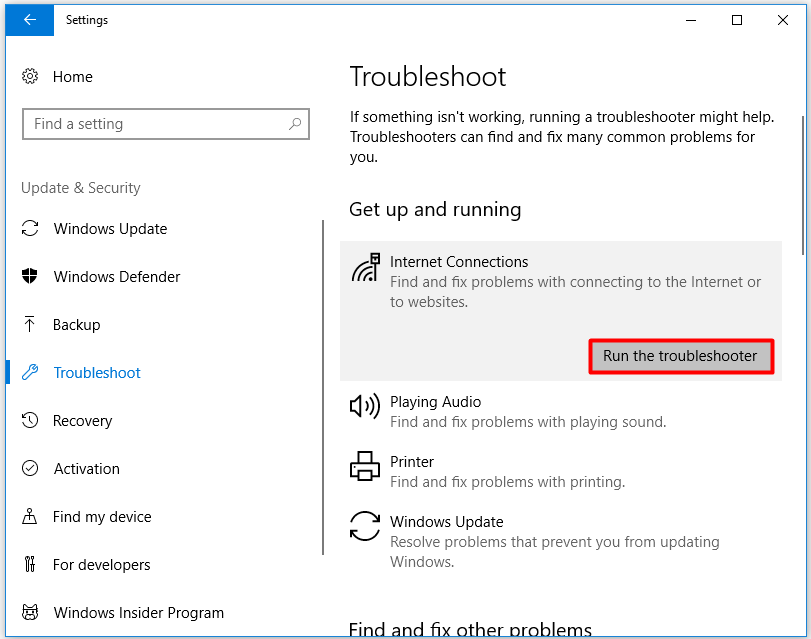
After that, Windows will automatically detect the problem and attempt to troubleshoot it.
Solution 5: Check the Cable
Make sure the cable is not damaged. If you can not ensure, using another cable to do a test may help you figure out. In this case, if changing the cable is absolutedly the way out,
then the failed cable is proved to be the root cause of the ethernet cable not working issue.

User Comments :