Automatic maintenance is a feature in Windows that combines many different background tasks and executes them all at once at a scheduled time. Well, this article from MiniTool Partition Wizard shows you how to customize automatic maintenance in Windows 11/10.
To customize automatic maintenance in Windows 11 or 10, you can change its default set time, choose to start or stop the activity manually or disable the feature entirely.
What Is Automatic Maintenance?
Automatic maintenance is a maintenance task that is only done on Windows by the operating system for a set period of time. Windows system maintenance tasks include Windows updates, security scans, and other system diagnostics. The reason for this is to keep the system updated and functioning well. Additionally, this maintenance ensures the faster repair of fragmentation in the disk drive.
Well, how to customize automatic maintenance in Windows 11/10? Keep reading.
How to Start and Stop Manually Maintenance in Windows 11/10?
If you use a computer with a heavy workload and want to maintain the system immediately, you can initiate maintenance manually.
Run and Stop Manually Maintenance Using Security and Maintenance
Step 1: Open Control Panel and navigate to the Security and Maintenance > Maintenance.
Step 2: Under Maintenance, click Start maintenance to start it.
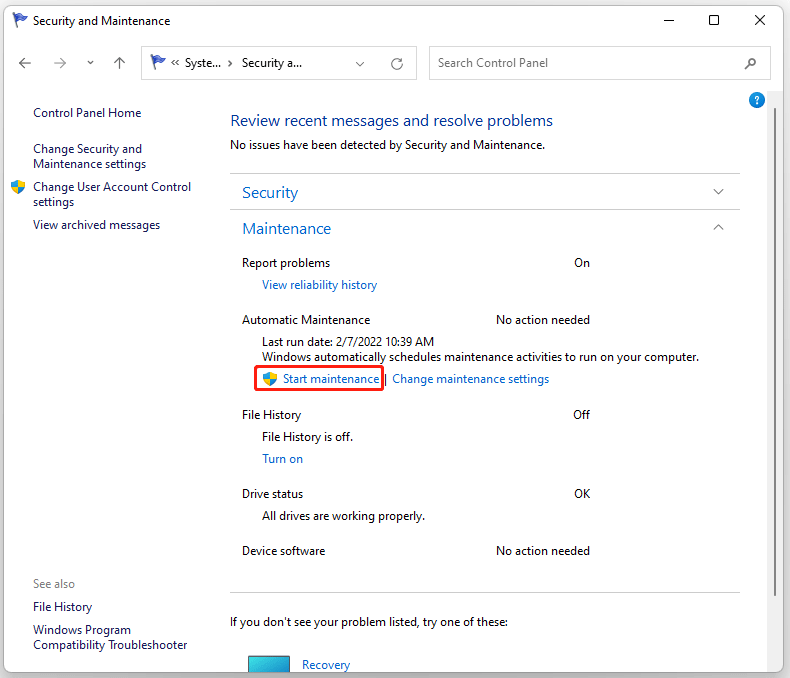
Step 3: To stop the process, click Stop maintenance to stop it.
Run and Stop Manually Maintenance Using Command Prompt
Another way to run and stop maintenance feature is by using Command Prompt. The steps are as follows.
Step 1: Open Command Prompt as administrator and type the mschedexe.exe start command to start maintenance. Then press Enter.
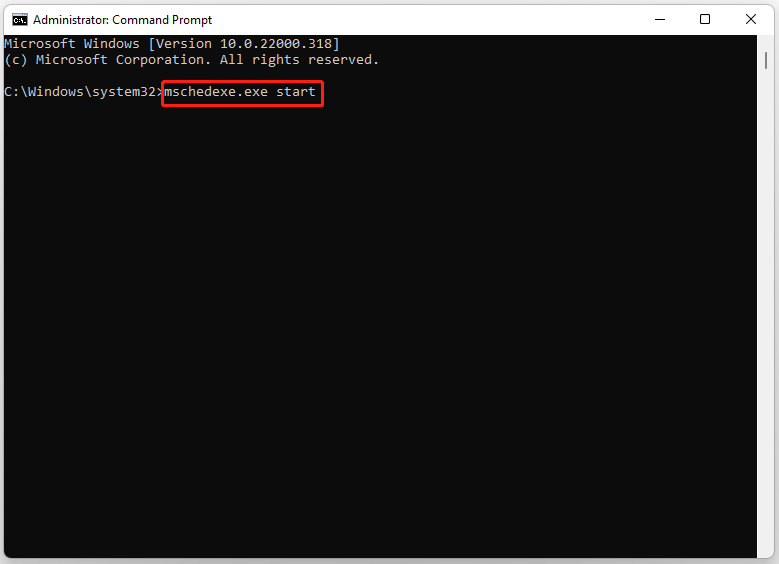
Step 2: Type the mschedexe.exe stop command to stop maintenance and press Enter.

After running Automatic maintenance, you can change the time of Automatic Maintenance in Windows 11/10.
How to Change the Schedule of Automatic Maintenance in Windows 11/10?
To change the schedule of automatic maintenance in Windows 11/10, you can follow these steps below:
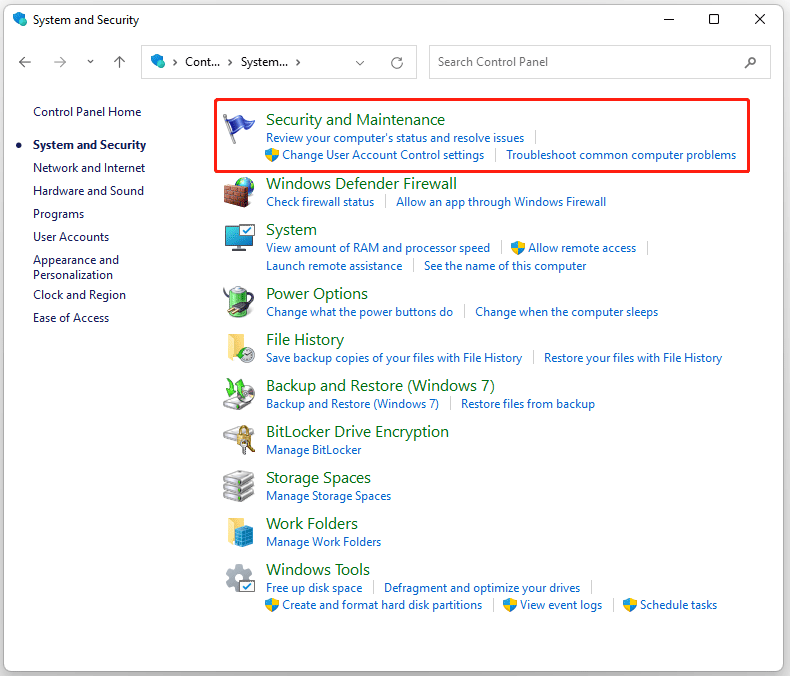
Step 1: Open Control Panel and navigate to the Security and Security > Security Maintenance option in the Control Panel window.
Step 2: Click Maintenance, and then click Change maintenance settings.
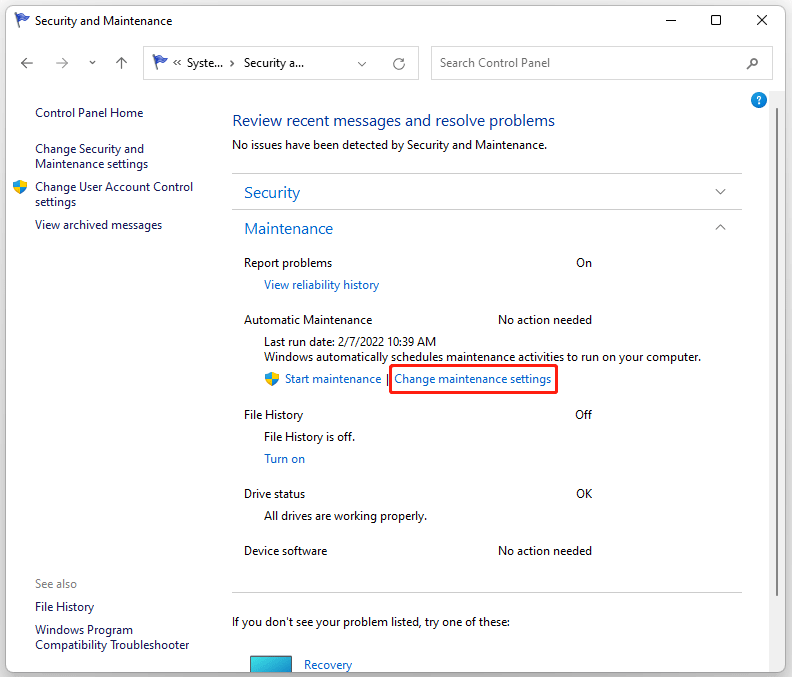
Step 3: Under Automatic Maintenance, click the drop-down menu beside Run maintenance tasks at and change the time settings as per preference. Then click OK.
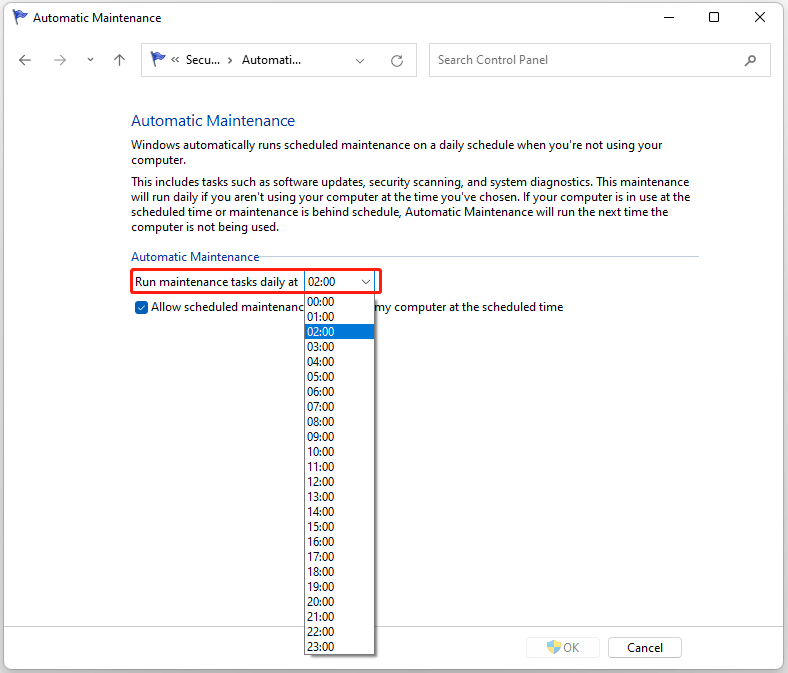
After you complete these steps, Windows will run automatic maintenance at the specified time, up to an hour each day at the same time.
Disable Automatic Maintenance via Registry Editor in Windows 11/10
To disable automatic maintenance in Windows 11/10, you can use Registry Editor.
Step 1: Type regedit in Search next to the Start menu and press Enter when the search results appear.
Step 2. In Registry Editor, navigate to the following path:
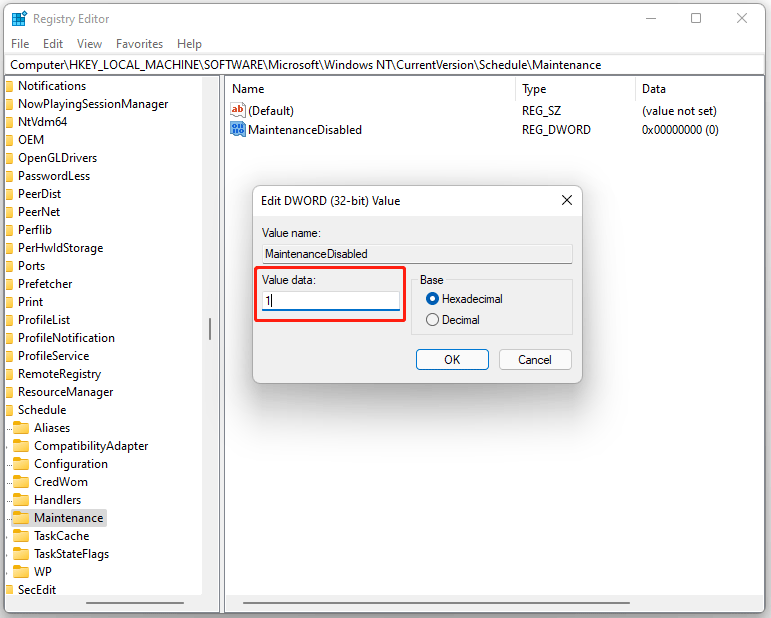
HKEY_LOCAL_MACHINESOFTWAREMicrosoftWindows NTCurrentVersionScheduleMaintenance
Step 3: Right click a blank section and select New > DWORD (32-bit) value to create a new one.
Step 4: Name this new key MaintenanceDisabled and press Enter to save it.
Step 5: Double click MaintenanceDisabled and type 1 in the Value data. Then click OK.
Step 6: Restart your computer.

Bottom Line
As you can see, a complete guide on how to customize automatic maintenance in Windows 11/10 is illustrated in the post. If you have any problems with the article, you can connect us.
About The Author

Position: Columnist
Vega enjoys helping people with computer problems, including disk management, data recovery, data backup, and more. She is constantly expanding her knowledge in related fields. And she will continue to bring more easy-to-understand professional articles to help people solve various problems on the PC.
User Comments :