In Windows File Explorer, you may have noticed different folder layout settings for different folders. Some folders have smaller icons, while others have larger icon view layouts.
What Are Folder Templates?
Windows File Explorer includes five folder templates that you can use to customize your folder view. Each of these templates comes with a unique layout that sorts and groups objects based on the folder’s content type. These templates are:
- General Items – For any folder that contains a mixed combination of files and other subfolders.
- Documents – For folders containing documents (Word files, text files, etc.)
- Images – For folders containing image files (.jpg, .png files, etc.)
- Music – For all such folders that contain music files (.mp3, .wav, etc.)
- Videos – For any folder that contains only video items (.mp4, .avi, etc.)
Whenever you create a new folder and put some files into it, Windows does its best to determine the folder template based on the content. If you store mixed types of files in any folder, Windows automatically assigns general items as folder templates.
When browsing folders in File Explorer, you can apply the current folder’s view settings to all folders on your PC that are optimized for the same folder template type.
How to Change Default Folder View Windows 10/11?
There are two methods to change default folder view Windows 10/11. You can choose one of the methods to change it.
Method 1: Change Default Folder View via View Feature
To set “Windows 10 change default view”, you can follow the below steps:
Step 1: Press the Win + E key to open the File Explorer.
Step 2: Change the settings as needed. You can change the layout in the upper of File window to choose which folder details to display, add extra panes, adjust column widths, and more.
Step 3: Navigate to the View tab in the top ribbon bar and click Options in the upper-right corner of the window to access the Folder Options window.
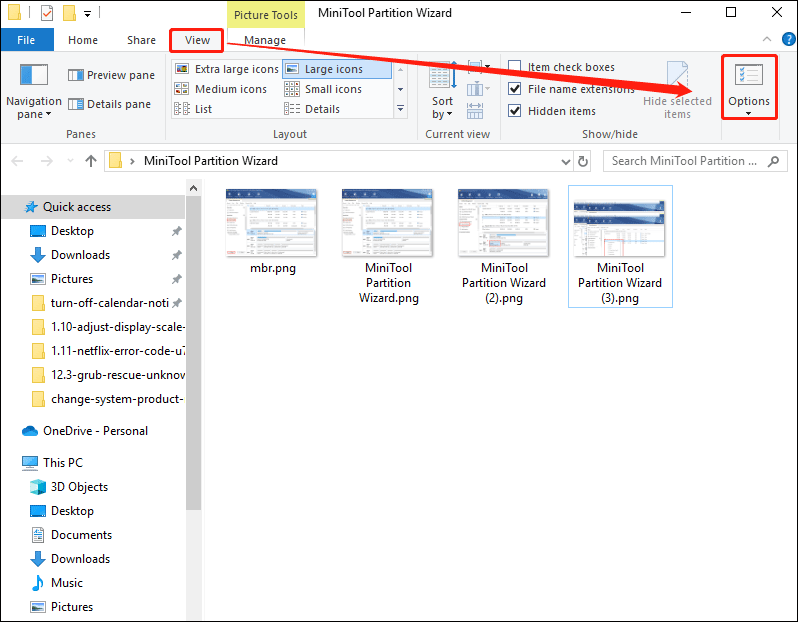
However, if you’re using Windows 11, you can click the View button in File Explorer and choose a setting according to your requirements. Then click the three-dots menu and select Options from the drop-down.
Step 4: In the Folder Options dialog, select the View tab. And then click the Apply to Folders button.

Step 5: Click Yes on the confirmation window that pops up.
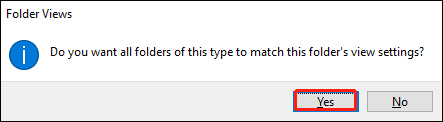
Step 6: Click OK on the Folder Options window to save the settings.
Method 2: Chang Default Folder View via Custom Feature
To change the default view of all folders, here is another method.
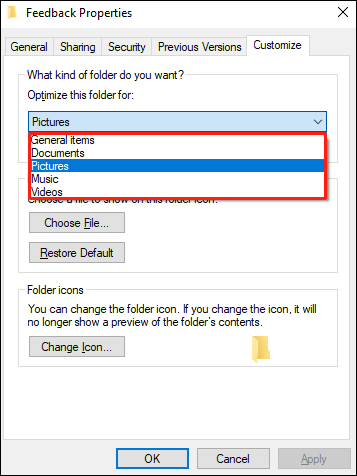
Step 1: Open the folder. Then right click it and select the Properties option.
Step 2: Switch to the Custom tab and select a template from the drop-down menu for Optimize this folder for.
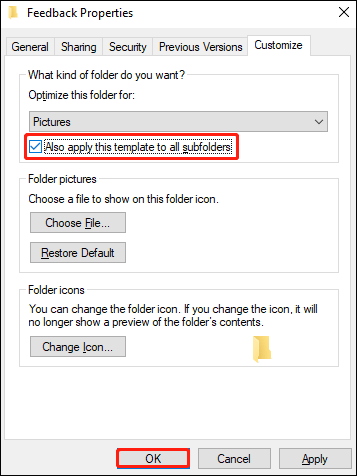
Step 3: Check the Also apply this template to all subfolders box and then click the OK button.

Bottom Line
In the above article, we conclude the guide on how to change default folder view Windows 10/11. Hope the two methods can help you. If you have other methods, please share them with us.
About The Author

Position: Columnist
Vega enjoys helping people with computer problems, including disk management, data recovery, data backup, and more. She is constantly expanding her knowledge in related fields. And she will continue to bring more easy-to-understand professional articles to help people solve various problems on the PC.
User Comments :