On Windows 11, you can add or remove optional features to extend your computer’s capabilities. For example, you can configure Windows Subsystem for Linux, Microsoft Defender Application Guard, Hyper-V, and more. But adding many optional features depends on the version of your computer, as the professional version has more advanced components than the home version.
There are multiple ways to add or remove optional features in Windows 11. Please keep reading.
Add or Remove Optional Features in Windows 11 Using Settings
Here is the simple way to add or remove optional features in Windows, and the steps are as follows:
Turn on Optional Features in Windows 11
To download and install optional features through Settings, follow these steps:
Step 1: Press the Win + I key to open Settings.
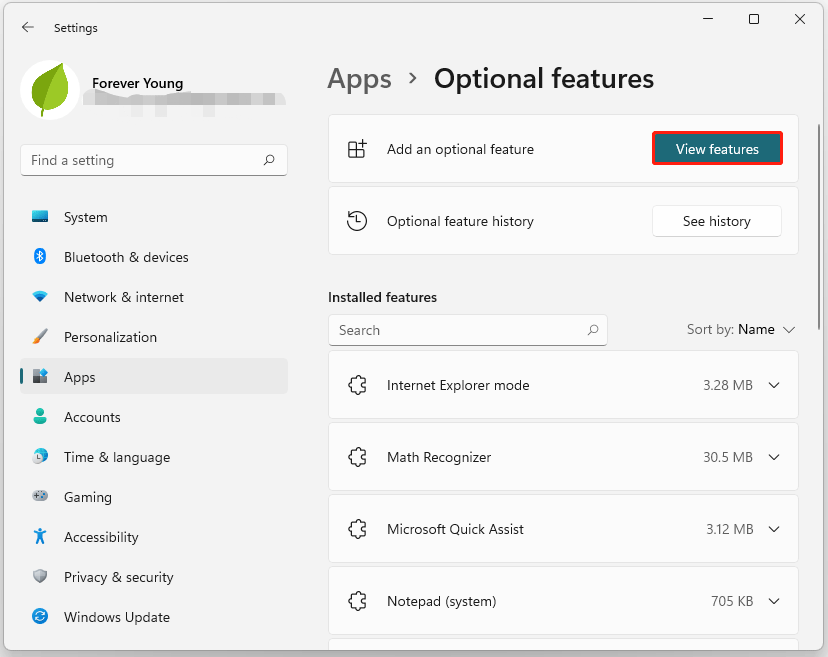
Step 2: Navigate to Apps > Optional Features.
Step 3: Click the View features button for the Add an optional feature setting.
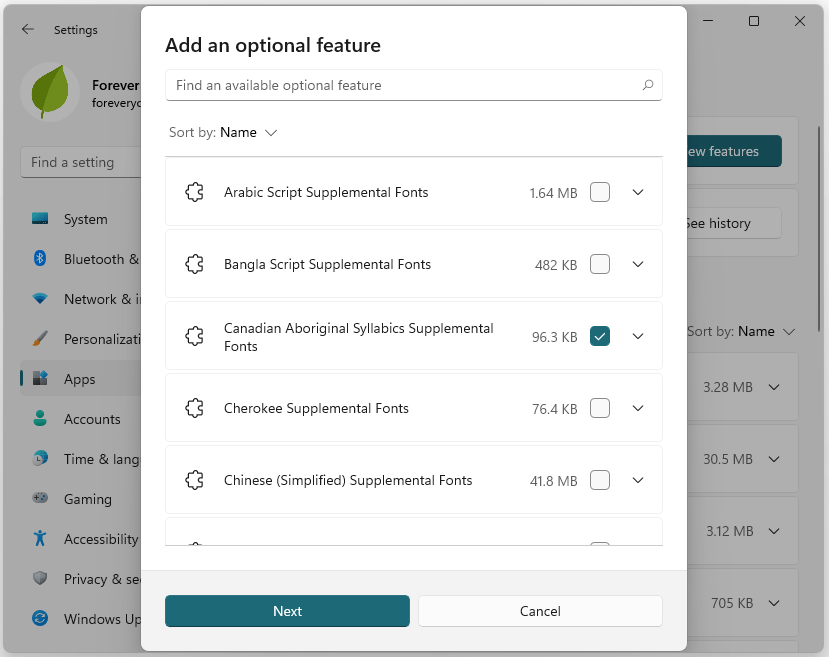
Step 4: Select the feature to install in Windows 11, then click the Next button.
Step 5: Click the Install button.
Once installed, the feature will appear under the Installed Features section.
Turn Off Optional Features in Windows 11
To remove optional features through Settings, follow these steps:
Step 1: Go to Settings > Apps > Optional Features.
Step 2: Scroll down and click the feature you want to install.
Step 3: Click the Uninstall button.
Step 4: Finally, restart your PC.
After you complete these steps, the feature will be removed from the installation.
Add or Remove Optional Features in Windows 11 Using Control Panel
Microsoft has moved a lot of Control Panel features into the Windows 11 Settings app, but a mass migration has yet to happen. To add or remove optional features, you can do the following steps.
Add Optional Features in Windows 11
To install optional features through Control Panel, follow these steps:
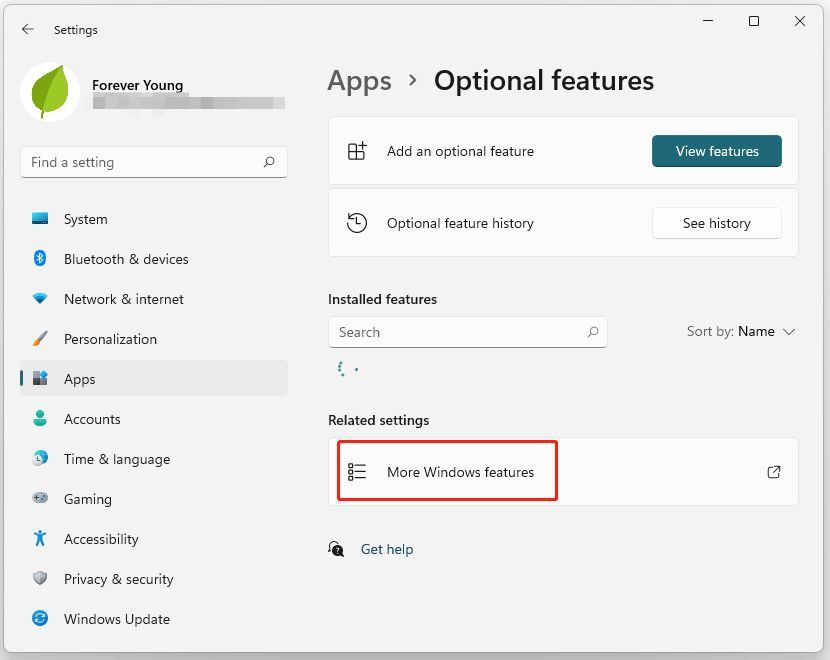
Step 1: Open Settings and navigate to Apps > Optional features.
Step 2: Under the Related settings section, click the More Windows features setting.
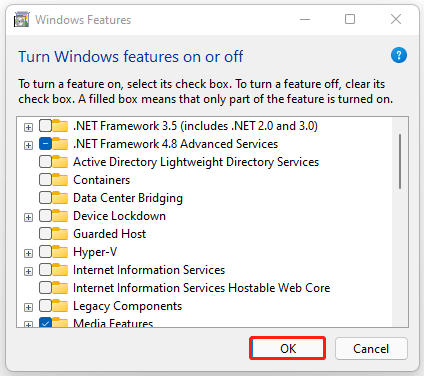
Step 3: Check the Windows 11 feature to install, then click the OK button.
Step 4: Click the Restart button.
Once you complete these steps, your computer will restart to finish installing the feature.
Remove Optional Features in Windows 11
To remove optional features, here is the guide:
Step 1: Press the Win + R key to open the Run dialog, then type optionalfeatures and click OK.
Step 2: Uncheck the feature you want to remove and click the OK button.
Step 3: Click the Restart button.
Add or Remove Optional Features in Windows 11 Using PowerShell
You can use Windows PowerShell to add or remove optional features. Here is the guide.
Add Optional Features in Windows 11
To add optional features, follow these steps:
Step 1: Type powershell in the search box to open PowerShell. Then right-click it from the search result and select Run as administrator.
Step 2: In the PowerShell window, type the following command and press Enter:
Get-WindowsOptionalFeature -Online

Step 3: Uninstalled features will show as Disabled. Then find and copy the name of the feature you want to install in the list.
Step 4: Type the following command and press Enter:
Enable-WindowsOptionalFeature –FeatureName “NAME” -All -Online
In the above command, replace NAME with the name of the feature you want to install. For example, if you want to install the Hyper-V, the command would like this:
Enable-WindowsOptionalFeature –FeatureName “Microsoft Hyper-V” -All -Online

Remove Optional Features in Windows 11
To remove optional features, follow these steps:
Step 1: Open PowerShell as administrator.
Step 2: Type the following command and press Enter to execute:
Disable-WindowsOptionalFeature –FeatureName “NAME” -All -Online
Bottom Line
There are 3 ways to add or remove optional features in Windows 11 in this article. Is this article helpful to you? And if you have any problems with this article, please contact us and we will answer them as soon as possible.
About The Author

Position: Columnist
Vega enjoys helping people with computer problems, including disk management, data recovery, data backup, and more. She is constantly expanding her knowledge in related fields. And she will continue to bring more easy-to-understand professional articles to help people solve various problems on the PC.
User Comments :