Some Windows users may encounter the error 0x8024D009 (also known as the error WU_E_SETUP_SKIP_UPDATE) when updating the operating system. Why does this issue happen? Well, this post from MiniTool Partition Wizard will tell you the reason and provide you with corresponding methods to solve this problem.
So, what is Error 0x8024D009? Before fixing the Windows update error 0x8024D009, you should know the basic error information from the picture below:

Why Does the Error 0x8024D009 Happen?
When you download system updates, the Windows update files may be damaged due to various factors. Thus, the operating system will not be updated. Generally speaking, the error 0x8024D009 occurs because the update contains invalid metadata.
How to Fix Windows Update Error 0x8024D009?
So, how to fix the Windows update error 0x8024D009? There are four methods, and you can choose one based on your needs.
Method 1: Through Services
This is the simplest way to fix the error 0x8024D009. How to do that? Here is the guide:
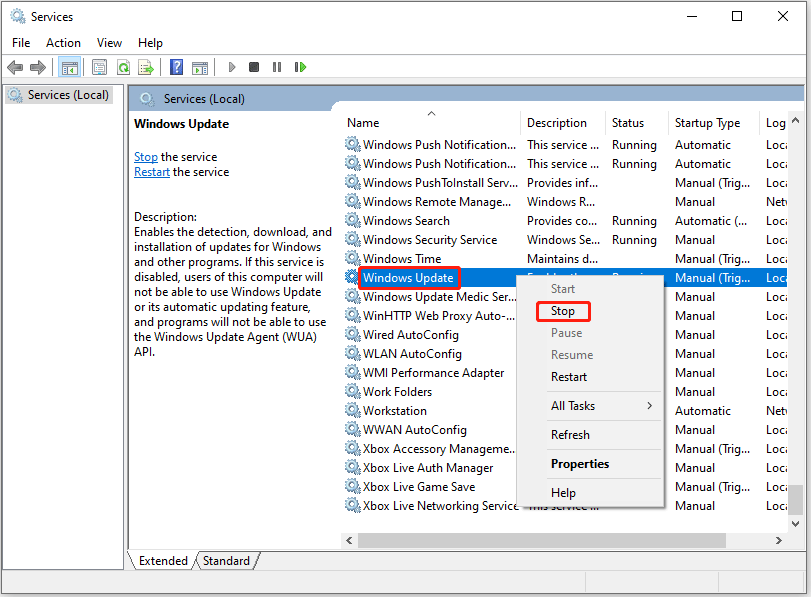
Step 1: Press the Win + S on the keyboard. Type services in the search box, and then press Enter.
Step 2: A new window will open, and you need to find Windows Update. Right-click it, and then click Stop.
If this method doesn’t work, you need to go to the next method.
Method 2: Clear Updates Folder
Maybe you have downloaded the update many times, and sometimes your Windows update problems may be caused by these redundant update files. Therefore, you should clear the update folder by doing the following:
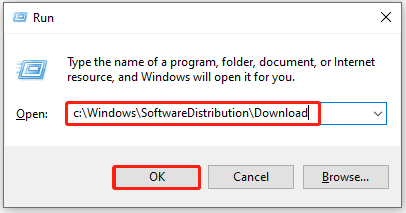
Step 1: Press the Win + R on the keyboard. Then, a small new window appears.
Step 2: Type c:WindowsSoftwareDistributionDownload in this new window. Then, click OK or press Enter. This will launch the folder where the downloaded Windows update is located.
Step 3: Press the Ctrl + A on the keyboard to choose all files and folders. Then, delete all contents of this folder.
After this, all the windows 10 cache files on your computer will be deleted.
Method 3: Run Windows Update Troubleshooter
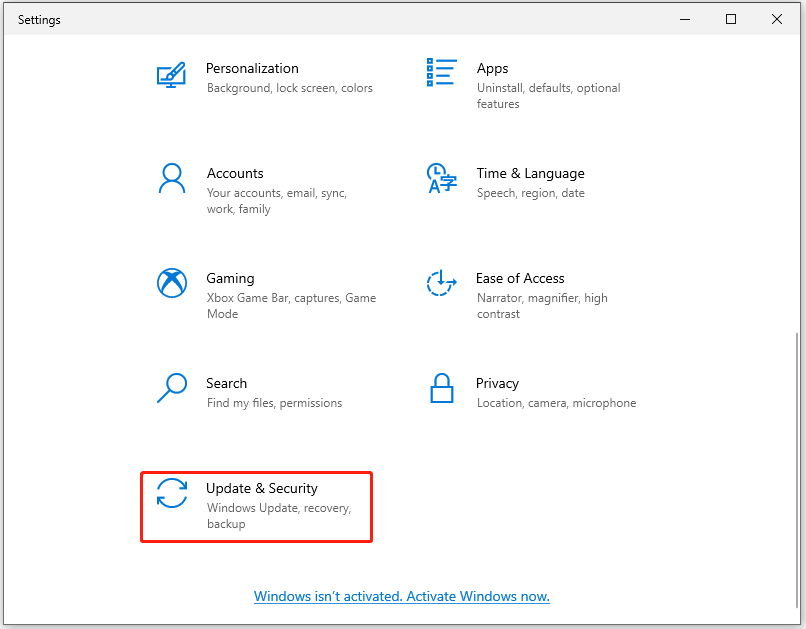
Step 1: Click the Start button, and then click the Settings button to open settings.
Step 2: In the Settings page, choose Update & Security.
Step 3: Click Troubleshoot in the left pane, and then click Additional troubleshoot.
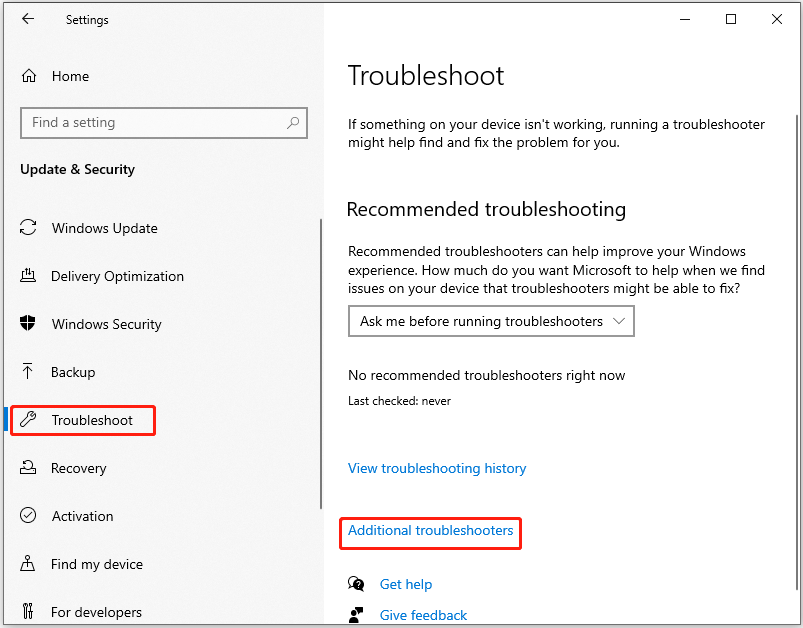
Step 4: Click Windows Update and continue to click Run the troubleshooter. This will run the troubleshooter to the problem.
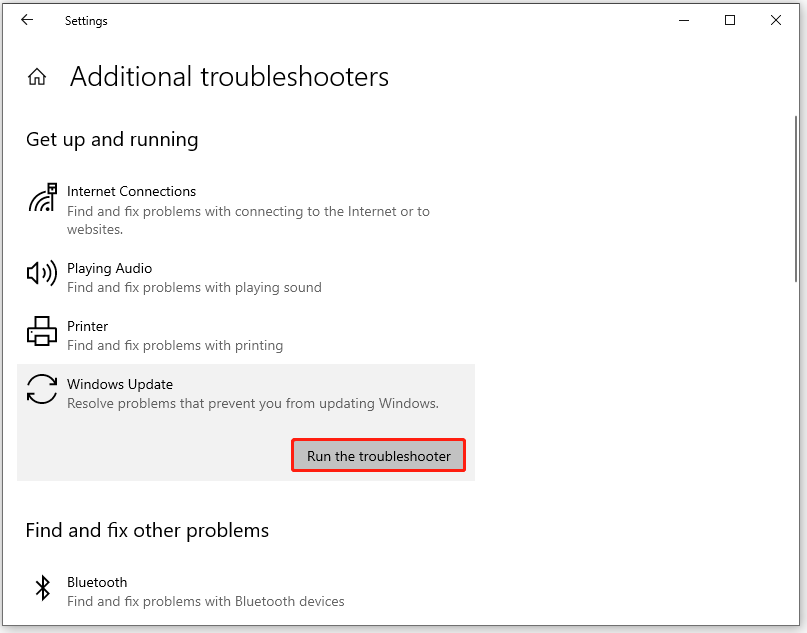
Let the troubleshooting process run. After this is done, you can check if the problem was fixed.
Method 4: Reset Your Computer via Cloud Reset
If the above methods don’t work, you can try to reset your computer. How to do that? Here is a guide:
Step 1: Open Settings, and then click Update & security.
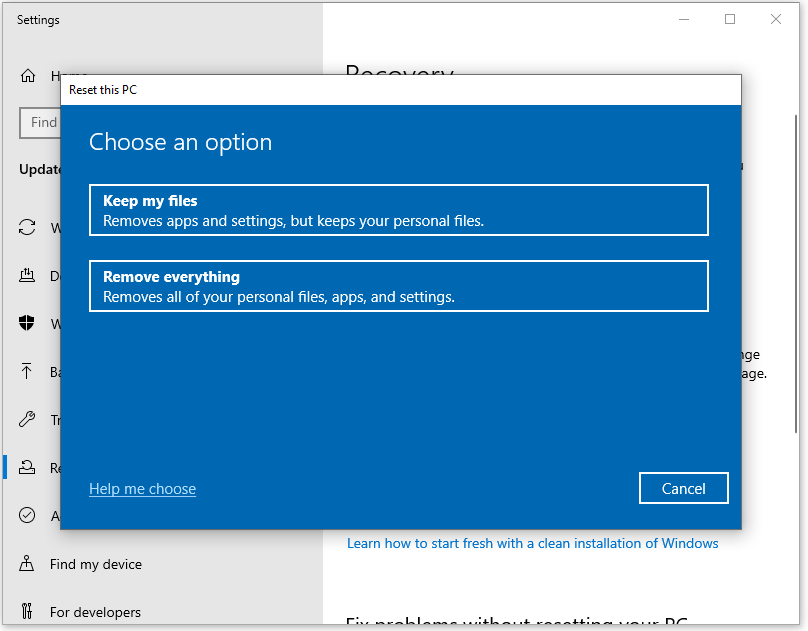
Step 2: Choose Recovery in the left pane, and click Get started under Reset this PC.

Step 3: Then, you will be given two options. One option is Keep my files, another is Remove everything. Choose the former or the latter according to your needs.
Step 4: Choose the Cloud download option. In Additional settings, click Next.
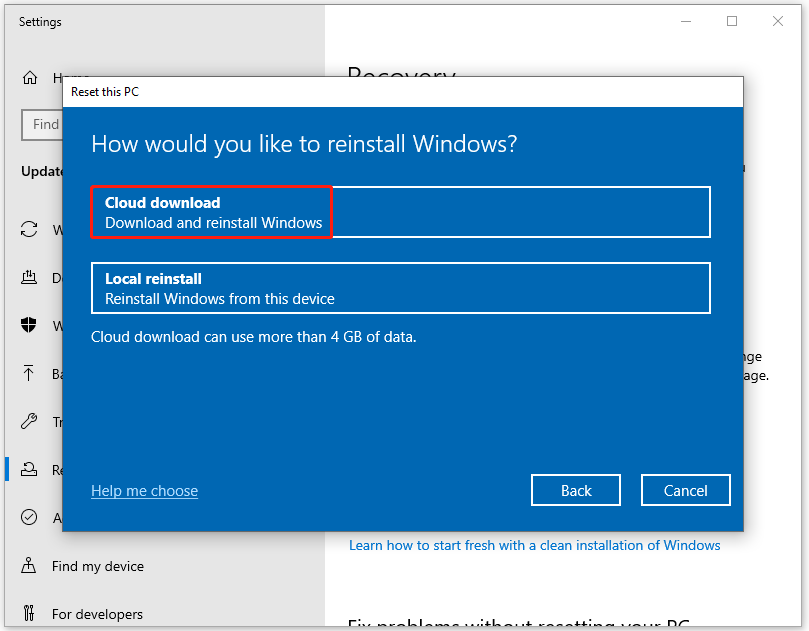
Step 5: In this interface, if you are sure, click the Reset button.

Now Windows will start downloading files from the cloud to perform a reset or reinstall.
Now you have known the methods to fix Windows update error 0x8024D009. Choose one to solve your problem. At last, do you have any questions about this topic? Please leave them in the comment zone and we will try to answer them as soon as possible.
How to Fix Windows Update Error 0x80070057? Try These Methods
User Comments :