Do you know that you can also customize Windows Defender to scan archive files (such as .zip, .rar, .cab) to get better PC security? In this post, MiniTool will show you how to enable Windows Defender to scan archive files.
Here we would like to introduce three ways to enable Windows Defender to scan archive files on Windows 10. Let’s figure out what they are.
Way 1: Enable Windows Defender to Scan Archive Files via Group Policy
Group Policy is primarily a security tool that allows users to make some specific configuration. But note that this tool is available on the Professional and Enterprises editions of Windows 10. Therefore, if you are using Windows 10 Home, you can move to the following ways.
To use it to enable Windows Defender to scan archive files, please refer to the tutorial below.
Step 1: Launch Group Policy.
- Press Windows + R to call out the Run window.
- On the Run window, please type gpedit and then click OK to launch Group Policy
Step 2: on the Group Policy window, please navigate to the following path:
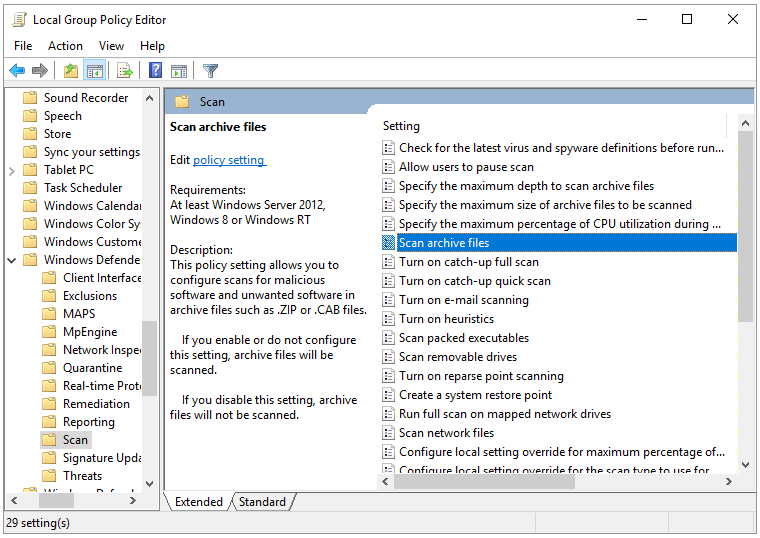
Computer Configuration > Administrative Templates > Windows Components > Windows Defender Antivirus > Scan
Step 3: On the right pane of the current window, please find and double-click Scan archive files to edit its properties.
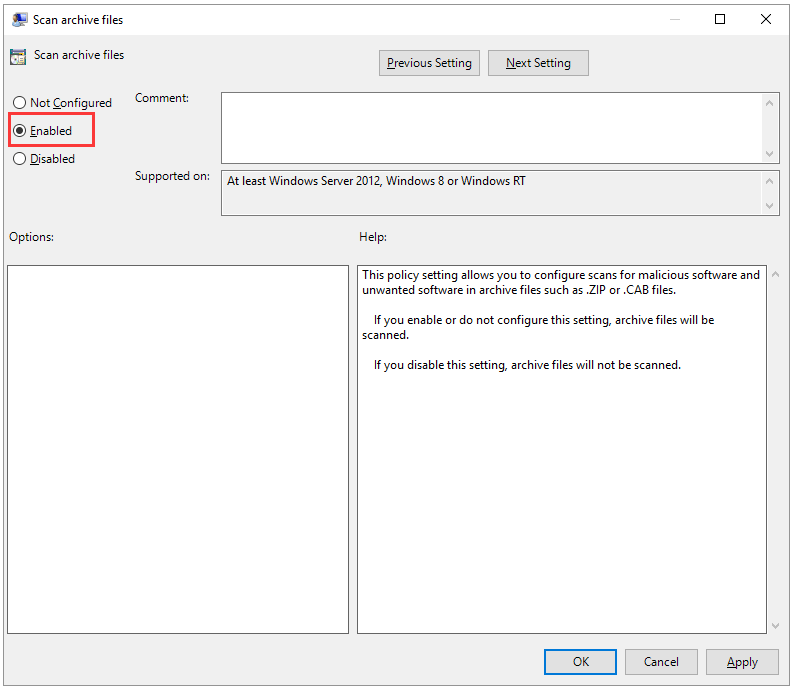
Step 4: On the newly popping-up window, please select Enabled (you can select Disabled or Not Configuration again if you want to disallow archive files scan). Then click Apply and OK.
Way 2: Enable Windows Defender to Scan Archive Files via Registry Editor
Note that any improper changes in Registry Editor can cause irreversible damage. Therefore, it is highly recommended that you back up your computer first.
Now, let’s customize Windows Defender to scan archive files.
Step 1: Launch Registry Editor.
- Click Windows + R to call out the Run window;
- On the Run window, please type regedit and then click OK to run Registry Editor.
Step 2: On the Registry Editor window, please navigate to the following path:
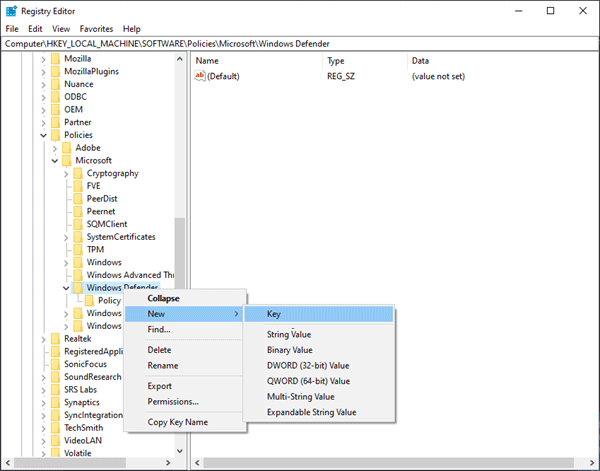
HKEY_LOCAL_MACHINESOFTWAREPoliciesMicrosoftWindows Defender
Step 3: Under the Windows Defender folder, see whether the Scan folder exists. If not, you need to create one by right-clicking Windows Defender, selecting New > Key, and naming it as Scan.
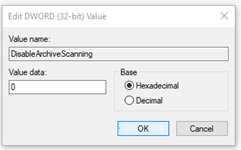
Step 4: Right-click the Scan key, select New > DWORD (32-bit) Value, and name the DWORD as DisableArchiveScanning.
Step 5: Double-click the DisableArchiveScanning DWORD in the right pane. Set its Value data to 0 to enable Windows Defender to scan archive files. Finally, click the OK button. If you want to disable this scanning, you should set this value data to 1.
Step 6: Exit the current window and then reboot your computer.
Way 3: Enable Windows Defender to Scan Archive Files via Windows PowerShell
This is the last way to enable Windows Defender to scan archive files in this post. The tutorial is below.
Step 1: Run Windows PowerShell as administrator.
- Type Windows PowerShell in the Cortana’s search bar and then select the best-matched result.
- Right-click the result and then select Run as administrator.
- Click Yes on the UAC window.
Step 2: Type the Set-MpPreference -DisableArchiveScanning 0 command on the Windows PowerShell window and hit the Enter key to run this command.
If you want to disable the archive files scan via Windows PowerShell, you need to run the Set-MpPreference -DisableArchiveScanning 1 command.
Have you used one of the above ways to enable Windows Defender to scan archive files? If yes, run Windows Defender now to protect your computer better.

User Comments :