This post mainly tells you how Windows 10 change account picture including adding, changing, and deleting pictures. To obtain the detailed information, keep reading this post of MiniTool.
Windows 10 offers a high level of personalization to its users. Editing the account picture is one of the personalized options. Generally speaking, Windows will assign new user accounts a generic profile picture. If you don’t think its personal and interesting enough, change it manually.
Part 1: Add a Picture to Windows Account
Before changing the previous Windows 10 account picture, you need to add a picture. How to do that? The following steps show you that.
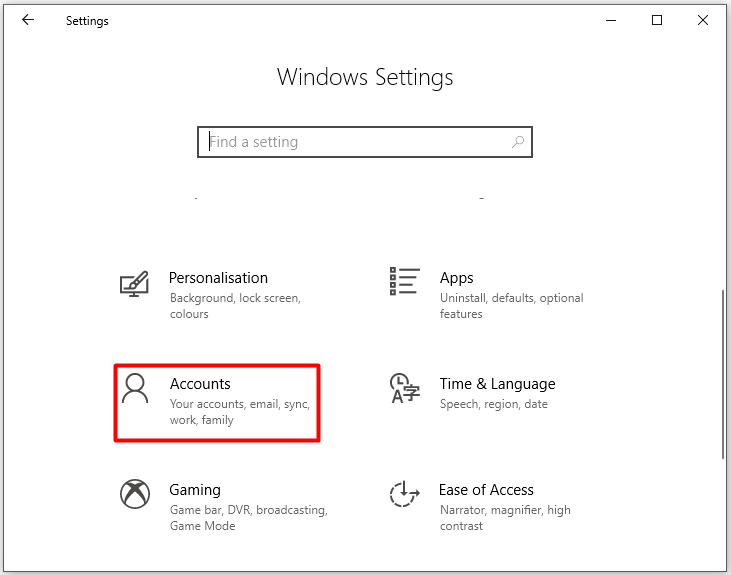
Step 1: Open Settings by pressing Windows and I keys.
Step 2: Click on Accounts.
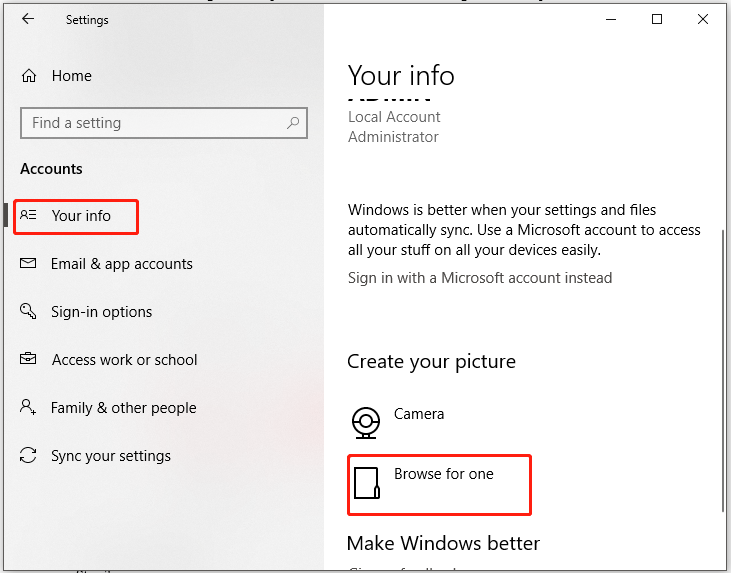
Step 3: After clicking Your info in the left pane, move to the right side of the window. Then scroll down the content to find and click on Browse for one.
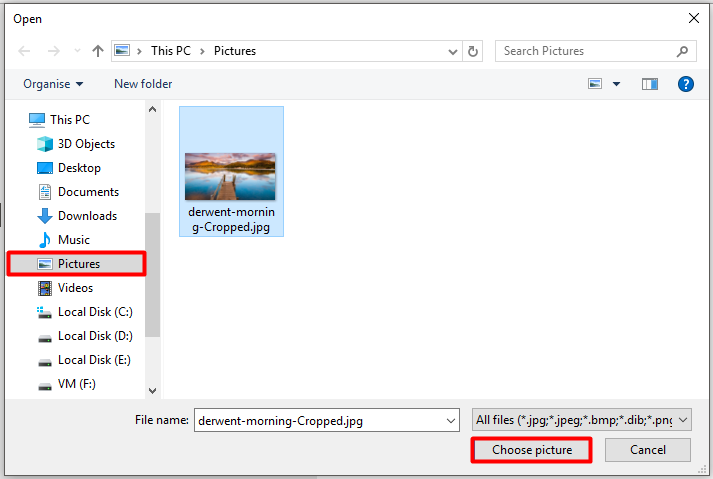
Step 4: In the prompted window, click on the place where you store your photos to find the target image. Click on the image for your Windows 10 account picture and click Choose picture. After that, the selected image will be uploaded and displayed in the position of Windows 10 account picture.

Part 2: Change the Present Windows Account Picture
After adding the picture to your Windows 10 account, you can change the present account picture. How to change profile picture? Please move on!
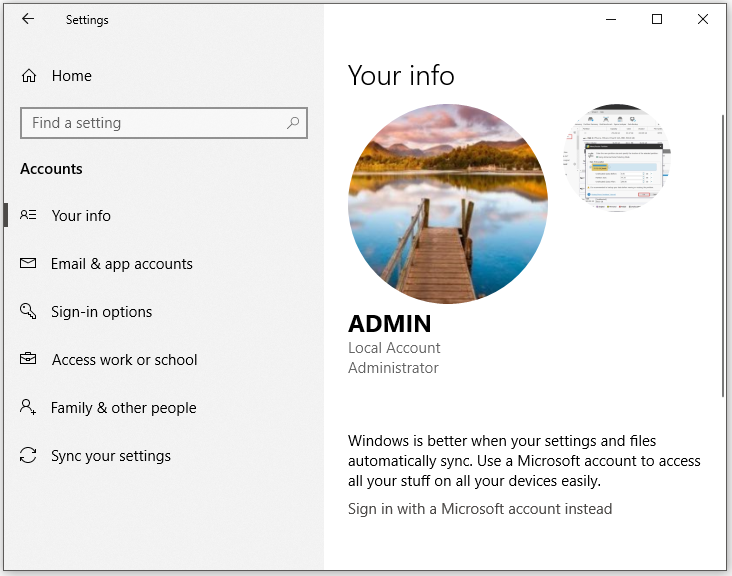
Step 1: Move to Your info section by using the Step 1 to Step 3 of the above part. Then you will see the picture below.
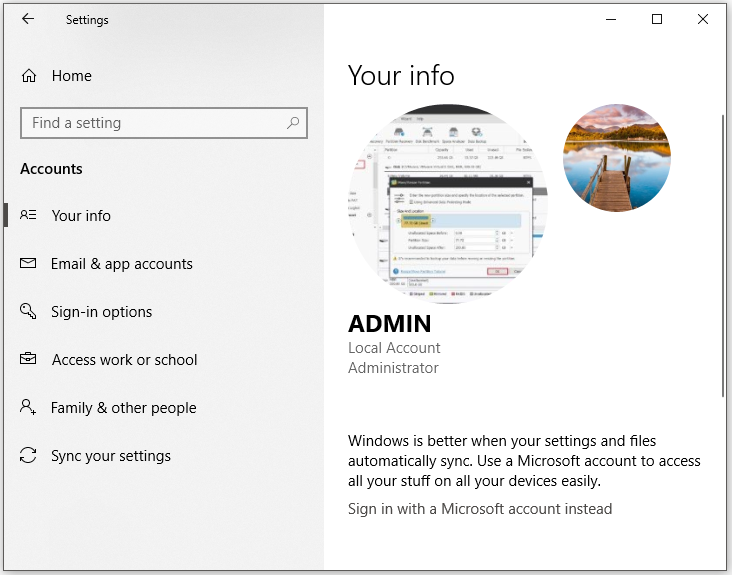
Step 2: To change user account picture Windows 10 to the newly uploaded image, you just need to click on that image. Then Windows 10 change account picture automatically.
As you see, it is very easy to change user account picture Windows 10. The whole process only takes a few steps.
Also read: How to Fix Horizontal Lines on Laptop Screen? [5 Solutions]
Part 3: Delete Unused Windows Account Pictures
After changing to the favorite, you can delete the previous Windows 10 account picture if you want. Here is the tutorial for you.
Step 1: Open Windows Explorer by holding the Windows and E keys.
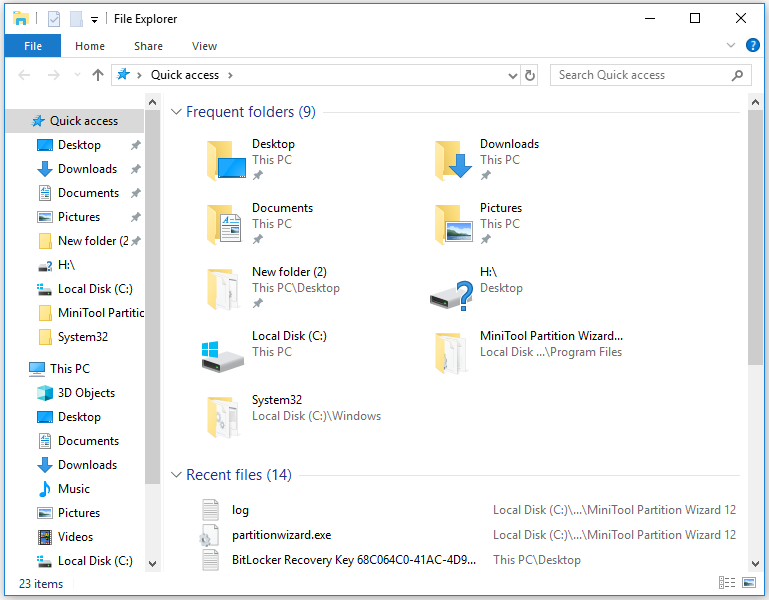
Step 2: Type the path below in the address bar of the File Explorer.
C:UsersUsernameAppDataRoamingMicrosoftWindowsAccountPicture
Step 3: After that, you will be taken to the folder that contains your Windows 10 account photos.
Step 4: Right-click the picture you want to remove and click Delete in the prompted menu.
Are you still seeking for solutions to change account picture Windows 10? This post shows you all the details on Windows 10 change account picture. Don’t hesitate to try it.

User Comments :