Getting the “SteelSeries Engine 3 not working” issue on your Windows PC? This error occurs when there is a software conflict on your computer. To repair this issue, this post of MiniTool Partition Wizard shows you several feasible methods. Just feel free to have a try.
SteelSeries Engine, which is a part of a new app called SteelSeries GG now, is a software that powers the customization, tuning, and settings of all modern SteelSeries devices. It is available on Windows and Mac OS. However, there are some issues (e.g., SteelSeries Engine not launching or not detecting devices) with SteelSeries Engine.
How to fix SteelSeries GG not working? There are several solutions provided below. You can try them one by one.
How to Fix SteelSeries Engine 3 Not Working
When the “SteelSeries Engine 3 not working PC” issue occurs, the first thing you can do is to reboot your computer. A quick reboot can fix multiple PC issues. First, you need to close all the running programs on your PC. Then you can simply restart your computer to refresh the system. If the issue still exists, you can try the following methods.
Solution 1. Update Device Drivers
You can try repairing the “SteelSeries Engine not working” issue by updating device drivers in Device Manager.
Step 1. Right-click the Windows icon and select Device Manager.
Step 2. In the pop-up window, click Display adapters to expand. Then right-click your dedicated device and select Update driver.
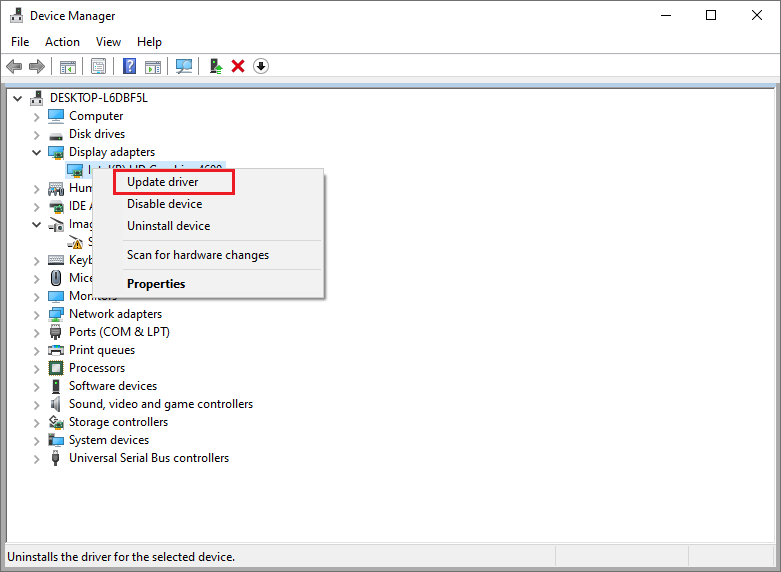
Step 3. Then click Search automatically for drivers. You can follow the on-screen wizard to complete the process. Once done, reboot your PC and check if the issue disappears.
Solution 2. Reinstall SteelSeries Engine
You can refer to the following steps to reinstall SteelSeries Engine to fix SteelSeries Engine not working.
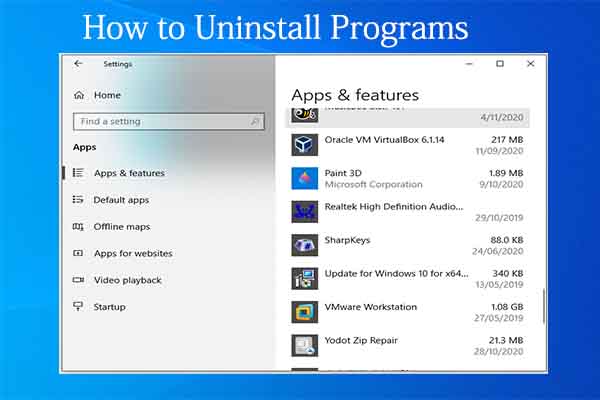
Step 1. Go to Settings > Apps > Apps & features.
Step 2. Roll down and click SteelSeries Engine 3. Then click Uninstall and follow the on-screen instructions.
Step 3. After uninstalling, reboot your PC and then go to the official SteelSeries Engine website. Download and install the latest version of the program. Then check if the error is fixed.
Solution 3. Use Command Prompt
You can try fixing the “SteelSeries GG not working” error by typing the following commands in Command Prompt.
Step 1. You need to uninstall the engine. Then press Win + R to open the Run box. Type cmd in the box and press Ctrl + Shift + Enter to run Command Prompt as administrator.
Step 2. In the pop-up window, type Netsh winsock reset and press Enter to execute the command.
Step 3. Once done, reboot your PC and reinstall the engine.
Solution 4. Reinstall Connected USB Devices
There is a possibility that you are using corrupted or missing device drivers. You can try reinstalling connected USB devices through the following steps.
Step 1. Open Device Manager. Click Human Interface Devices to expand.
Step 2. Then right-click the particular device and select Uninstall device.
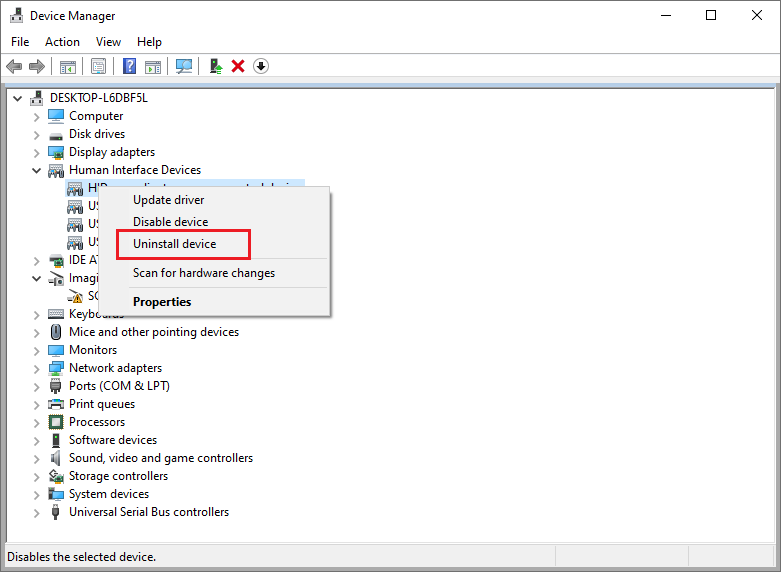
Step 3. In the prompted window, click Uninstall. Once done, restart your computer and see if the issue is solved.
Solution 5. Update Windows
If your system is outdated, you can go to Settings > Update & Security. Then click Check for updates to check if there are any updates available for your OS. If there is a feature update available, select Download and install. Once done, reboot your computer.
![[Tutorial] How to Download & Install Windows 10 Updates Manually](https://images.minitool.com/partitionwizard.com/images/uploads/2022/01/download-windows-10-updates-manually-thumbnail.jpg)
Solution 6. Perform a Clean Boot
In addition to the above methods, you can try performing a clean boot. Follow the detailed steps below.
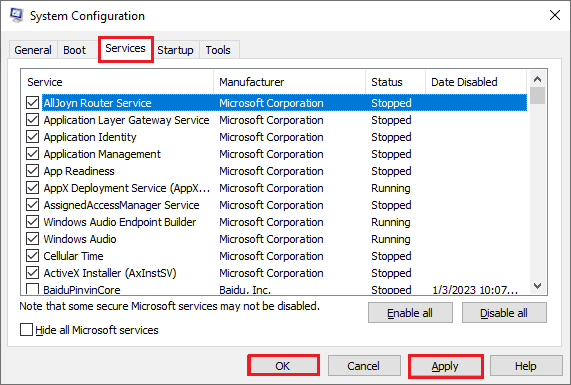
Step 1. In the Run box, type msconfig and press Enter to open the System Configuration window.
Step 2. In the pop-up window, click the Services tab. Then select Hide all Microsoft services. Uncheck all the services except those belonging to your hardware services, such as Realtek, AMD, NVIDIA, Logitech, and Intel. Then click Apply and OK sequentially.
Step 3. Click the Startup tab and select Open Task Manager.
Step 4. In the pop-up window, select the startup service and click Disable for each startup item.
Step 5. Once done, reboot your PC and check if the issue is fixed.
Besides, you can try scanning and repairing your computer to fix SteelSeries Engine 3 not working.
Wrapping Things Up
Getting the “SteelSeries Engine 3 not working PC” issue solved? You can try the methods listed in this post. Hope your issue can be solved successfully. If you have problems or better ideas, you can tell us in the comment zone below.
User Comments :