What is SSH Client Windows? How to set up SSH client and server on your Windows 10 PC? If you are also trying to figure them out, this post of MiniTool will walk you through detailed steps to use SSH client Windows 10.
About SSH Client Windows 10
What is SSH Windows? SSH was developed with encryption that intends to provide integrity and confidentiality of data via an unsecured network. That indicates when accessing an unsecured network by using a client server architecture, SSH Windows can provide you with a secure channel that connects to an SSH client app with an SSH server.
In order to authenticate the remote computer, SSH usually needs public-key cryptography. There are 2 major ways to use SSH Windows 10, you can use automatically or manually generated public-private key pair.
Right now, I believe that you already have an overall understanding of SSH Windows. Let’s see how to set up SSH client Windows 10.

How to Install SSH Client and Server on Windows 10
The SSH client is an optional feature on Windows 10 that isn’t installed by default. To use Windows 10 SSH client and server smoothly, you need to install OpenSSH client firstly. This is because OpenSSH is set up as a default SSH client on Windows 10 operating system.
The OpenSSH client and OpenSSH server need to be installed separately in Windows 10 1809 and Windows Server 2019. So, please install OpenSSH client and server Windows 10 respectively. For that:
Step 1. Press Win + I keys to open the Settings app and click on the Apps section to go on.
Step 2. Scroll down the right sidebar and click on the Manage optional features under the Apps & features section.
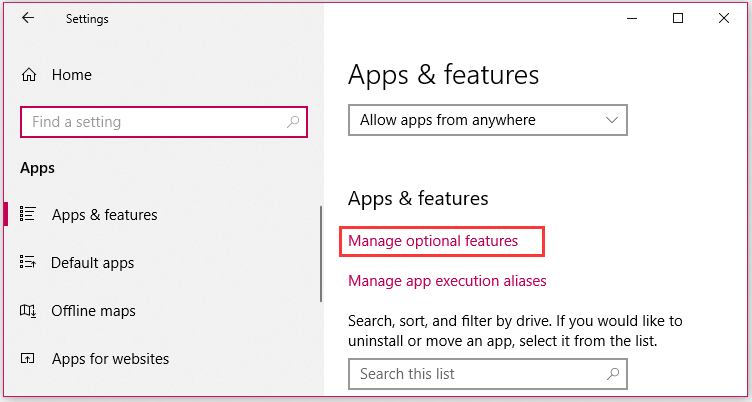
Step 3. In the pop-up window, click on the Add a feature at the top of the list of installed features.

Step 4. Scroll down to find the OpenSSH Client program, double click it and click on the Install button.
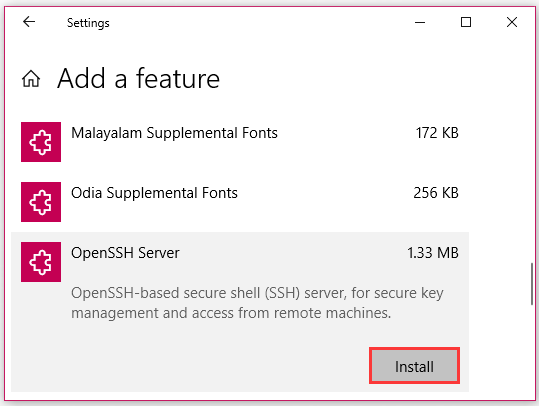
Step 5. Then you can follow the same steps to install the OpenSSH server on your Windows 10 PC.
How to Use SSH Client Windows 10
Once you installed OpenSSH client and server on Windows 10, you can try using the Windows 10 SSH client by running the SSH command. You can run the SSH command in either a PowerShell window or a Command Prompt window.
Here mainly focus on how to use SSH client Windows 10 via PowerShell. To do so, follow the steps below carefully.
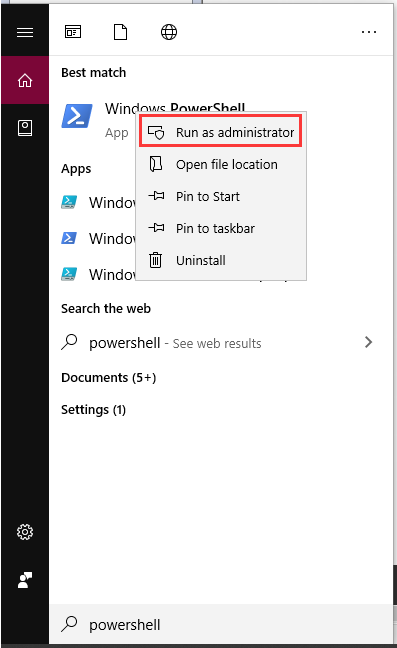
Step 1. Type PowerShell in the search box, and then right-click the Windows PowerShell and select Run as administrator.
Step 2. Type the ssh command and hit Enter.
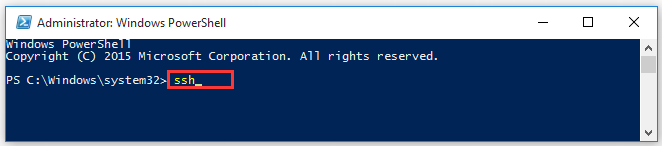
Step 3. To continue connecting to an SSH server at a ssh.example.com on port 22, you can type the ssh [email protected] command and hit Enter. If you want to run on a different port, you can type a specified port with the –p witch and hit Enter.
User Comments :