This post from the MiniTool Partition Wizard website introduces how to set up image slideshow in Windows 11 with its built-in tools. If you want to make a slideshow, just follow this tutorial.
Windows 11 is a new operating system provided by Microsoft. It is designed with some built-in tools to create a slideshow. You can even set the slideshow as your desktop or lock screen background. Here are some methods to create a slideshow in Windows 11 and you don’t need to download any third-party programs.
Method 1: Change Background Settings to Set up Image Slideshow in Windows 11
On Windows 11, you can choose a picture album for a slideshow and set it as the desktop background, so you can view your favorite images on the desktop. Here are the detailed steps.
Step 1: Right-click any empty space on your desktop and select Personalize.
Step 2: In the pop-up window, select Background.
Step 3: Double-click Personalize your background to view more settings. Then select Slideshow for the Personalize your background option.
Step 4: Click the Browse button to select a folder that contains your favorite images.
Step 5: Click the drop-down menu for the Change picture every option to decide when to change images.
Method 2: Change Screen Saver to Set up Image Slideshow in Windows 11
The screen saver can show slideshows on the screen when you stop using your computer. You can use your favorite pictures as a screen saver. As for how to use the screen saver on Windows 11, you can refer to our previous post.
Method 3: Use Video Editor to Create A Slideshow in Windows 11
Windows 11 provides a built-in program named Video Editor. It is many used to edit videos and you can also use it to create a slideshow in Windows 11.
Step 1: Click the Search tool on the taskbar and search for Video Editor. Then open the app.
Step 2: In Video Editor, click New video project. Then give the project a name and click OK.
Step 3: On the left side, click Add and then From this PC to select some images to add to the Project library.

Step 4: Drag the images from the Project library to the bottom of the Video Editor.
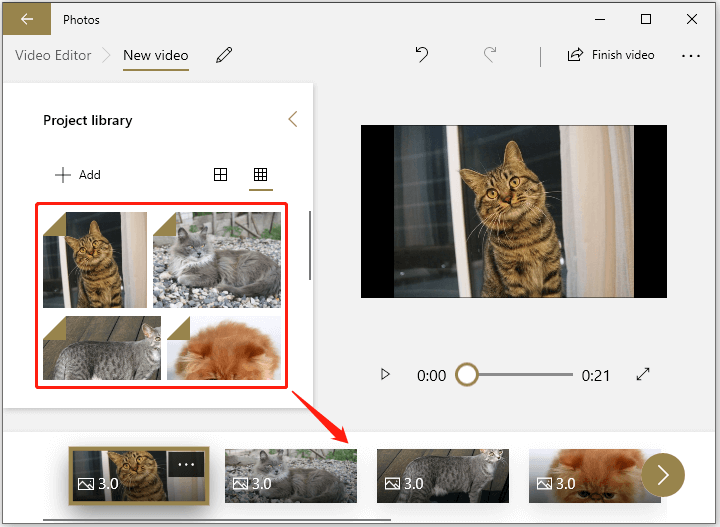
Step 5: Right-click an image thumbnail on the bottom and select Duration. In the pop-up window, select how long you wish this image appears. Repeat the operation for other images.
Step 6: Right-click an image and select Edit > Text to add a caption. You can also add Background music and Themes according to your needs.
Step 7: Click Finish video and export the project.
Method 4: Make A Photo Album in Windows 11 with the Photos App
The Photo app on Windows 11 enables you to view and edit images. It also offers a slideshow feature and you can use it to make a photo album in Windows 11.
Step 1: Open the Photo app from Windows 11 Search.
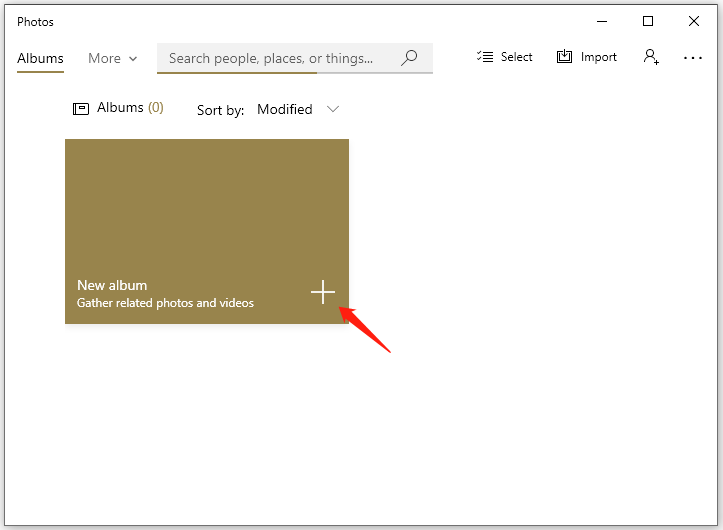
Step 2: Switch to the Albums tap and click New album.
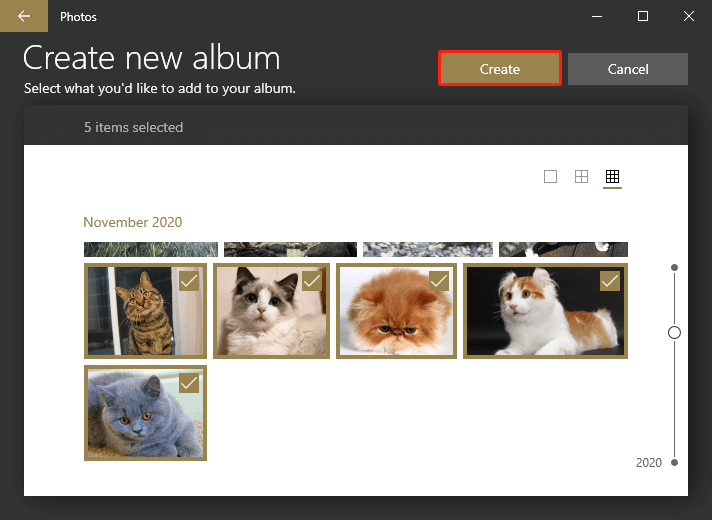
Step 3: Check the images you want to use and click the Create button.
Step 4: Then the album will display as a slideshow. You can also click the Slideshow feature to view the album.
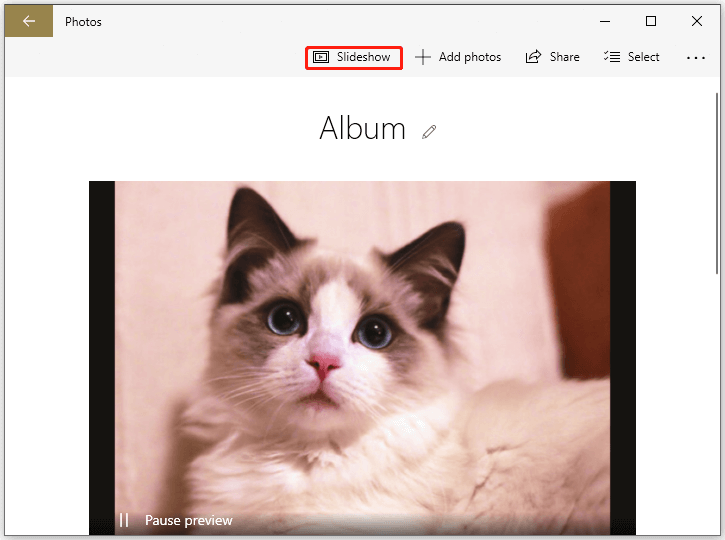
The next time when you open the Photos app, you will be able to see this album on the main interface.
You might also be interested: Windows 10 Slideshow – How to Make a Slideshow on Windows 10?
User Comments :