Do you know what Service Host SuperFetch is? Do you know that Service Host SuperFetch can lead to high disk usage problem in your Windows computer? Do you know how to fix this issue? Don’t worry, you can get the answers and solutions provided by MiniTool in this post.
About Service Host SuperFetch
SuperFetch, as a successor to PreFetch, is a feature of Windows Vista and above editions. It analyzes your system to generate a profile of programs and applications you run most often, and load elements of those applications onto your RAM pre-emptively to help you load them up more quickly.
In brief, it is designed to help third-party applications and critical Windows components to execute common tasks more quickly. Although Service Host SuperFetch optimize your system performance, it can cause certain problems sometimes and high disk usage is one of the most common issues.
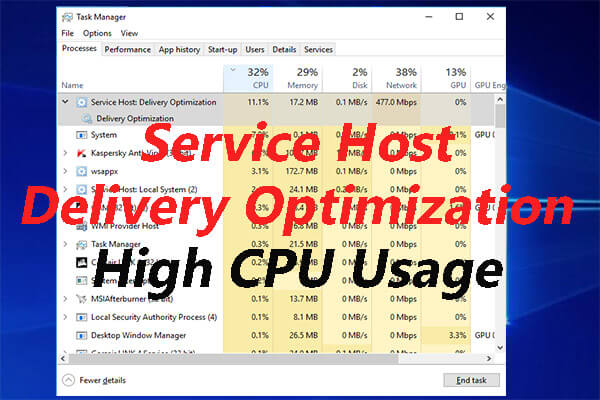
If you are facing that Service Host SuperFetch is taking much of your CPU, disk or memory usage, don’t hesitate to try the solutions introduced below. You can fix the error by yourself by following the detailed steps.
Method 1: Disable SuperFetch
The most directly method to fix Service Host SuperFetch high disk usage problem is to disable SuperFetch service. You can disable this service with Command Prompt, in Windows Services or in Registry Editor. Let’s see how to complete the operation with these 3 tools respectively.
#1 Disable SuperFetch With Command Prompt
Step 1: Press Windows + R to open Run window.
Step 2: Input cmd in the box and press Ctrl + Shift + Enter to open Command Prompt as administrator.
Step 3: Input the command net.exe stop superfetch and press Enter key.
After that, you can check if the problem is resolved.
#2 Disable SuperFetch In Windows Services
Alternatively, you can also disable SuperFetch in Windows Services app.
Step 1: After you invoke Run window, type services.msc and click OK button.
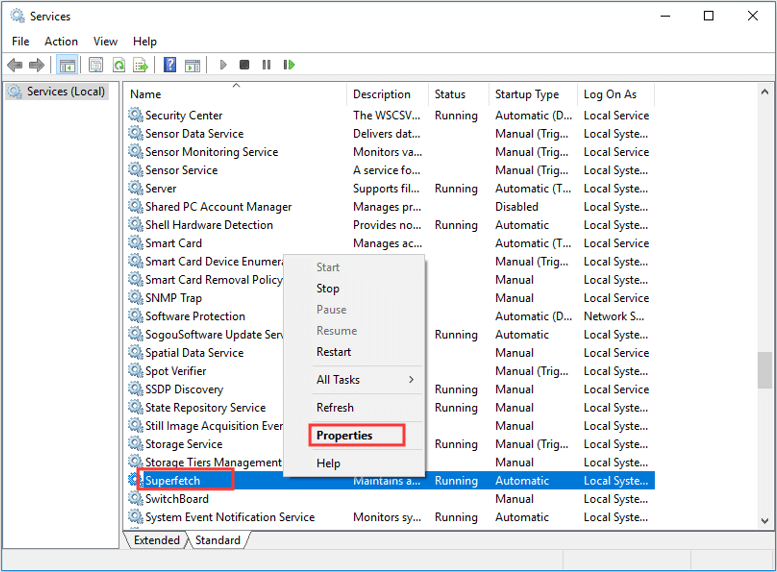
Step 2: In the Services window, scroll down to locate Superfetch service. Then, right-click it and select Properties from the context menu.
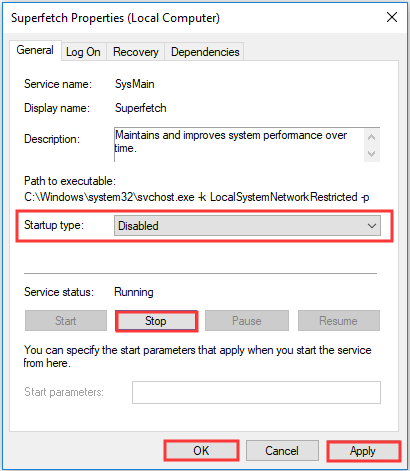
Step 3: In the pop-up window, choose Disabled from the drop-down menu of Startup type and click Stop under Service status. Then, click Apply and OK to confirmation the changes.
In this way, the service is disabled and is stopped from starting again at next startup.
#3 Disable SuperFetch In Registry Editor
Also, you can modify the related keys in Registry to disable SuperFetch.
Step 1: Type regedit in the box of Run window and click OK to open Registry Editor.
Step 2: Copy and paste the following path to the address bar and press Enter key:
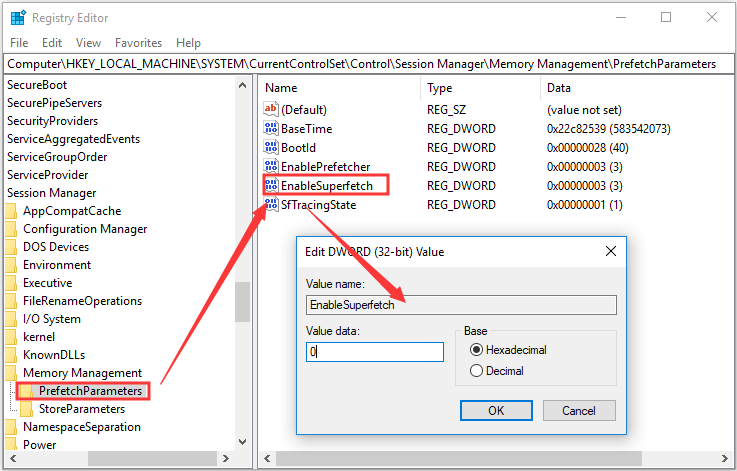
ComputerHKEY_LOCAL_MACHINESYSTEMCurrentControlSetControlSession ManagerMemory ManagementPrefetchParameters
Step 3: In the right pane, double-click EnableSuperfetch to open it. Then, change its value to 0 and click OK to disable SuperFetch.
If disabling SuperFetch service fails to fix the issue or you don’t want to disable it, you can go to the next solution.
Method 2: Use Windows Troubleshooting
Windows Update is also one of the reasons for Service Host SuperFetch high disk usage problem. In this case, you can run troubleshooter to fix it.
Step 1: Right-click the Start button and choose Settings.
Step 2: Navigate to Update & Security > Troubleshoot.
Step 3: In the right pane, find and click Windows Update. Then, click Run the troubleshooter.
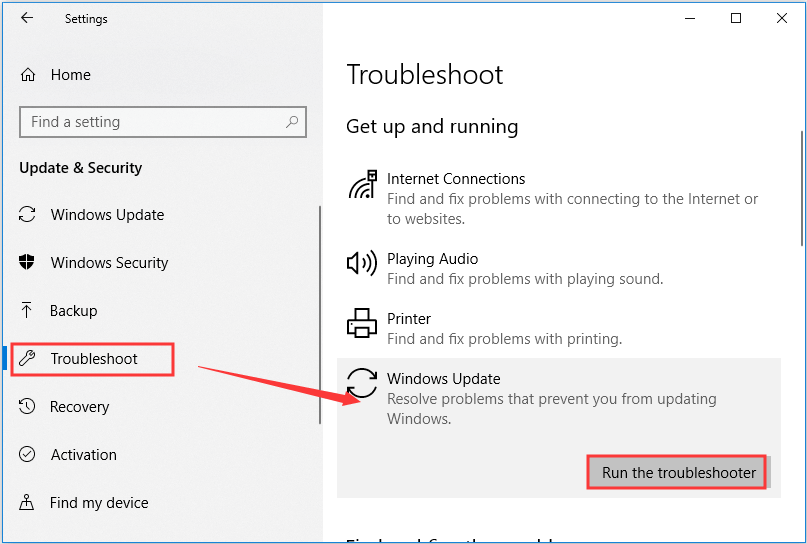
Then, this tool will start detecting problems related to Windows Update and this might take several minutes. If any problems are detected, follow the onscreen instructions to fix it.
After that, you can check if the solution works. If the problem still exists, try the last method.
Method 3: Remove Junk Files
Some users report that they fixed Service Host SuperFetch high disk usage error simply by removing junk files. You can have a try.
To remove junk files, you can use Disk Cleanup, a built-in tool of Windows.
Step 1: Double-click This PC icon in you Windows 10 PC to enter File Explorer.
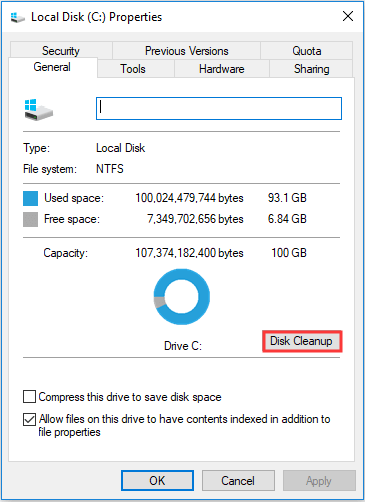
Step 2: Right-click your system drive and click Properties.
Step 3: When you get the following window, click Disk Cleanup button.
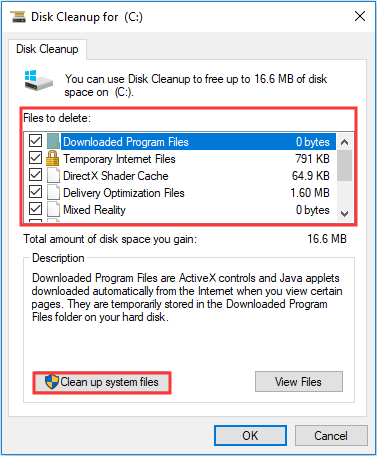
Step 4: Now, check the files you want to delete and click OK. You can also click Clean up system files to delete certain system files.
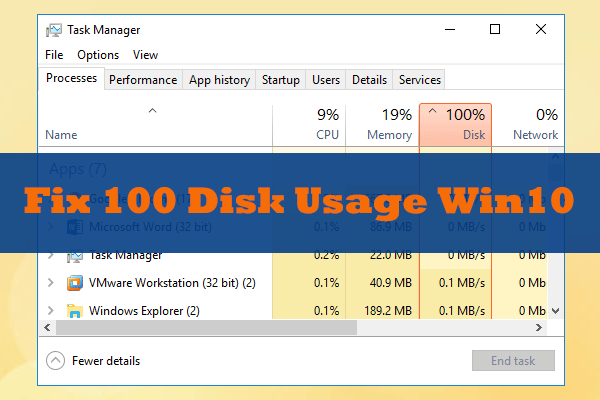
After that, restart your computer and go to Task Manager to see if Service Host SuperFetch high disk usage problem disappears.
User Comments :