Have you ever heard Microsoft Office Picture Manager? Do you know where to find it? Don’t worry. In this post, MiniTool Partition Wizard introduces how to get and use Microsoft Office Picture Manager. You can have a try.
How to Get Office Picture Manager
Microsoft Office Picture Manager, used to be Microsoft Picture Library, is a raster graphics editor introduced in Microsoft Office 2003, as the replacement to Microsoft Photo Editor. Microsoft Office Picture Manager allows users to view, manage, share, and edit pictures from where there are stored.
To use this tool, you need to make sure it is installed on your computer first. Microsoft Office Picture Manager is included up to Office 2010. In other words, Microsoft Picture Manager is not included with Office 2013 and later versions. If you want it, you need to install it manually.
Now, let’s see how to download and install Microsoft Office Picture Manager.
Step 1: Click here to download SharePoint Designer 2010.
Step 2: Run the downloaded setup file for SharePoint Designer 2010.
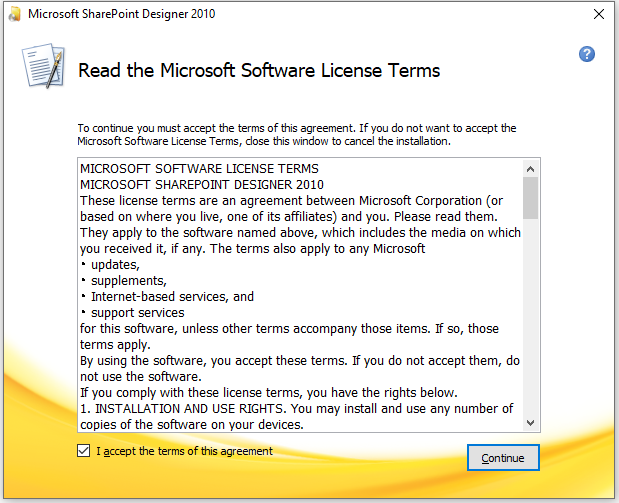
Step 3: In the pop-up window, check I accept the terms of this agreement and click Continue.
Step 4: In the Choose the installation you want window, select Customize.
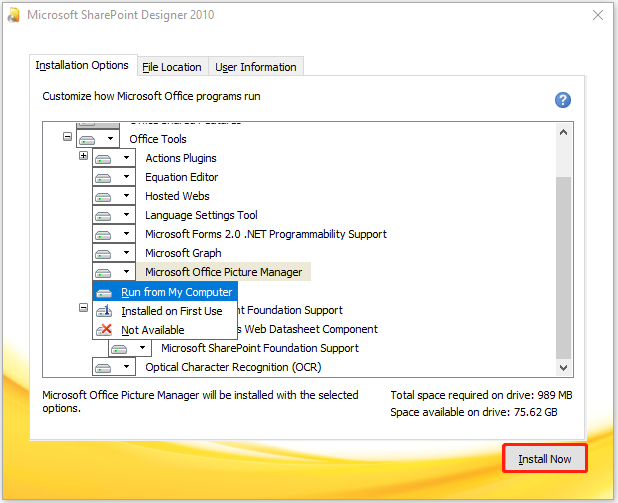
Step 5: On the following page, select the Installation Options tab and expand Office Tools. Then click Microsoft Office Picture Manager and choose Run from my computer.
Step 6: Click Install Now.
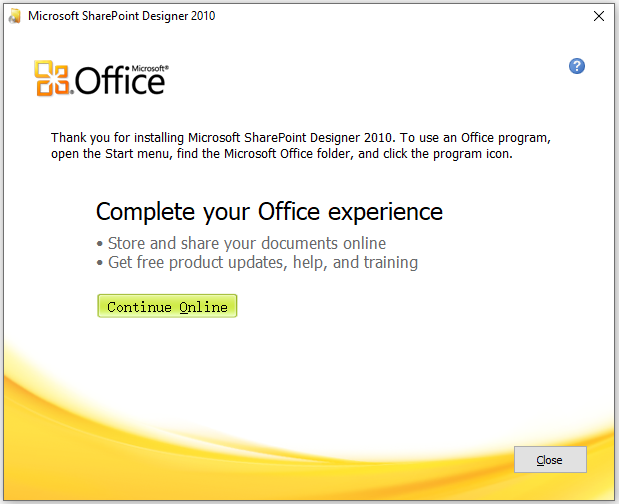
Then you just need to wait patiently until the installing process is finished. After that, you will see the following window. Just click the Close button.
How to Use Microsoft Office Picture Manager
Now you have Microsoft Office Picture Manager installed on your computer and you can start to use it. Here is a tutorial about how to use it and you can keep reading for more details.
To launch Microsoft Office Picture Manager, here are three ways and you can choose the one you prefer.
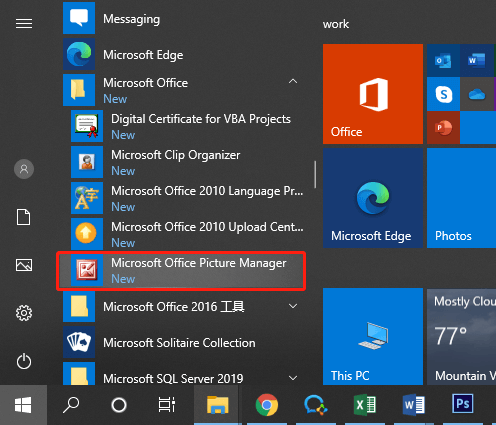
The first method is to open Microsoft Picture Manager from the Start menu. You just need to click the Start button. Then scroll down to find the Microsoft Office folder. Open the folder and you can see Microsoft Office Picture Manager. Just click it to open it.
The second way is to use the Windows Search utility. You just need to press Win + S to open the Search utility. Then search for Microsoft Picture Manager and open it.
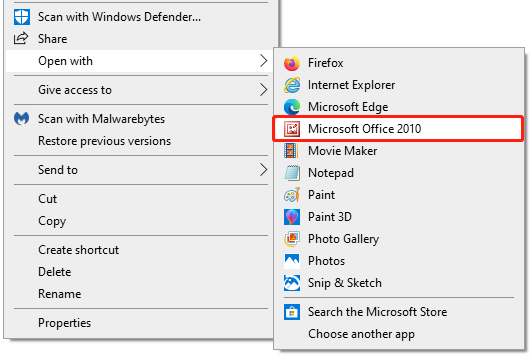
The third method is to launch Picture Manager from an image. You just need to right-click a picture on your computer. Then select Open with > Microsoft Office 2010.
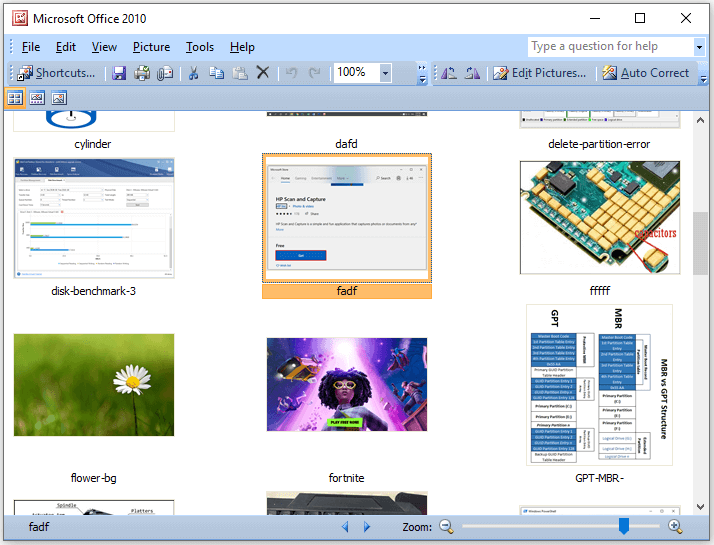
In Microsoft Office, you can view, manage, share, and edit your pictures. It provides a Locate Pictures feature that helps you find pictures with a powerful search. By editing your pictures, you can make some changes to your pictures.
User Comments :