Do you have a problem in seeing your computer screen clearly? This article will elaborate on how to use the Windows Ease of Access settings to tweak the size, color, and other screen elements in Windows. By the way, if you have any problems with hard disk management, you can take advantage of MiniTool Partition Wizard.
Clear text, menus, cursor, or other elements in Windows 10 computer screen can make a more convenient and happier computer usage. However, the text is too small, the cursor is too thin, or the screen doesn’t have enough contrast.
Facing these problems, you can customize and resize different elements by Ease of Access built in Windows Vista and other advanced versions to make Windows easier on your eyes.
The following shows how to make Windows easier on your eyes. Let’s check out.
# 1: Make Everything Bigger on Your Computer Screen
The first method is to make everything bigger on your computer screen to see the computer screen clearly.
Here is the tutorial to tweak the size of everything on your computer screen.
Step 1: Hit the Window icon on your keyboard and choose the Settings feature.
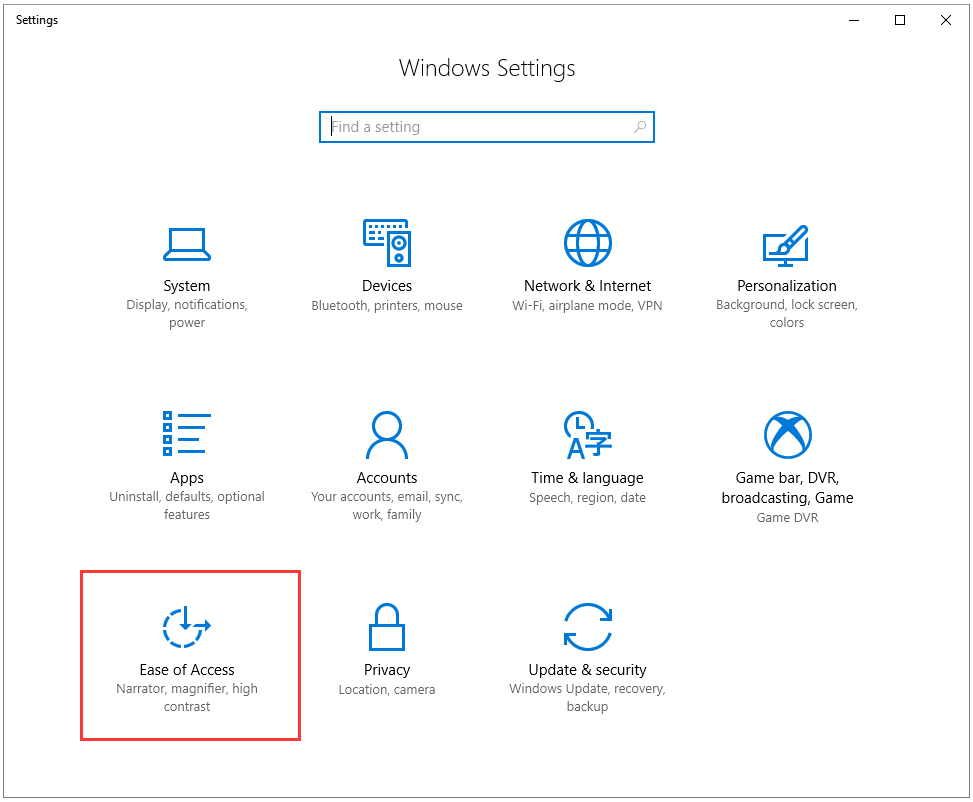
Step 2: Select Ease of Access on the Settings window.
Step 3: Click the Display feature from the left panel, and drag the slider rightwards (this operation will increase the size of text, apps, Desktop icons and other parts of Windows in 25% increments) until you find the right result for your eyes.
Step 4: Click the Apply button, then log out and back into Windows desktop to see the full effect. You might need to experiment a bit to get the best results.
# 2: Adjust Graphics Software
Depending on the make and model of your computer and your graphics adapter, you may also be able to change your display settings by using the graphics software from your manufacturer.
To find this, you should complete the following steps.
Step 1: Open Control Panel and look for an applet for graphics, such as Intel Graphics Settings or Nvidia Control Panel.
Step 2: Once finding the applet, you should open it and review the different settings to see if you can fine-tune your screen display even further.
# 3: Customize Cursor and Pointer
In this section, you can change the size and the other attributes of the text cursor and mouse pointer.
How to do that? Here is the simple tutorial.
Please note Microsoft made some changes here in the May Update.
Step 1: Open Ease of Access again and select the entry for Cursor & pointer.
Step 2: Choose the point size via a slider bar, and you can select a specific color for the mouse pointer. Under Change pointer size, move the slider to the right to increase its size.
You can change the pointer color from among the four options.
- The first option displays the pointer in white with a black border.
- The second option shows it in black with a white border.
- The third applies a pointer that changes between black and white, depending on the background color.
- The fourth severs up a palette of different colors.
Choose the color you prefer.
# 4: Reset Color Filters
In this section, you will know how to see photos and certain colors by applying filter better. To do this, you should go to the Color filters section in the Ease of Access menu and activating “Turn on color filters”. Scroll down and experiment with the different color filters, such as Inverted, Grayscale inverted, Red-green, and Blue-yellow.
# 5: Change High Contrast
In this part, you can make Windows easier on your eyes by applying a high contrast filter.
To do that, you should finish the following steps:
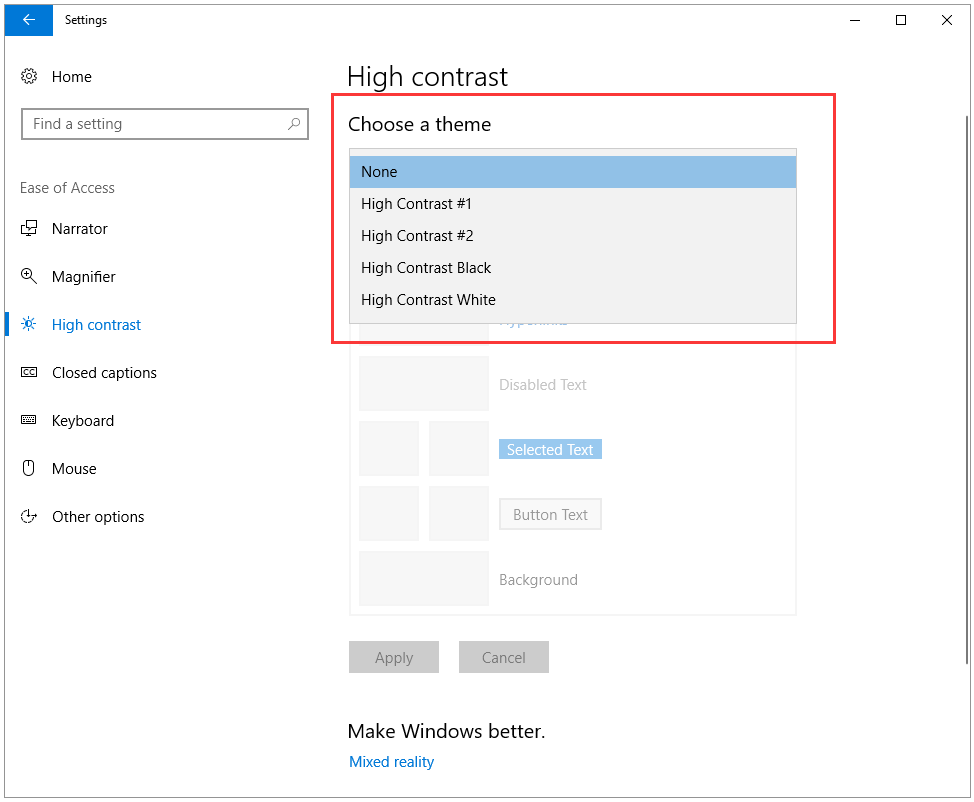
Step 1: Open Ease of Access, and click the category for High contrast.
Step 2: Click the drop-down menu for theme and try the different color themes to find that works for you.
# 6: Use a Virtual Magnifying Glass
Windows offers its own magnifier that can help you see a specific section of the screen.
To apply this utility, you should turn on it at first by clicking the category for Magnifier on Ease of Access menu and togging the Turn on Magnifier switch.
When you want to magnify something on your computer screen, you can perform the following operations to do that.
- Locate an area of a screen that you would like to magnify;
- Press the Windows icon and the plus key simultaneously to activate the Magnifier;
- Hold on the Windows icon and keep pressing + to zoom in; Hold on the Windows key and keep pressing – to zoom out.
- After seeing something clearly, please press the Windows icon and the Esc key to exit the Magnifier.
User Comments :