What the network to the online game is what the battery to the computer. Therefore, checking battery health regularly is necessary. So, how to check laptop battery health Windows 10? You can get the answer after reading this post of MiniTool.
The battery in computer is very important, but it may get damaged due to some reasons. Hence, performing a laptop battery test is essential. How to check laptop battery health Windows 10? Here are some methods for you.
Method 1: Check Battery Health via Windows PowerShell
You can get battery report from Windows PowerShell. This is a task-based command line in Windows built-in program that can help you delete file or folder, perform a laptop battery test, etc. Here are steps for performing laptop battery test in PowerShell.
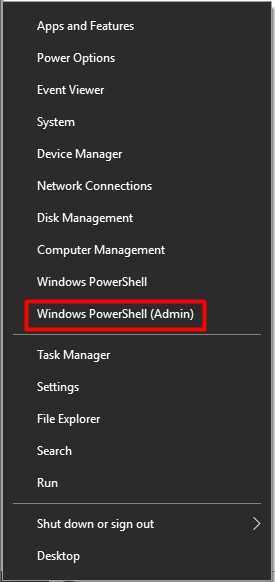
Step 1: Right click the Windows icon at the bottom left of your desktop, and then click on Windows PowerShell (Admin). Alternatively, you can also type powershell in the search box, and then right click Windows PowerShell and click Run as administrator.
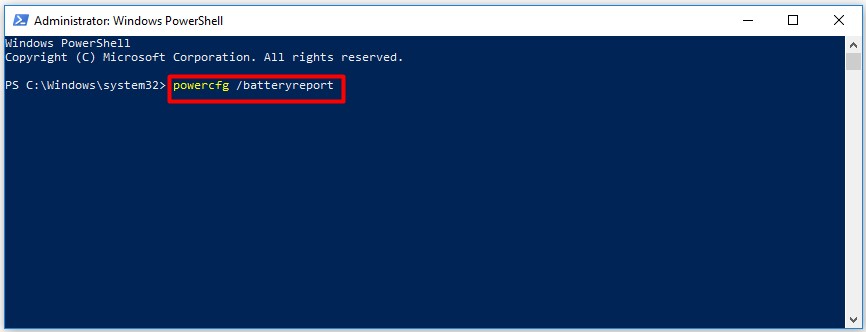
Step 2: In the prompted window, type powercfg /batteryreport or powercfg / batteryreport / output“ C: battery-report.html” and hit Enter to execute the command. Then, the program will run automatically and tell you the location of its storage.
Step 3: Exit the PowerShell and find the battery report on your computer. Open the battery report to check your battery health Windows 10.
Windows PowerShell is a great battery checker, which is worth trying.
Method 2: Run System Diagnostics
How to test battery? You are able to run system diagnostics to test laptop battery. Here are steps for that.
Step 1: Unplug the power cord.
Step 2: Switch off the laptop.
Step 3: Press the Power button to reboot your computer.
Step 4: As soon as your laptop powers up, press the Esc key immediately.
Step 5: When the Start Up menu appears, choose System Diagnostics.
Step 6: All the diagnostics and component test will be listed here. Choose Battery Test to go on.
Step 7: After plugging the power cord back in, click on the Start Battery Test button.
When the test process finishes, you will receive a status message like OK, Calibrate, Weak, Very Weak, Replace, No Battery, or Unknown. It is recommended that you should read the specific model’s user guide carefully according to your battery status to decide the next operation.
Method 3: Remove the Battery and Check If Laptop Runs
You can exclude the laptop battery issue by using some simple skills. By doing so, you will the source of the laptop not working normally problem – the fault of the laptop or the battery. Here’s how to do.
Step 1: Turn off the laptop, and then take out the battery.
Step 2: Run laptop on the AC adapter only.
Step 3: If your laptop works properly, it indicates that there are some issues with your battery not the laptop. In this case, you need to change a battery in the laptop repair store.
Method 4: Check Battery Lifespan and Status
There is a simple and direct method to check battery lifespan and status. You just need to click on the battery icon at the bottom right of the desktop (by default) to see if there is a red X beside the icon.
If so, it implies that there are some issues with the battery. Besides, a window will pop up, which contains more information about your battery. It even will tell you the current power number and whether you need to replace your battery.
If you want to prolong the lifespan of your battery, please refer to this post: How to Make Laptop Battery Last Longer? Tips and Tricks
Up to now, all the methods to perform a laptop battery test and tips for checking battery health have been provided for you. Pick one randomly!
User Comments :