If you don’t know killer network service, then you come to the right place. This post would focus on killer network service, including its definition, high CPU issue, and other issues related to it. Now, explore the content with MiniTool.
What Is Killer Network Service
Killer Network Service (KNS) is a background service, which views all of the processes that utilize network connection and modifies their access to improve gaming experience. It is located in your program file’s folder.
Killer network service is not a Windows app. Is killer network service harmful? The service itself is not harmful, but it earns a bad rep because of some reasons. One is that most invasive malware ensures invisibility by mirroring the name of processes like KNS, while the other is its high CPU usage.
Now, let’s talk about them one by one.
Is Killer Network Service a Virus
As you know, killer network service itself is just a background service in the Window. It is not a virus. However, plenty of invasive malware would pretend to be the KNS to access your computer.
In fact, you can know if it is virus by checking its path. The path of real and safe killer network service is C:programfileskillernetworkingkillercontrolcenter. Hence, right-click on any executable that looks like KNS service and choose Properties. If the displayed path is different from the given above, this file is most likely malware.
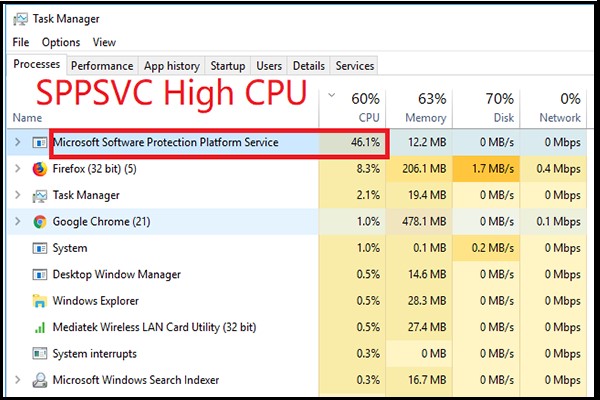
Killer Network Service High CPU
Killer network service high CPU usage is another heatedly discussed issue related to this service. As KNS handles too many processes, these processes sometimes might not be compatible and cause high CPU error.
Fortunately, you can solve it through some methods.
Method 1: Use the Restore Health Command
This method only is only effective on Windows 8 and above. It is simple to operate.
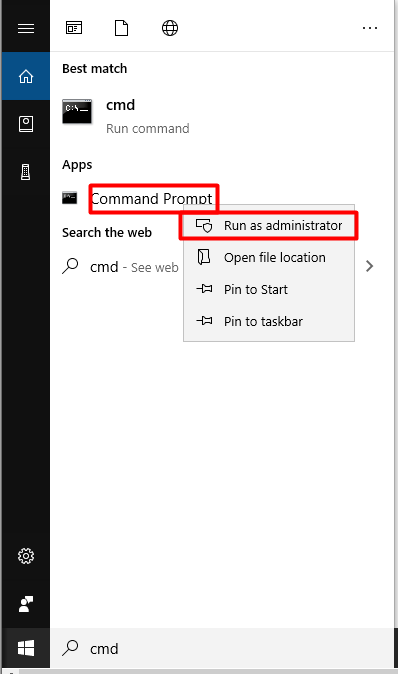
Step 1: Type cmd in the search box, and then right click on Command Prompt and choose Run as administrator option in the pop-up menu.
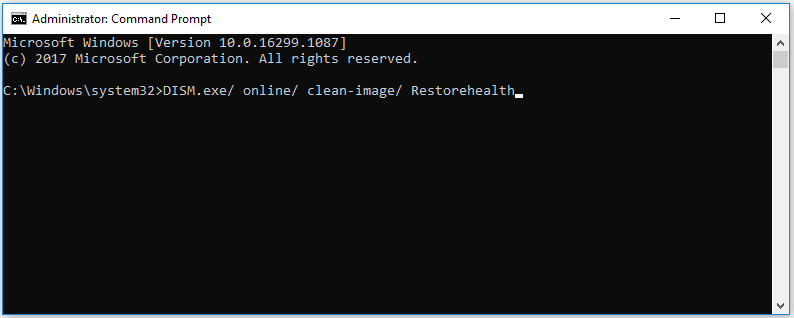
Step 2: In the elevated window, type DISM.exe/online/clean-image/Restorehealth and hit Enter to execute the operation. Then this command will repair your system automatically. Besides, you won’t lose any significant data during the process.
Method 2: Use the ResMon Command
The ResMon command can diagnose your system and pinpoints the exactly processes that are triggering system issues like the Restore Health command. It can fix some serious issues with your OS, so it is highly recommended.
With this command fix, you don’t have to reinstall your OS whenever issues happen. Here’s how to run this command.
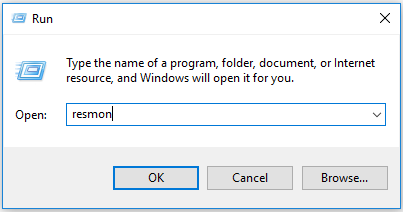
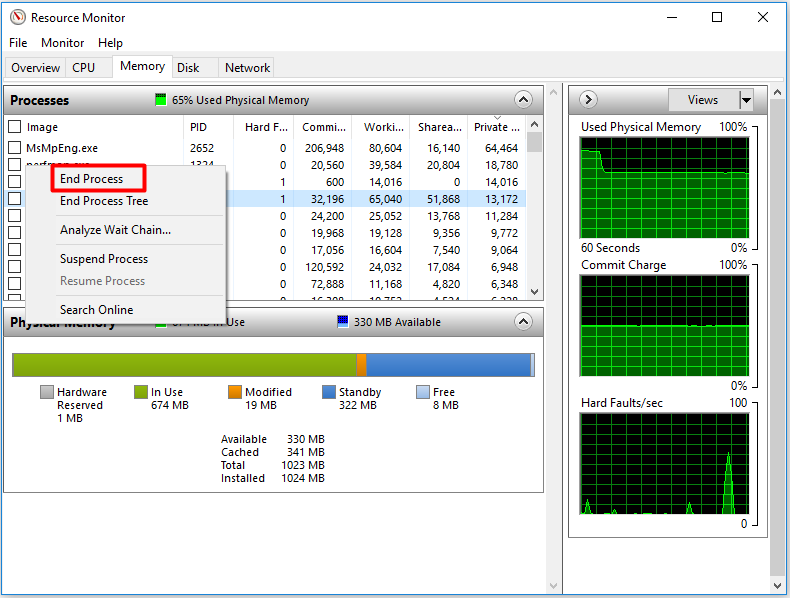
Step 1: Open the Run window by pressing Windows and R keys, and then type resmon and hit Enter.
Step 2: Find killer network service from the listed items, and then right click on it and choose End Process.

Method 3: Uninstall Killer Network Service
Uninstalling killer network service is a thorough way to fix its high CPU usage error. Since this service is not a core Windows file, it has little or no impact on your processes. Hence, you don’t have to worry about any effects after uninstallation.
You can uninstall the service with the steps below.
Step 1: Open Control Panel, and then click on Programs and Features to continue.
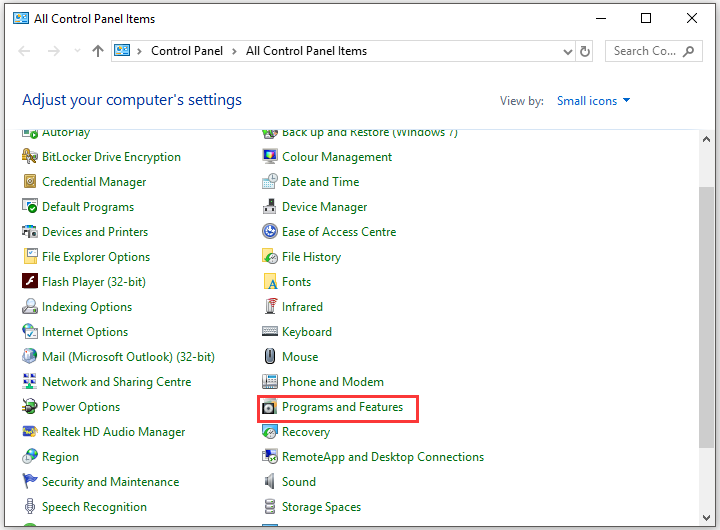
Step 2: In the pop-up window, find Killer Network Manager Suite. Right click on it and click Uninstall. Then follow prompted instruction to finish the process.
Step 3: Then uninstall the Killer Wireless Drivers by using the above method.
User Comments :