Update Orchestrator Service is a service to handle Windows update. However, there are cases that the service is taking up a lot of CPU. How does it happen? How to fix this problem? You will get the answers and 3 effective fixes from this post. For any problems on disk management, you can try the professional tool – MiniTool Partition Wizard.
High CPU usage for Update Orchestrator Service is a common problem. It shows more intuitively in the following case raised on the forum:
I’m basically having this issue where Windows Orchestrator service/Windows Update is using up to 50% of my CPU and A lot of RAM. I’m not really sure how to approach this, I’ve tried researching different things and no luck. I would appreciate any help that can be given.

A service eating many resources abnormally is a severe problem. Let’s learn about this service in depth and how to fix this problem.
About Update Orchestrator Service
Update Orchestrator Service is one of Windows Services which is responsible for downloading, installing and verifying the updates for computer. It may automatically run in the background, and if it’s stopped or disabled, Windows may have a problem in updating.
In Task Manager, you may notice that Windows Update is consuming lots of CPU. Update Orchestrator Service should be responsible for it to a large extent, because chances are that it is downloading or installing the latest update in the background.
Normally, the resource consumption is temporary and will be settle down after the process completes.

If you purely don’t want high CPU usage by Update Orchestrator Service, or you want to stop the resource consumption manually, here are 3 methods for you.
Fix 1: End the Process of Update Orchestrator Service
As Update Orchestrator Service runs in the background, you can choose to end the current task in Task Manager with just 2 simple steps.
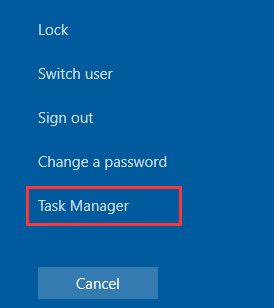
Step 1: Press Ctrl + Alt + Delete shortcut keys and click Task Manager form the menu to open Task Manager.
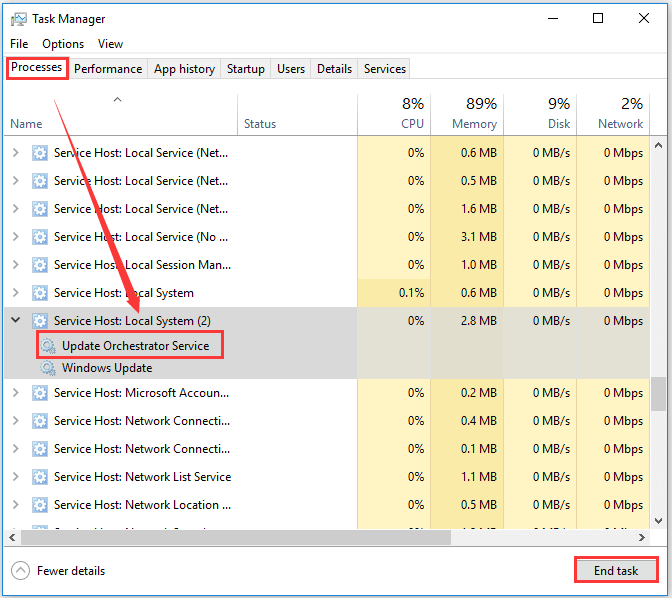
Step 2: Under the Processes tab, find Update Orchestrator Service from Windows Processes. Then, select it and click End Task.
Fix 2: Stop Update Orchestrator Service
Stopping the service is another method to fix high CPU usage for Update Orchestrator Service. However, please note that it is also not recommended to stop it if there is an update being downloading or installing currently.
Let’s see the detailed steps.
Step 1: Press Windows + R shortcut keys to open Run window. Type in services.msc and click OK to run Services.
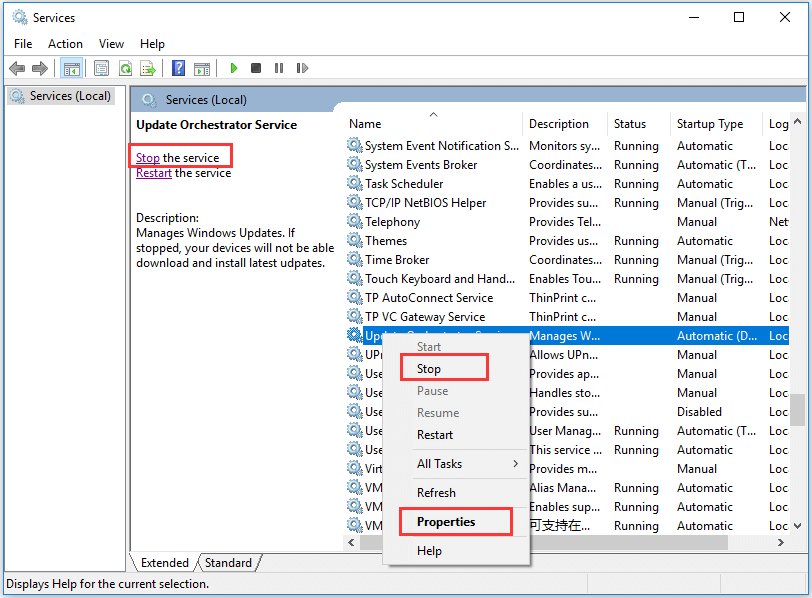
Step 2: Find Update Orchestrator Service among these services, right-click it and choose Stop from the context menu. Or you can directly click Stop the service in the left column after selecting the service.
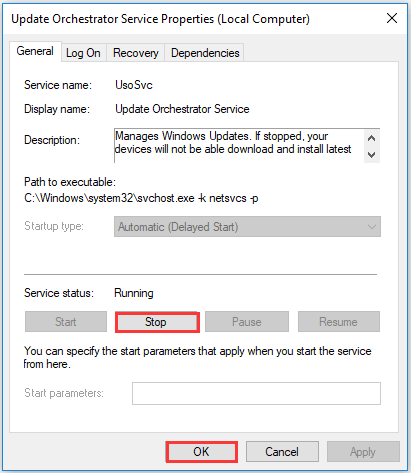
Alternatively, you can choose Properties from the context menu. In the pop-up window, choose Stop and then click OK.
Fix 3: Perform A Disk Check
Whatever, it is a good idea to check your disk from time to time. If Update Orchestrator Service is eating too many resources abnormally, it’s probably that something goes wrong with your hard disk. Then, try to check your disk.
Just run the Command Prompt as administrator, and type the command: chkdsk C: /f and press Enter key.

Have you fixed high CPU usage for Update Orchestrator Service in Windows 10? Hope these 3 methods introduced above are helpful for you.
User Comments :