What Is God Mode Windows 10?
The God Mode was first released in 2007. Actually, it is the nickname for Windows Master Control Panel shortcut. To put it bluntly, it is a special folder that has access to the control panels of all operating systems.
God Mode provides a simple way to scan and use about 214 functions in Windows management, setup, and control panel tools at an interface, and does not develop new features.
How to Enable God Mode Windows 10?
To enable God Mode Windows 10, we must log into Windows 10 with administrative privileges. Then follow the steps:
Step 1. Right-click on any open area of the desktop and create a new folder from the context menu. The new folder will appear on the desktop.
Step 2. Rename the new folder “GodMode.{ED7BA470-8E54-465E-825C-99712043E01C}”. We may replace “GodMode” with other words, but each character in the column must be kept exactly the same as what is shown here.
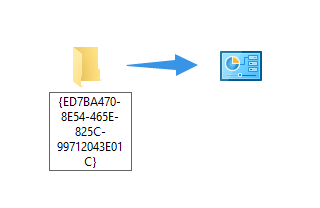
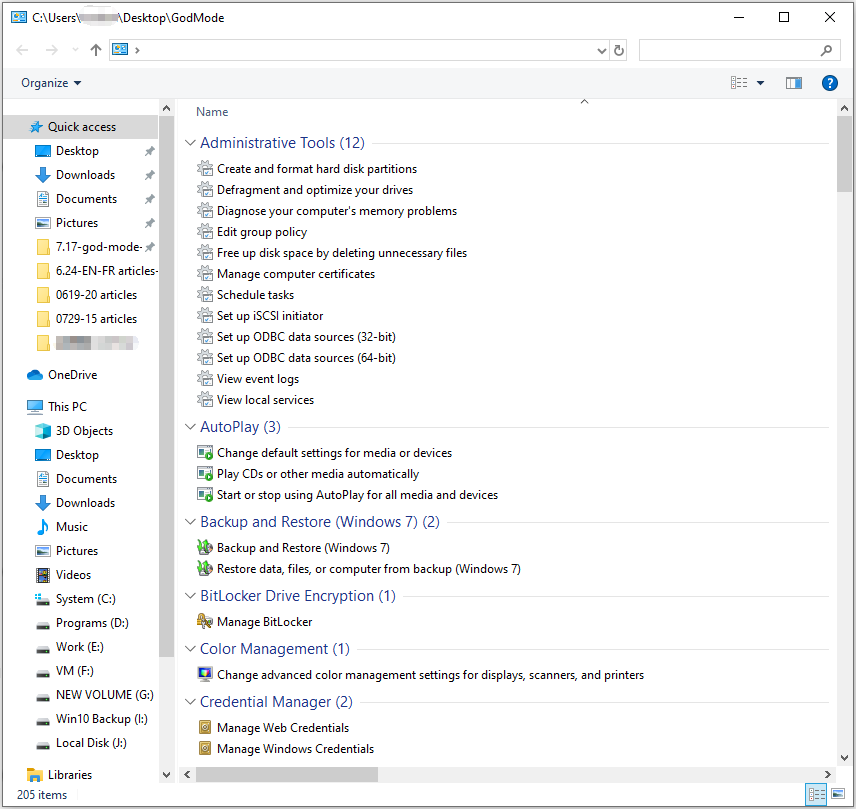
Step 3. After renaming the folder correctly, we can see that the folder icon has changed to the control panel icon. Now if we double-click to open it, we will see more than 200 settings listed alphabetically
In God Mode Windows 10, we can use the following types of tools which can be further extended to more subcategories
- Administrative Tools
- AutoPlay
- Backup and Restore
- Color Management
- Credential Manager
- Date and Time
- Devices and Printers
- Ease of Access Center
- File Explorer Options
- File History
- Fonts
- Indexing Options
- Infrared
- Internet Options
- Keyboard
- Mouse
- Network and Sharing Center
- Pen and Touch
- Phone and Modem
- Power Options
- Programs and Features
- Region
- RemoteApp and Desktop Connections
- Security and Maintenance
- Sound
- Speech Recognition
- Storage Spaces
- Sync Center
- System
- Tablet PC Settings
- Taskbar and Navigation
- Troubleshooting
- User Accounts
- Windows Defender Firewall
- Windows Mobility Center
- Work Folders
From the above list, we can see several tools are good for us to manage hard drives and keep data safe.
Useful Features in Windows 10 God Mode
Create and Format Hard Disk Partitions
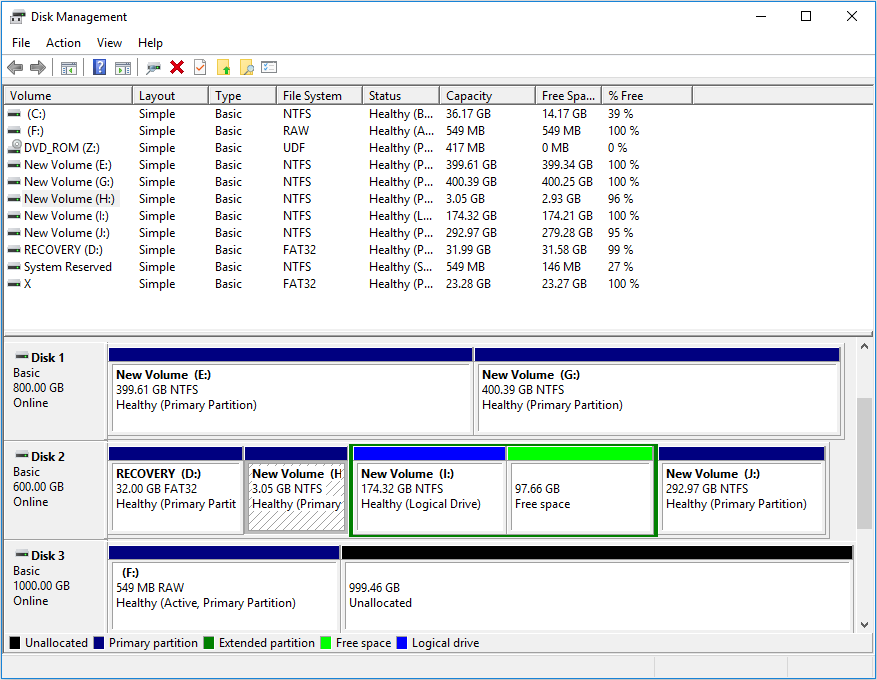
In God Mode Windows 10, by clicking “Create and Format Hard Disk Partitions” the computer will run Disk Management tool. Disk Management allows us to create, delete, format partitions in simple clicks.
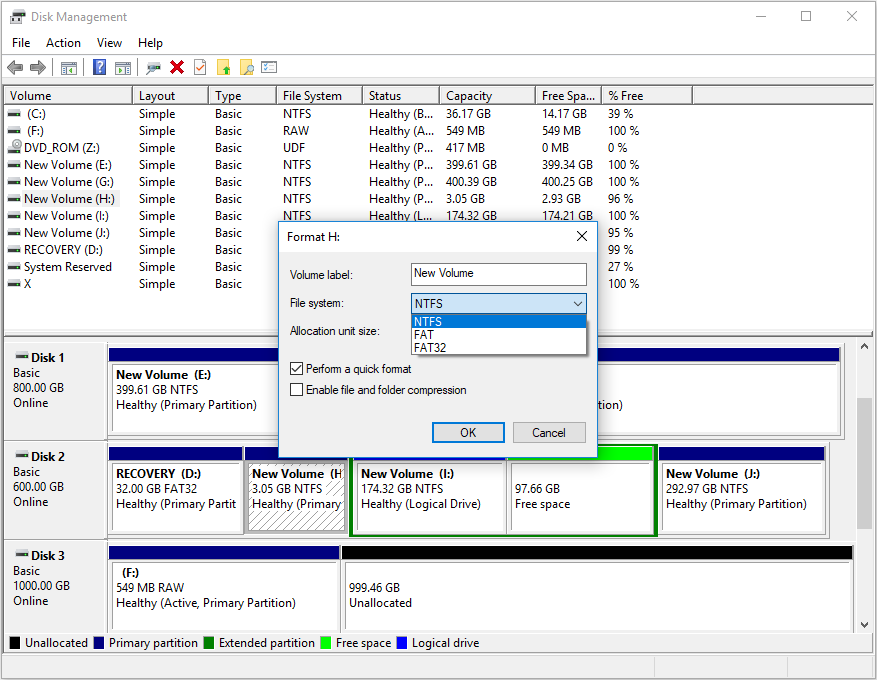
We can format partition to different file system by right-click “Format…” in the context menu.
To bypass such trouble, MiniTool Partition Wizard is strongly recommended for us to maintain hard drives such as create/delete/format/merge/split/copy partition easily. In addition, when formatting using this tool, FAT32 can accept 2TB disk space at most.
MiniTool Partition Wizard FreeClick to Download100%Clean & Safe
Follow these steps and try to create a new partition:
Step 1. Download, install and open MiniTool Partition Wizard Free.
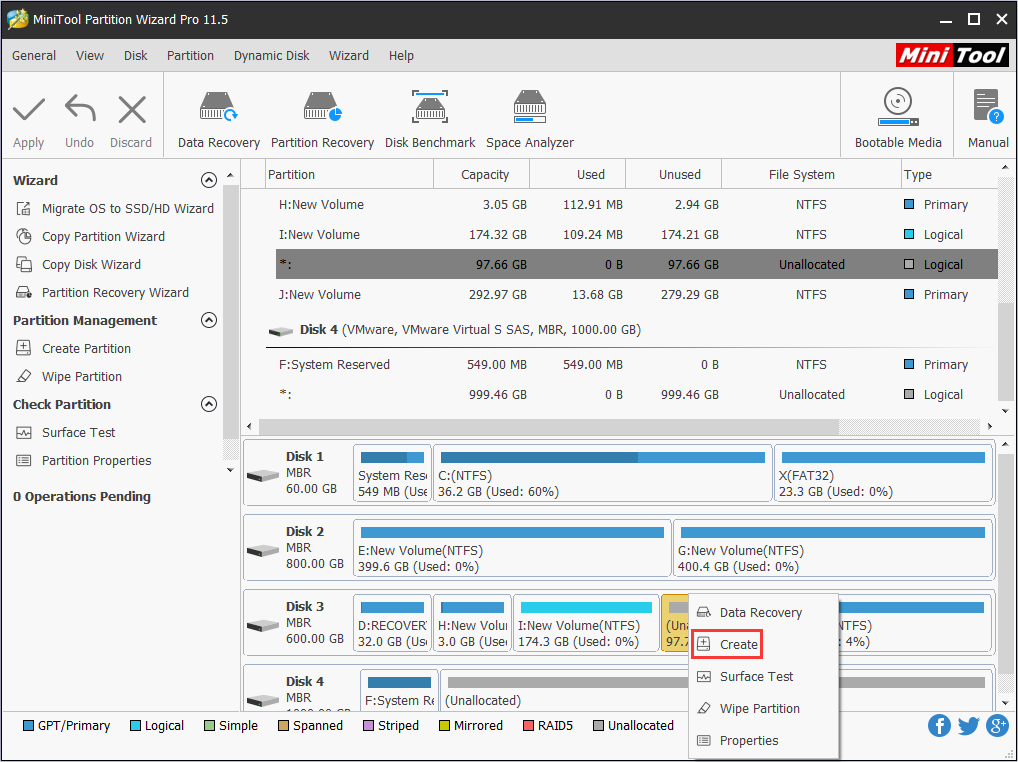
Step 2. Click “Launch Application” in the main interface. Then choose an unallocated space where we want to create a new partition to highlight it.
Step 3. Choose “Create” from the context menu.
Step 4. Change Label, Drive Letter, File System, Cluster Size, Partition Size and Partition Type in the pop-up window if necessary. Then click “OK” to preview the newly created partition.
Step 5. Click “Apply” to perform operations.
Here is how to format a partition quickly:
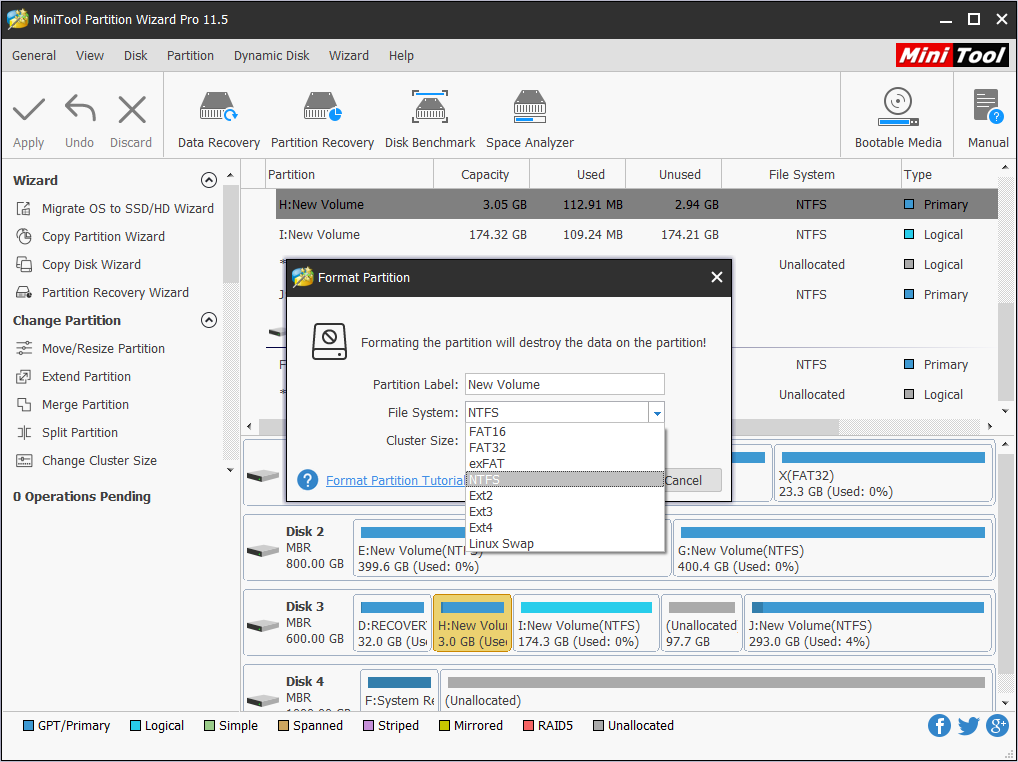
Step 1. Select the partition we need to format and choose “Format” from the context menu.
Step 2. In the pop-up window, select the desired file system and hit “OK”.
Step 3. Back to the main interface and click “Apply” on the toolbar to execute.
Free up Disk Space by Deleting Unnecessary Files
When the disk space is full, our first reaction is to delete files. We may want to know which files occupy our disk space. Then we can free up the disk space by deleting the naught.
In God Mode Windows 10, click “Free up Disk Space by Deleting Unnecessary Files”, then choose the drive we want to clean up. After scanning, we can select the unavailable files to delete.
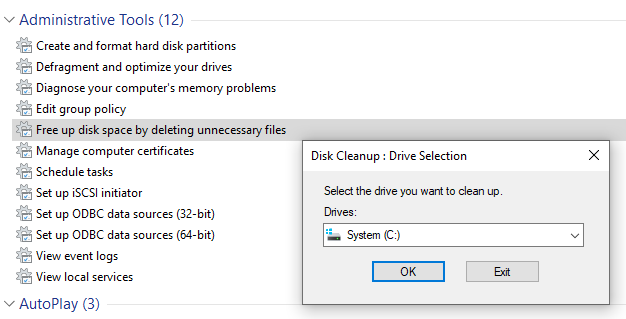
When we see the new window comes out, we know this is to call Windows 10 Disk Cleanup. Obviously, disk cleanup in this tool is not enough. There are more files to be scanned and cleaned.
But we do have a better way. Using Space Analyzer of MiniTool Partition Wizard will help remove unnecessary files easily.
Step 1. Download, install and run MiniTool Partition Wizard, then click “Space Analyzer”.
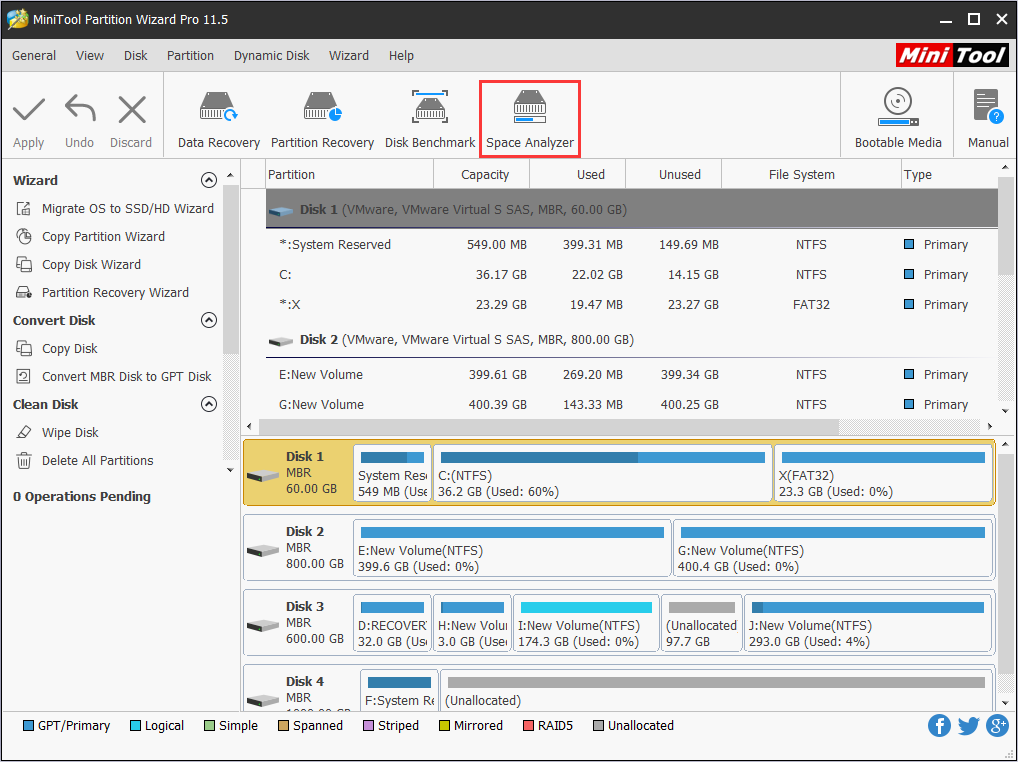
Step 2. Select a disk and wait for the software to analyze disk space usage. Then all files and folders saved in that drive will be shown by Tree View, File View and Fold View. We can clearly view the file size, attribute, and disk space usage percentage. Then we can free up disk space by deleting unnecessary files.
Backup and Restore
There are two backup tools in Windows – Backup and Restore (Windows 7) and File History.
Due to systems are vulnerable to attack, we usually consider making frequent backup to resist valuable data loss. And, MS built-in Backup and Restore (Windows 7), and File History are frequently used to keep our data intact.
If Windows 10 Backup won’t work, we can try MiniTool ShadowMaker – a powerful Windows image backup and restore software. Download ShadowMaker Trial edition for 30 days’ free use.
MiniTool ShadowMaker TrialClick to Download100%Clean & Safe
Step 1: Back up files/folder/partition/disk.
- Download, install and open MiniTool ShadowMaker Trial.
- Click “Keep Trial” in the open screen and click “Connect” to manage local computer.
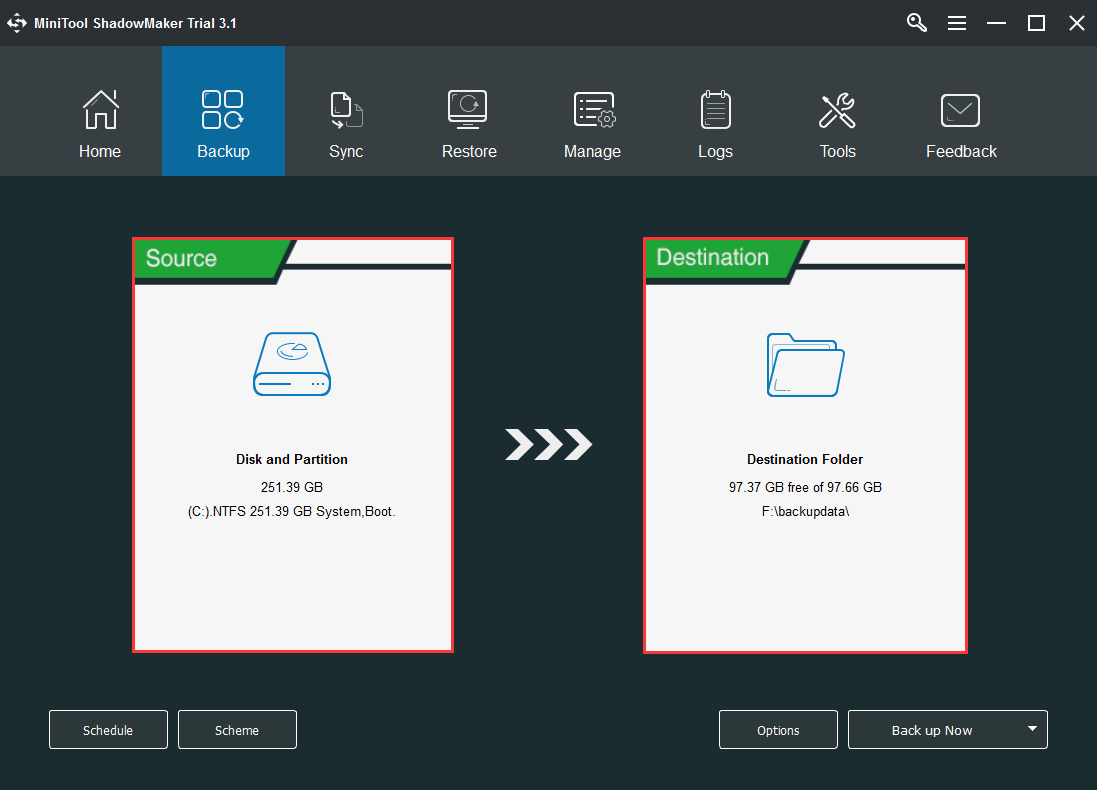
- Go to “Backup” in the navigation bar.
- Click “Source” and select “Disk and Partitions” or “Folders and Files” that we want as source. Then click “Next”.
- Click “Destination” and select a location to store backup.
- Optional: Here are three automatic backup options that we can choose in “Scheme”: Full, Incremental or Differential backups (Windows only makes incremental backups). We can even set advanced parameters related to the backup in “Options”.
- Select “Back up Now” or “Back up Later”.
- Wait for the backup to complete.
Step 2: Restore backup image when you have to.
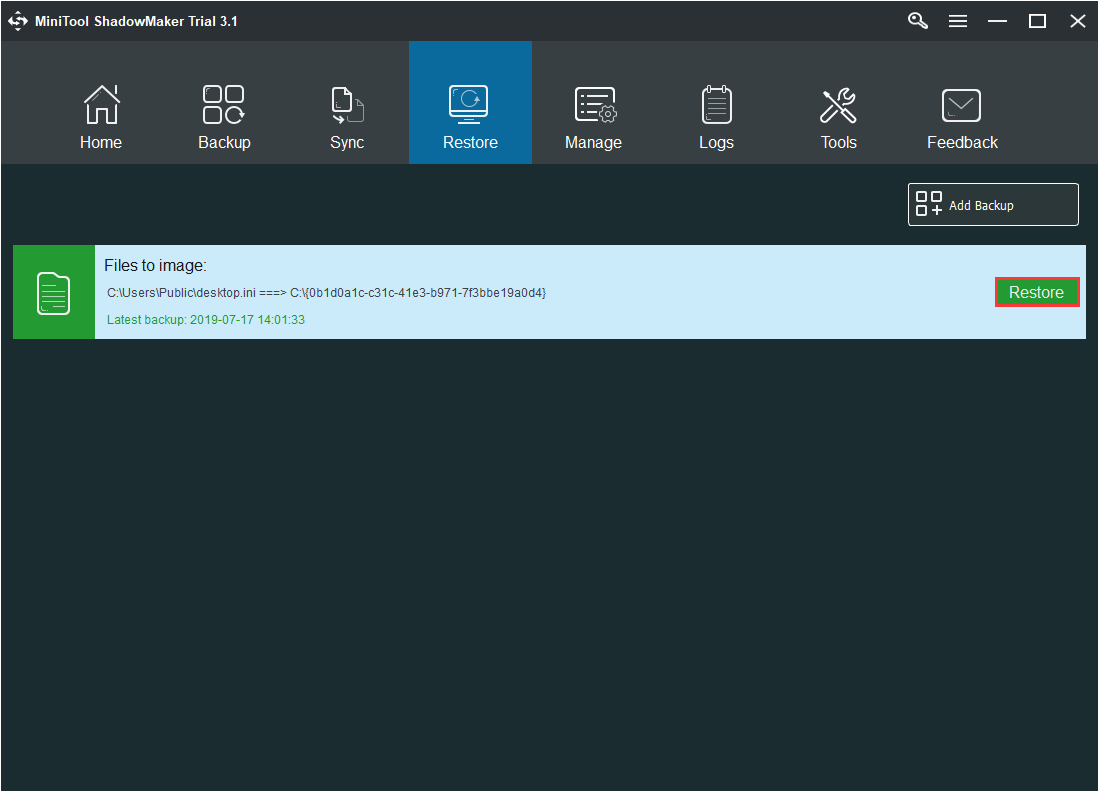
- Click “Restore” and choose the target backup. Then click “Next”.
- Select a partition/folder to restore from backup file in “Restore Drive Image Wizard” and click “Next”. Don’t forget to click “MBR and Track 0” if we are restoring the system image of an MBR disk, otherwise we cannot boot the operating system after restoring it.
- Choose a location to save the image file which we restore and click “Next”. Then click “OK” in warning. Please note that the destination location must have enough space to store the image files.
- Waiting for the image file to be restored. Then click “OK” and “Finish”.
Disable God Mode Windows 10
The way to disable God Mode Windows 10 can’t be easier. We just need to delete the God Mode control panel icon without effort.
Bottom Line
God Mode is good for us to look for tools without knowing the name of them. Although God Mode contains many functions, it is more frequently used for advanced users. For ordinary users, searching through the “Start” menu is still the first choice.
While using the God Mode, it is also a good choice to use the MiniTool software as an auxiliary. When getting into any trouble in using our software, don’t hesitate to contact [email protected].
About The Author

Position: Columnist
Rodin is an enthusiastic IT writer focusing on Windows trends, disk partition management and data recovery. She loves to write and share her idea about the useful tips and tricks on personal computers' maintenance. If you are looking for methods to improve your computer performance, manage hard drives and recover data from different devices, Rodin can provide reliable solutions for data management.
User Comments :