Clearing cache from your computer does help improve the device’s performance. This post from MiniTool Partition Wizard offers a full guide on how to clear cache in Windows 11. If your computer runs slow or cluttered, it is time to clear cache from your computer.
How to clear cache in Windows 11? Before following the guide, let’s figure out the concept of cache.
Programs and websites generate a group of temporary files on your computer for faster access on subsequent use, and these files are called cache files. However, this convenience will eventually result in inconvenience — these files will accumulate and take up lots of space, and this will decrease your computer’s performance.
Therefore, it is wise to clear cache regularly. The following offers a full guide on clearing various caches in Windows 11.
- Clear apps’ cache
- Clear File Explorer cache
- Clear Windows Store cache
- Clear the location cache
- Clear DNS cache
- Clear browsers’ cache
Clear Apps’ Cache
This can be done via Disk Cleanup. Scroll down to check the detailed steps.
Step 1: Open Disk Cleanup in Windows 11.
- Click the search icon on the taskbar and search Disk Cleanup.
- Choose the Run as administrator option under Disk Cleanup.
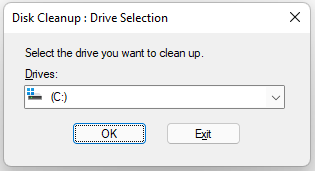
Step 2: Choose the drive where Windows 11 is installed and click the OK button on the pop-up window.
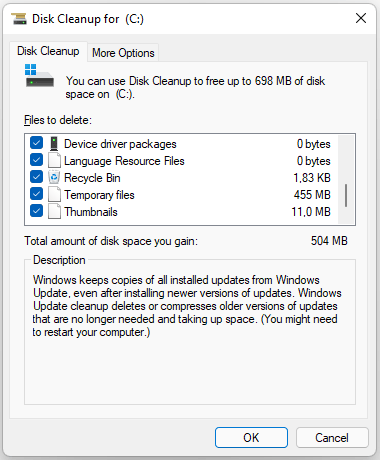
Step 3: Tick all checkboxes in the Files to delete section and click the OK button.
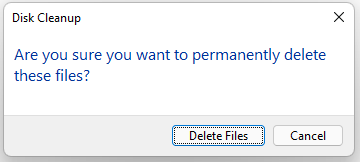
Step 4: Click the Delete Files button to confirm deleting these caches.
Clear File Explorer Cache
Some caches are collected in the path: C:UsersUser_NameAppDataRoamingMicrosoftWindowsRecent. Follow the tutorial below to clear these caches:
Step 1: Open File Explorer by using the keyboard shortcuts: Windows + E.
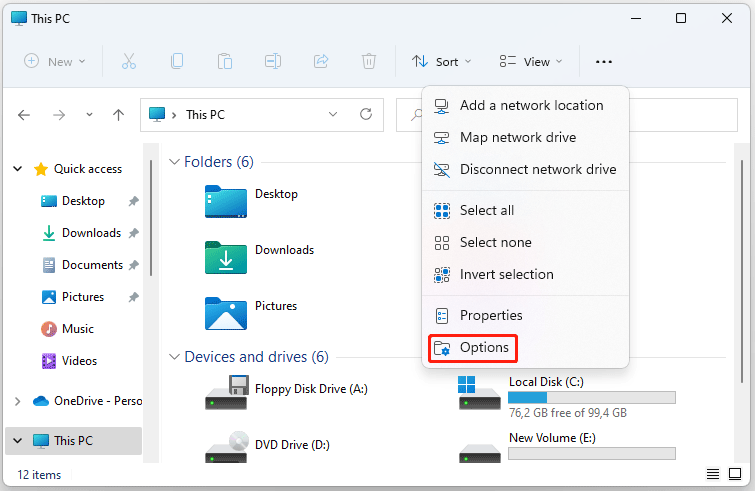
Step 2: Inside the File Explorer window, click the three-dots menu on the top bar and select the Options option from the drop-down menu.
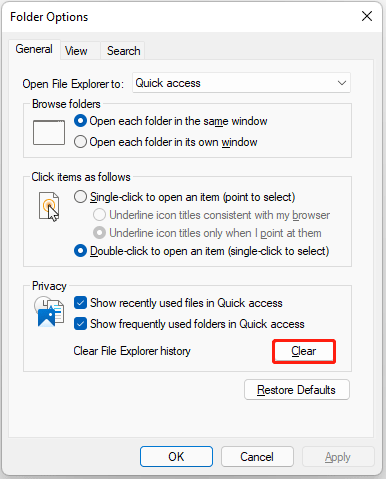
Step 3: Click the Clear button in the Privacy section on the pop-up window.
Clear Windows Store Cache
Microsoft Store also creates caches in Windows 11. To remove these caches, you can perform the following steps:
Step 1: Press Windows + R to open the Run window.
Step 2: Type WSReset.exe into the Open bar and hit the Enter key. You will see a blank black window with the icon of Microsoft Store.
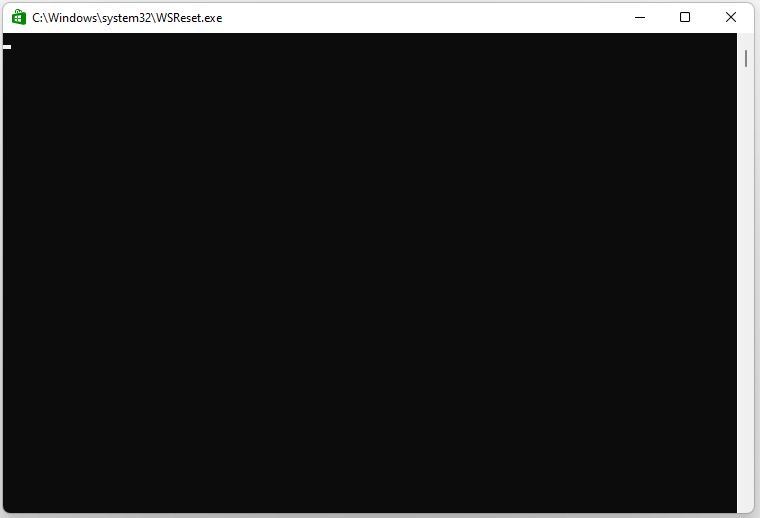
Step 3: Wait for the black window to automatically close. Once it closes, it means the caches generated by Microsoft Store are removed.
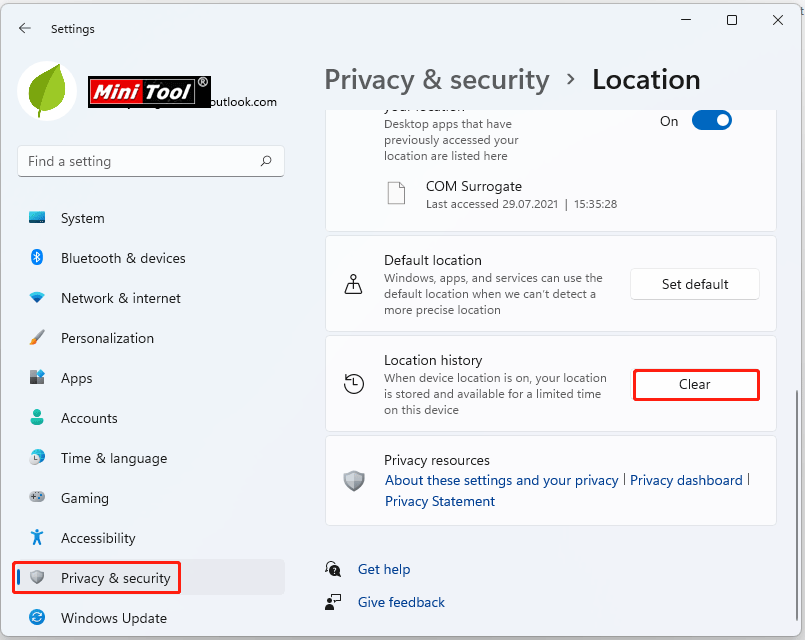
Clear Location Cache
Another kind of cache file in Windows is location history. Windows also save your location history as cache files, and you can remove them via Windows Settings.
Inside the Windows Settings window, go to the path: Privacy & security > Location > Location history > Clear.
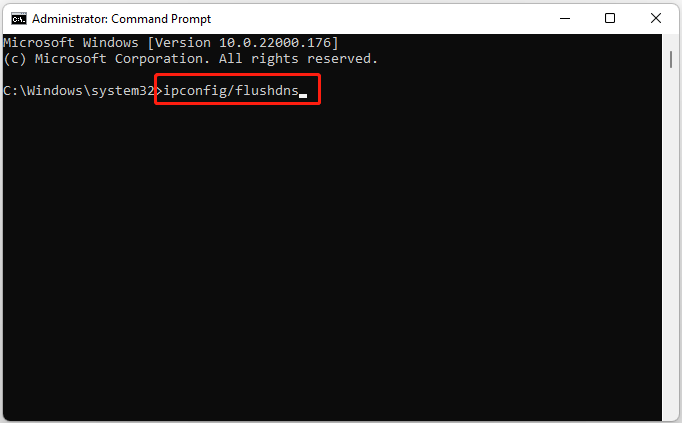
Clear DNS Cache
This needs to be done with Command Prompt. So, run Command Prompt as administrator first; then type the command ipconfig/flushdns and hit the Enter key; finally, wait for the command to finish the task and close the window.
Clear Browser’s Cache
When you browse a web page on a browser, the browser stores cache data. The data allows you to load a web page quickly, but sometimes, it may prevent the browse from working well. In this case, clearing cache is always useful.
How to clear the browser’s cache in Windows 11? The steps are slightly different on different browsers. Luckily, we have summarized them in the post: How to Clear Cache for One Site Chrome, Firefox, Edge, Safari.
OK, that’s all about how to clear different caches in Windows 11. Reading here, you may have the question: is there a way to automatically clear cache in Windows 11. That’s a thought-provoking question.
Luckily, there is a feature called Storage Sence in Windows 11 that can automatically clear cache at regular intervals, the cache including files in Recycle Bin, downloads folder, etc. How to use this feature? Keep reading.
Use Storage Sense to Automatically Clear Cache in Windows 11
Step 1: Open Windows Settings by pressing Windows + I.
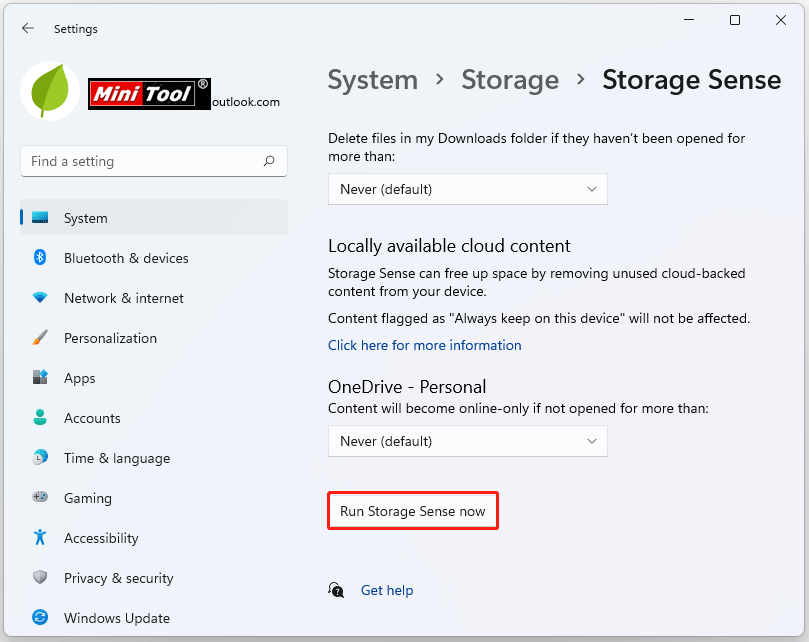
Step 2: Go to the path: System > Storage > Storage Sense.
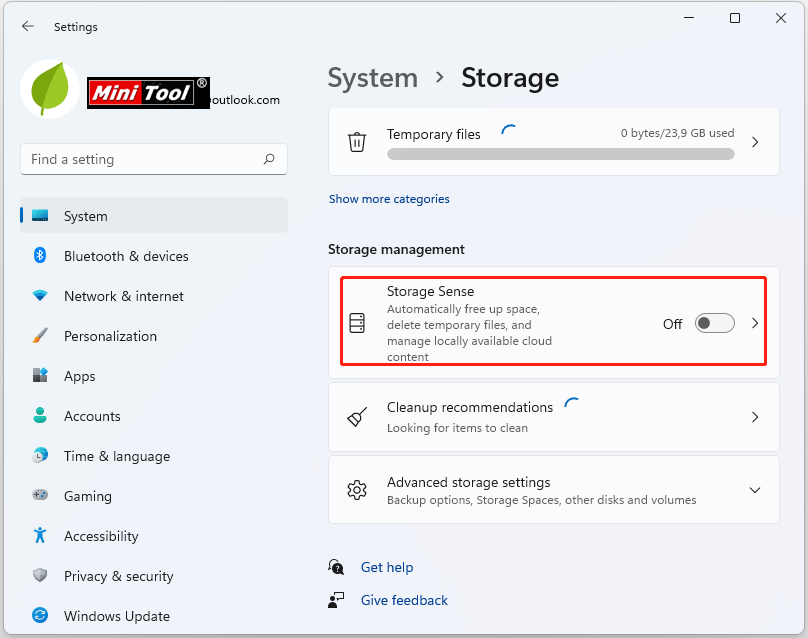
Step 3: Turn on the switch for Automatic User Content Cleanup. On the same page, configure the options for what cache files you would like to remove.

You might be interested in How to Make Windows 11 Faster for Good Performance (14 Tips).
User Comments :