What version of Java do I have? A great many people are unclear about the method to check Java version. Now, you come to the right place! MiniTool will walk you through detailed steps to check Java version Windows.
Many users want to check Java version in order to install the latest Java update. Here are 3 simple ways to help you check Java version on your Windows 10 PC. Besides, some common questions about Java version will be discussed in the following context.
If you installed the OracleJDK on your computer, it is very simple to check Java version. You just need to right-click the Start menu, and then type about Java in the search box and hit Enter. Then click on the About Java icon from the result and you can see the current Java version on your PC.
If you haven’t installed the OracleJDK, you can skip the above steps and continue to the following methods.

Method 1. Check Java Version in Control Panel
How to check Java version? The first and simplest method is to open your control panel where you can check Java version. Here is how to do that.
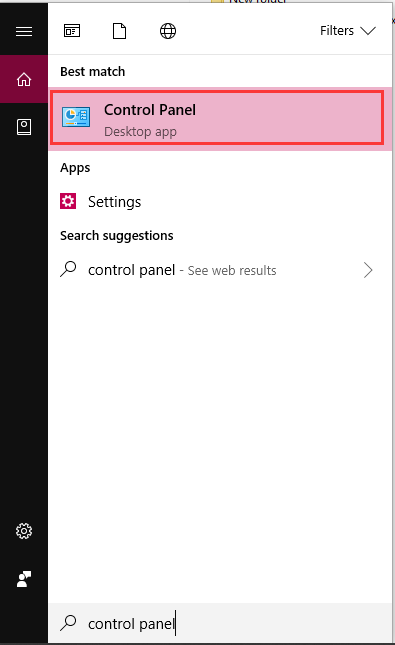
Step 1. Type control panel in the search box and select Control Panel from the best match.
Step 2. In the pop-up window, change the View by to Large icons. Then scroll down the right sidebar and you will find the Java icon. Click the icon to open the Java Control Panel window.
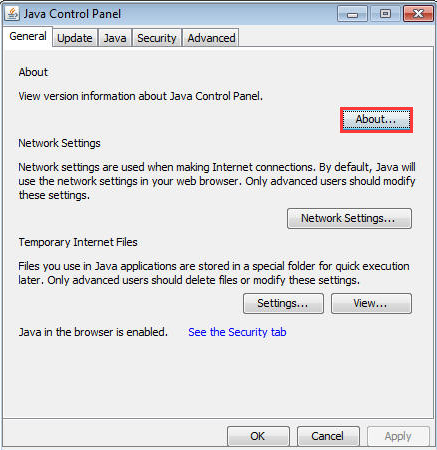
Step 3. Navigate to the General tab in Java Control Panel window and click on the About button to check Java version Windows 10.
Method 2. Check Java Version in Settings Window
If you have installed the Java program on your Windows 10 PC, you can open the Settings window and check if from the listed programs and features. Now, you can follow the steps below.
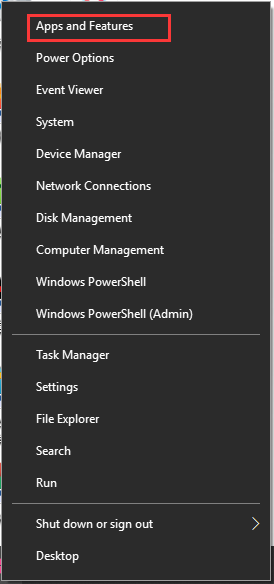
Step 1. Right-click the Start button and select the Apps and Features (Programs and Features) from the context menu.
Step 2. Scroll down the right sidebar to find the Java folder from the listed apps and programs.
Step 3. Double click the Java app and click on the Advanced options button. Then you can see the Specifications of Java where the current version will be listed.
Method 3. Check Java Version in Command Prompt
In addition to the above 2 methods, you can utilize the command prompt tool to check Java version on your Windows PC. Here’s how to do that.
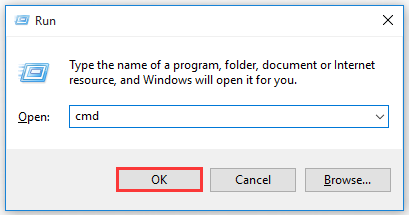
Step 1. Press Win + R keys to call out the Run dialog box, and then type cmd in the box and press Ctrl + Shift + Enter keys to open the elevated command prompt which will grant you with administrator privilege.
Step 2. Type java –version in the elevated command prompt and hit Enter. This command will check the current version on your Windows 10 PC.
What version of Java do I have? I believe that you already have known the answer. Now, it’s your turn to have a try.
User Comments :