If you are looking for a troubleshooting guide for CAM Overlay not working or showing, you come to the right place. This post from MiniTool Partition Wizard collects the reasons for the issue and some effective fixing methods. Now learn about them.
CAM Overlay not working or showing is a frustrating issue. Why does the issue happen? How to fix the issue? All these are discussed below.
Reasons for CAM Overlay Not Working or Showing
Based on the user reports and sharing, reasons for CAM Overlay not showing are as follows:
- Overlay Automatic startup failure;
- User not signing in;
- Outdated CAM version;
- DirectX Runtime environment missing;
- Glitched overlay;
- Confliction between CAM and Corsair Unity Engine or a different overlay program.
Now follow the solutions below one by one to troubleshoot NZXT CAM Overlay not working.
MiniTool Partition Wizard FreeClick to Download100%Clean & Safe
Solution 1: Enable CAM Overlay Manually
First, enable the CAM Overlay feature manually. To do that, you just need to press Shift + O. It is the default shortcut, and CAM allows you to customize it in the settings window.
Does CAM Overlay still not show after pressing the shortcut? If yes, scroll down for the second fixing method.
Solution 2: Sign in With Your CAM or Social Media Account
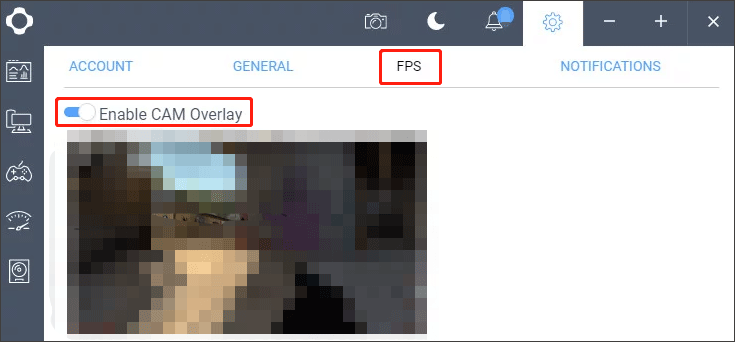
If you are using CAM with a guest account, please switch it to your CAM account or a social media count. After that, you should proceed to access the CAM’s settings window on which you need to make sure the toggle for Enable CAM Overlay, under the FPS tab, is turned on, and click the Apply button if you make any changes.
Now check if CAM Overlay shows up or works again. If yes, that’s great. If no, please move to the next solution.
Solution 3: Update CAM to the Latest Version
If you are using the old version of CAM software, then try updating it to the latest version. The latest version should not contain the bugs and glitches, such as CAM Overlay not working.
Well, how to update CAM to the latest version? Through a reinstallation, and here is the tutorial.
- Type CAM into the Windows search bar.
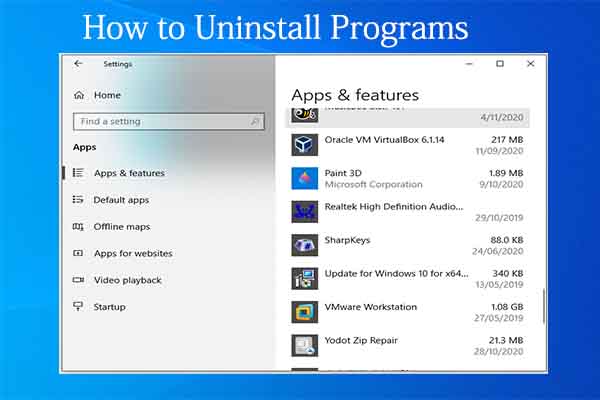
- Right-click CAM once it appears and then choose the Uninstall option.
- Now you should see the window called Programs and Features and a list on the window. Locate CAM on the list, right-click it, and choose the Uninstall option again.
- Follow the on-screen instructions to complete the uninstallation and then restart your computer.
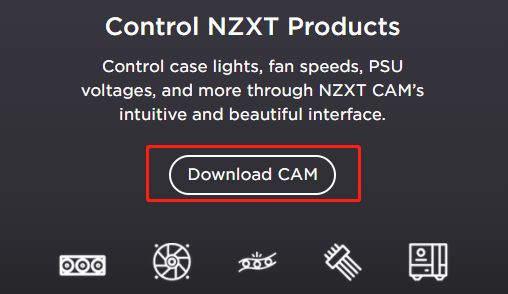
- Once your computer boots, go to the CAM webpage and locate the option labeled Download CAM.
- Double-click the download file and follow the on-screen instructions to install CAM again.
Once you complete the reinstallation, lunch the CAM software and use it with the same game that was related to the Overlay issue. Now see if the issue “CAM Overlay not showing” is solved.
Solution 4: Install DirectX End-User Runtime Web Installer
CAM Overlay requires the DirectX Runtime environment to be installed to work well. In other words, if the DirectX Runtime environment is missing, CAM Overlay will fail to function. In this case, installing DirectX End-User Runtime Web installer could fix make cAM Overlay work again.
To install DirectX End-User Runtime Web Installer, you should go to Microsoft Download Center and click the Download button on the web page.
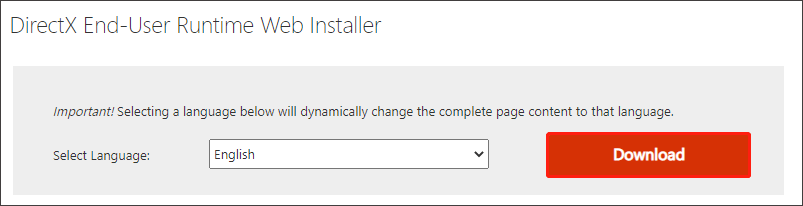
You will receive some recommendations from Microsoft, but you can dismiss them, and click the option labeled No thanks and continue DirectX End-User Runtime Web Installer. Wait for the download to ends and then install DirectX End-User Runtime. After that, restart your computer and see if CAM Overlay functions properly.
Solution 5: Use Mini CAM with Night Mode
Here is the tutorial on using Mini CAM with night mode:
- Open CAM and sign in to your user account.
- Click the gear icon to launch the drop-down menu and select the Switch to Mini CAM option from the menu.
- Click the moon icon at the top of the screen to switch it to night mode.
After switching to Mini CAM with night mode, see if “CAM Overlay not showing” is solved.
Solution 6: Uninstall Corsair Unity Engine and Other Overlays
If you have installed Corsair Unity Engine or other overlays, please uninstall it or them to see if “CAM Overlay not working” persists. Note that you can follow the tutorial in Solution 3 to complete the uninstallation.
Once you remove Corsior Unity Engine or other overlays from your computer, restart your computer and see if CAM Overlay can work properly.
Do you resolve NZXT CAM Overlay not working? If you are still beset with the issue, you can contact CAM support for help.
![11 Methods to Make Games Run Faster on Computer [Work Fast]](https://images.minitool.com/partitionwizard.com/images/uploads/2019/08/how-to-make-games-run-faster-thumbnail.jpg)
User Comments :