“The system administrator has set policies to prevent this installation” is an error message you might receive while installing a program. To resolve the problem, MiniTool Partition Wizard has developed a simple guide where some feasible solutions are displayed.
You should be very familiar with the process of installing programs on computer. If there is no issue with the installer and the destination drive has enough free space, you should be able to complete the installation smoothly by following the given instructions.
But sometimes, you might fail to install a program and receive a Windows Installer window displaying the error message: The system administrator has set policies to prevent this installation.
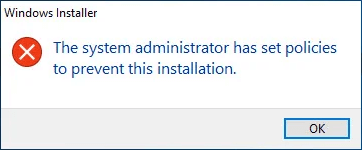
This is not a critical error for your system, but I will prevent you from install programs. What can you do if you unfortunately receive this Windows Installer error? Don’t worry. Here are some feasible solutions. Just keep reading to check the detailed instructions.
Fix 1: Run the Executable as Administrator
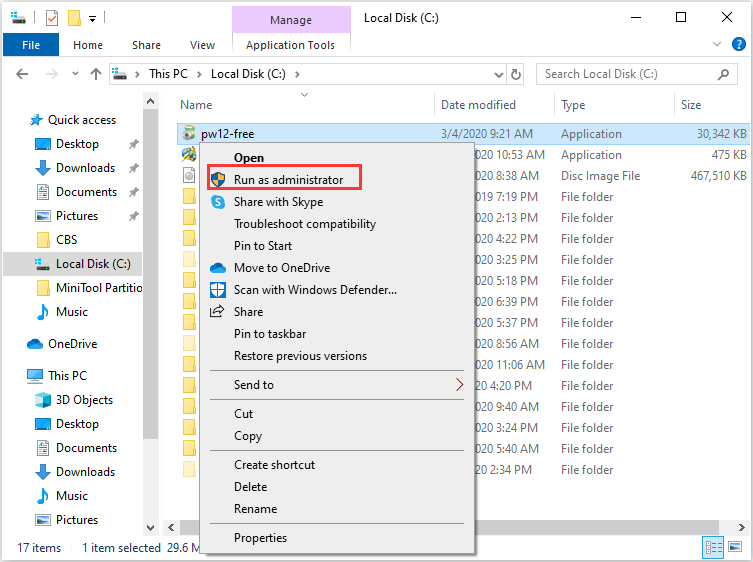
As the error message shows, you cannot perform the installation as it has been prevented by system administrator. So, the direct method to resolve the problem is to launch the installer with administrative privilege.
Just right-click the executable file you’ve downloaded and choose Run as administrator from the context menu.
Fix 2: Set UAC to Never Notify
User Account Control (UAC) is a mandatory access control enforcement facility working to improve the security of OS. If it is enabled, you will receive notifications every time when you are trying to install a program or make changes to your computer/Windows settings.
If you always receive “the system administrator has set policies to prevent this installation” message when you install programs, you can set the UAC to Never Notify. Here’s how to do that.
Step 1: Press Windows + S, input control panel and click the result.
Step 2: Navigate to User Accounts > User Accounts and click Change User Account Control settings.

Step 3: Move the slider to Never notify and click OK button.
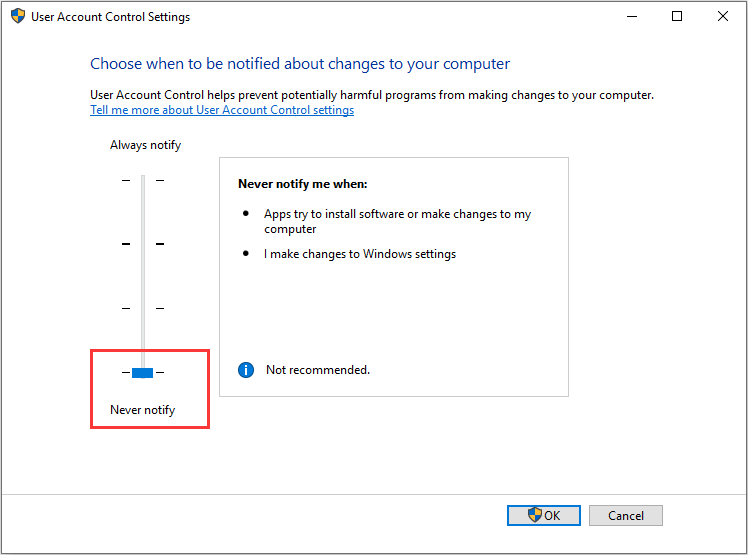
Now, you won’t receive notifications when you install the program. Once you have completed the installation, don’t forget to set UAC to the default to protect your PC.
Fix 3: Modify Windows Registry
To get rid of “the system administrator has set policies to prevent this installation” error message, you can also modify Windows registry. But as this is a rather risky operation, you had better back up the registry in advance.
Step 1: Press Windows + R, input regedit and click OK to open Registry Editor.
Step 2: Navigate to the following path: HKEY_LOCAL_MACHINESoftwarePoliciesMicrosoft WindowsInstaller
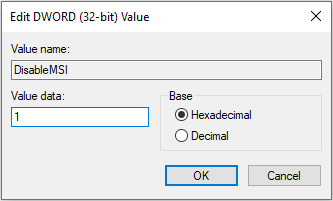
Step 3: Check if there is a DWORD named DisableMSI. If not, right-click the empty space in the right pane, choose New > DWORD (32-bit) Value and name it as DisableMSI.
Step 4: Double-click DisableMSI DDWORD and set its Value data to 1. Click OK to save changes.
Step 5: Now, navigate to ComputerHKEY_CLASSES_ROOTInstallerProducts to find the key related to the problematic program. You can check the ProductName in the right pane after selecting a key.
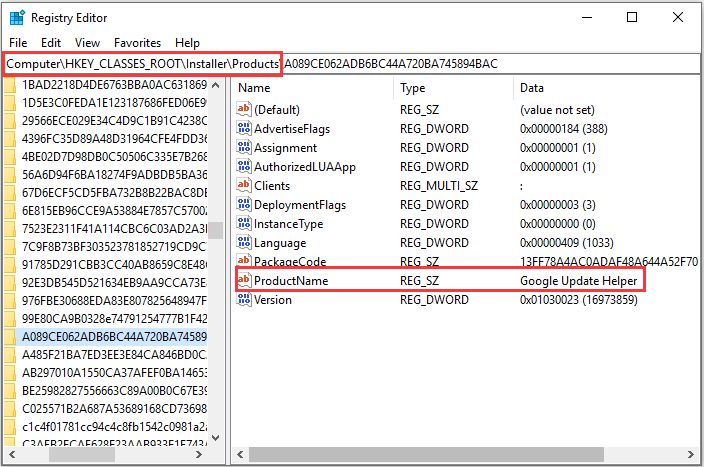
Step 6: Right-click the target key and choose Delete.
Once it’s done, restart your computer for the changes to take effect. Then, try installing the program again to check if the issue has been resolved.
Fix 4: Enable the Hidden Administrator Account
Alternatively, you can enable the hidden administrator account which is often used to resolve various administrative issues. You can follow the steps below to enable the account.
Step 1: Invoke Run window.
Step 2: Input cmd and press Ctrl + Shift + Enter to launch Command Prompt as administrator.
Step 3: Type the command net user administrator /active:yes and press Enter to enable the hidden administrator account.
Now, log out of the current account and log into this built-in administrator account. Test if you can install the program smoothly without the error message.
Fix 5: Change Windows Installer Policy Settings
To resolve “the system administrator has set policies to prevent the installation” problem, you can also go to change Windows Installer policy settings in Local Group Policy Editor. Note that the Local Group Policy Editor is not available in Windows 10 Home edition.
Step 1: Open Run window, input gpedit.msc and click OK to open Local Group Policy Editor.
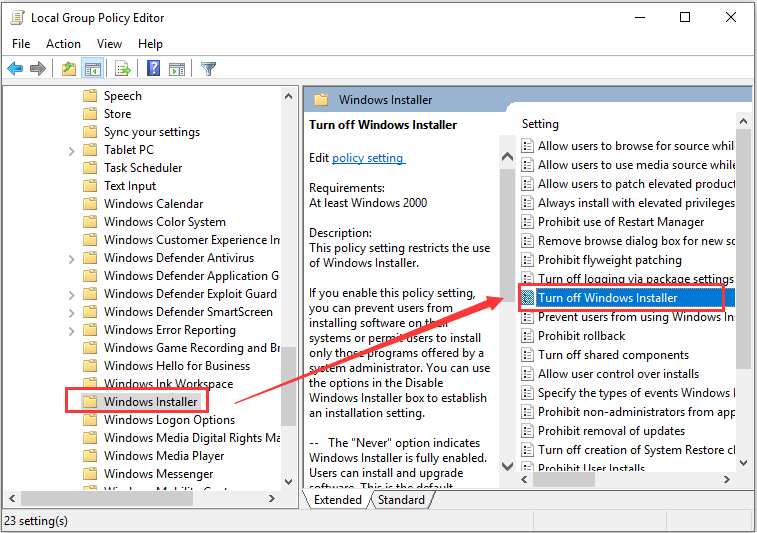
Step 2: Go to Computer Configuration > Administrative Templates > Windows Components > Windows Installer.
Step 3: In the right pane, double-click Turn off Windows Installer policy to edit its settings.
Step 4: In the pop-up window, click Enabled and choose Never from the drop-down list of Disable Windows Installer.
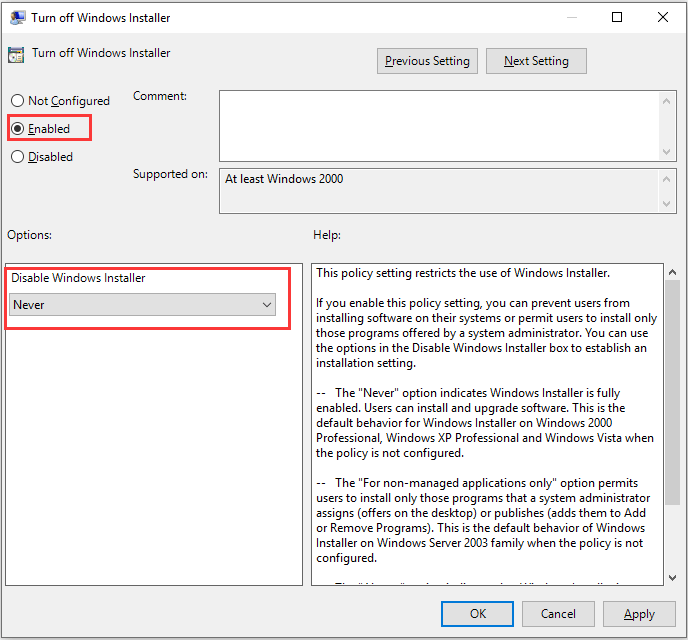
Step 5: Click Apply and OK to save changes.
After that, restart your computer and check if the Windows Installer error is fixed.

User Comments :