How to reduce CHKDSK countdown time on your PC and start the scanning and repairing disk errors process quickly? If you have no clue, you can focus on this post. Here, MiniTool Partition Wizard provides 2 ways to change countdown CHKDSK effectively.
CHKDSK (Check Disk) is a Windows in-built utility that can help scan and repair hard drive errors. You can manually run the CHKDSK tool in Command Prompt to check your disks for errors. And sometimes your system will automatically run this tool at the startup if your computer suffers a sudden power outage, improper shutdown, hardware failure, or other system issues.
Before the automatic disk-checking process begins, a CHKDSK countdown will be shown on the screen, allowing you to cancel the process by pressing any key within the countdown time. It’s great when you are hesitating in this task. However, if you are sure to check your disk, you may want to reduce CHKDSK countdown time so that you can start the process fast.
How to reduce CHKDSK countdown time? This post summarizes two ways to help you. You can pick one according to your preference.
Way 1: Reduce CHKDSK Countdown Time via Command Prompt
In this part, we mainly discuss how to reduce CHKDSK countdown time by using Command Prompt. If you are interested in this method, you can take a look.
Step 1: Press Windows + R to open the Run dialog.
Step 2: Type cmd in the text box and then press Ctrl + Shift + Enter to open Command Prompt with administrative privileges.
Step 3: In the elevated Command Prompt, type chkntfs /t:[seconds] and press Enter to change countdown CHKDSK. Replace [seconds] with the number you want to set.
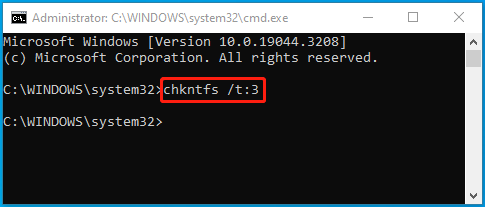
Step 4: After that, you can run the chkntfs /t to check if you change the countdown time successfully.
Way 2: Reduce CHKDSK Countdown Time via Registry Editor
In addition to Command Prompt, Registry Editor can also help you reduce CHKDSK countdown time. To do this, follow the steps below.
Step 1: Type regedit in the Run dialog box and then press OK.
Step 2: After you enter Registry Editor, navigate to the following path:
HKEY_LOCAL_MACHINE\SYSTEM\CurrentControlSet\Control\Session Manager
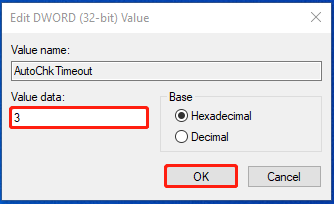
Step 3: Right-click the AutoChkTimeOut value and select Modify.
Step 4: In the prompted window, set the Value data to a desired number and then click OK.
Step 5: Restart your PC and check if the CHKDSK countdown time is reduced.
Bonus Tip: Use MiniTool Partition Wizard to Check for Disk Errors
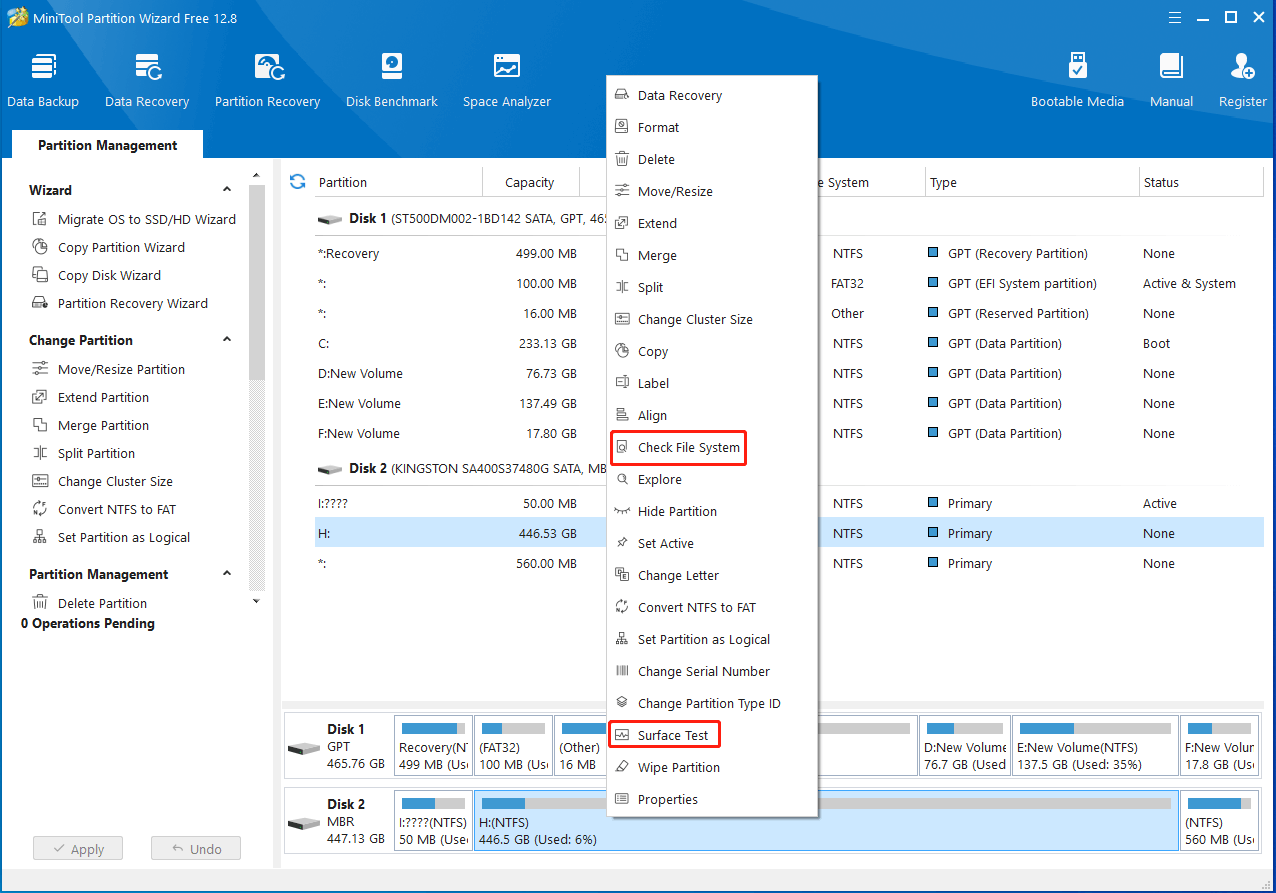
You can run CHKDSK to check and repair your disk errors. Alternatively, you can use an alternative to this utility. Here, we highly recommend MiniTool Partition Wizard to you. It’s a professional disk checker that enables you to check & fix file system errors and scan bad sectors on your hard drive.
To check your hard drive with MiniTool Partition Wizard, you can download and install this program on your PC. Then launch it to enter the main interface and right-click the target partition to select Check File System or Surface Test. After that, follow the given instructions to complete the disk checking.
MiniTool Partition Wizard FreeClick to Download100%Clean & Safe
How to reduce CHKDSK countdown time in Windows 10/11? You can follow the above methods to execute this operation. If you have any problems with this topic, you can leave a message in the comment part below.
User Comments :