WSReset.exe is a troubleshooting tool that is used to reset or clear the Windows Store without changing the account settings or deleting installed apps. However, many users reported that they counter the “ms-windows-store Purgecaches” error when using the WSReset.exe too. If you are still trying to fix it, there are 8 reliable troubleshooting methods for you.
Fix 1. Run Windows Store Apps Troubleshooter
The ms-windows-store:Purgecaches error is often related to the Windows Store Apps. To fix it, you can use the built-in Windows Store Troubleshooter. Here’s how:
Step 1. Press Win + I keys to open Windows Settings.
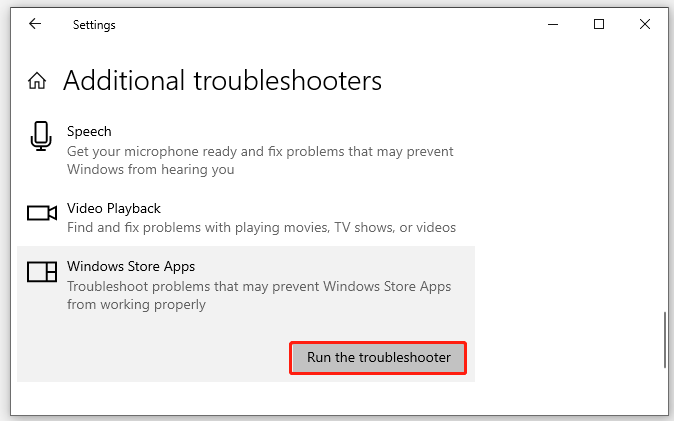
Step 2. Navigate to the Update & Security > Troubleshoot > Additional troubleshooters one by one.
Step 3. Select Windows Store Apps and click on Run the troubleshooter. After that, this tool will detect problems automatically. If any problems are detected, the troubleshooter will try to fix them. In addition, you can repeat this process for your Internet Connections troubleshooter and check if there is an internet issue.
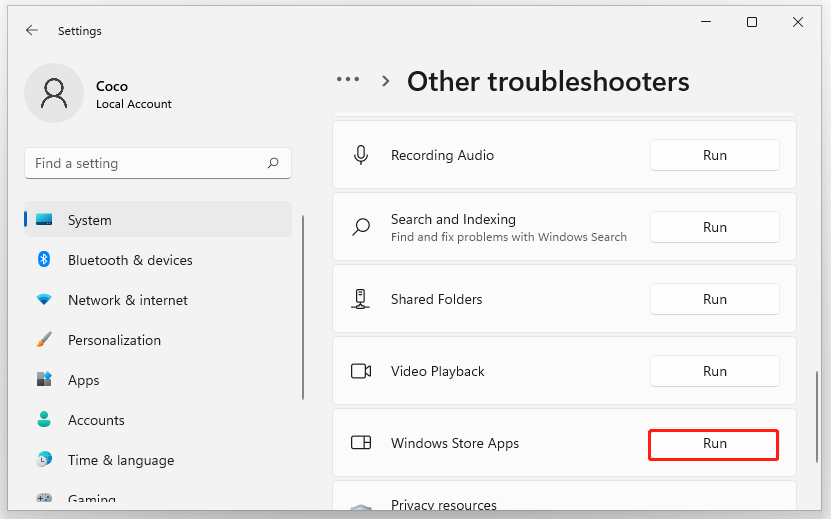
For Windows 11, you can open Settings, and then go to System > Troubleshoot > Other Troubleshooters > Windows Store Apps and click on Run.
Now, you can re-open the WSReset.exe tool and see if the “MS Windows Store Purgecaches the app didn’t start” error is cleared.
Fix 2. Re-register the Windows Store App
If running the troubleshooter can’t fix the “ms-windows-store:Purgecaches” error, you can try re-registering the Windows Store app via PowerShell. Before you do, make sure that you end all Windows app updates.
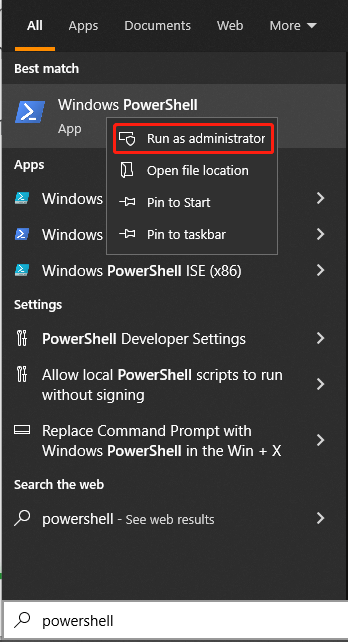
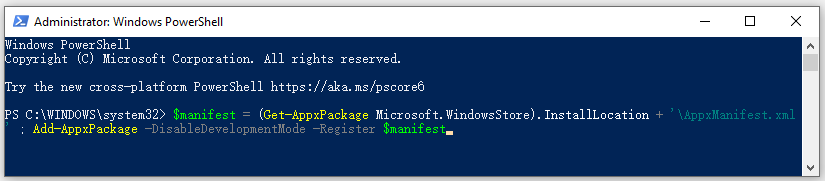
Step 1. Type powershell in the Search box, and then right-click Windows PowerShell and select Run as administrator. Then click on Yes in the UAC window to access this app with admin rights.
Step 2. In the elevated PowerShell window, copy and paste the following command and hit Enter.
$manifest = (Get-AppxPackage Microsoft.WindowsStore).InstallLocation + ‘AppxManifest.xml’ ; Add-AppxPackage -DisableDevelopmentMode -Register $manifest
Step 3. Restart your computer and check if the Windows cannot find MS Windows Store Purgecaches error gets fixed.
Fix 3. Enable the License Manager Service
The ms-windows-store Purgecaches error can occur when the License Manager Service is disabled. In this case, you can enable the service via CMD.
Step 1. Type cmd in the Search box, and then right-click Command Prompt and select Run as administrator.
Step 2. In the elevated Command Prompt window, type the following command and hit Enter.
sc config LicenseManager start= demand
Step 3. Restart your computer and see if the error still occurs.
Fix 4. Repair the Packages Permissions via Registry Editor
As mentioned above, the “MS Windows Store Purgecaches the app didn’t start” error mainly occurs when your computer can’t reset the app cache. Here you can try repairing the packages permissions with Registry Editor.
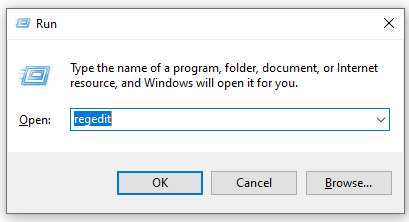
Step 1. Press Win + R keys to open the Run dialog box, and then type regedit in it and hit Enter.
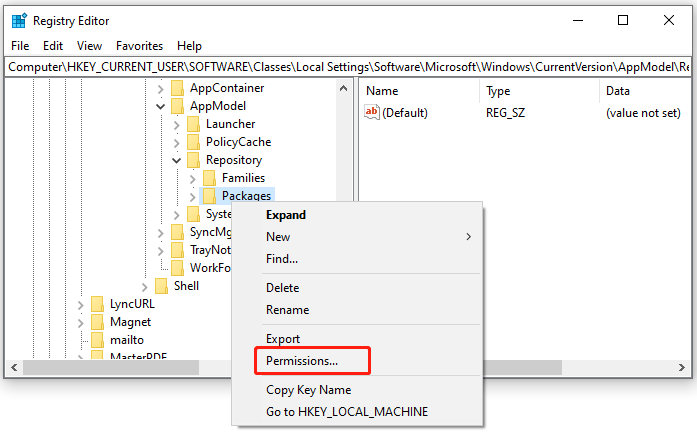
Step 2. In the Registry Editor window, go to the following path via the left navigation bar.
HKEY_CURRENT_USER Software Classes Local Settings Software Microsoft Windows CurrentVersion AppModel Repository Packages
Step 3. Right-click the Packages key from the left pane and select Permissions.
Step 4. Click on Advanced in the pop-up window.
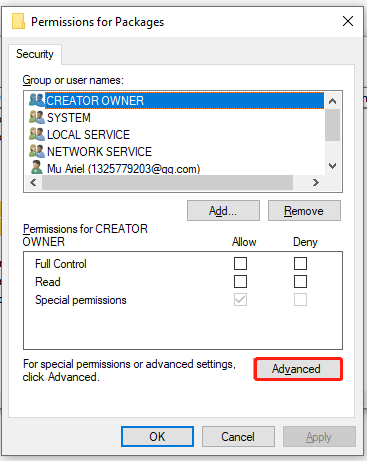
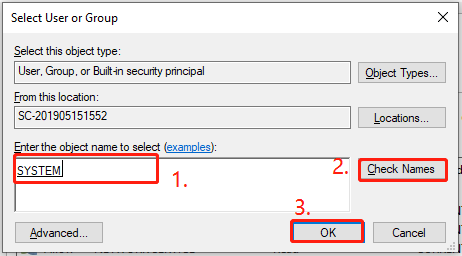
Step 5. In the Advanced Security Settings window, click on the Change link next to Owner. Make sure the Owner option is set as System. If not, you can type System in the box of the Object name, click on Check Name then on OK.
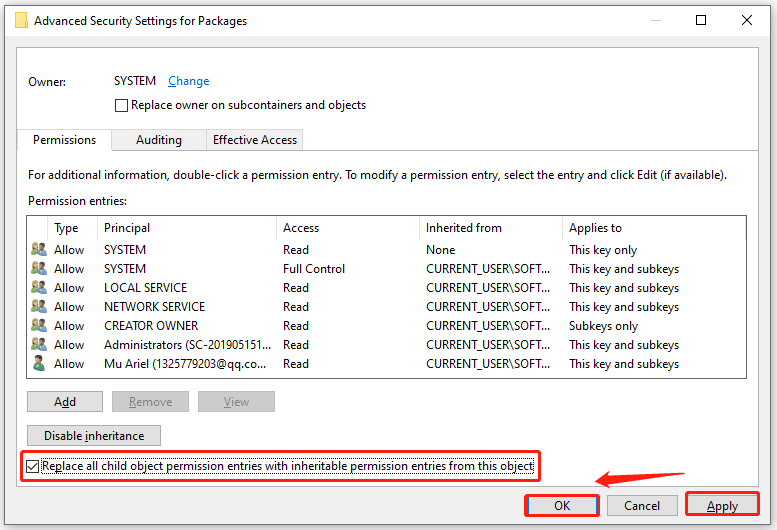
Step 6. Tick the checkbox next to Replace all child object permission entries with inheritable permission entries from this object, and then click on Apply and OK.
Now, close Registry Editor and reboot your computer to check if the ms-windows-store Purgecaches issue is resolved.
Fix 5. Create a New Account
Many users reported that the ms-windows-store:Purgecaches error disappears when using the WSReset tool on a new account. It’s worth having a try.
Step 1. Open the Settings window and select Accounts.
Step 2. Select Other users or Family and other users from the left panel, and then click on Add someone else to this PC and click Sign in without a Microsoft account.
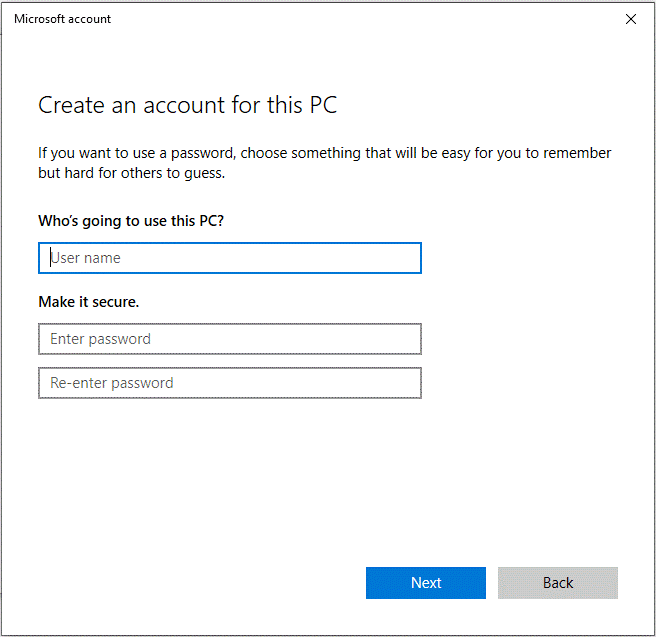
Step 3. In the pop-up window, create a new local account by following the on-screen instructions. Also, you can add a character password to protect your account.
Step 4. Once added, log in to the account by restarting your system. Then you can run the WSReset.exe utility again and see if the app didn’t start Windows 10 error is fixed.
Fix 6. Install the Latest Windows Updates
Sometimes the ms-windows-store Purgecaches error occurs due to some bugs. So, we recommend you install all pending Windows updates and check if the issue is solved.
Step 1. Open the Settings app again and then go to the Update & Security section.
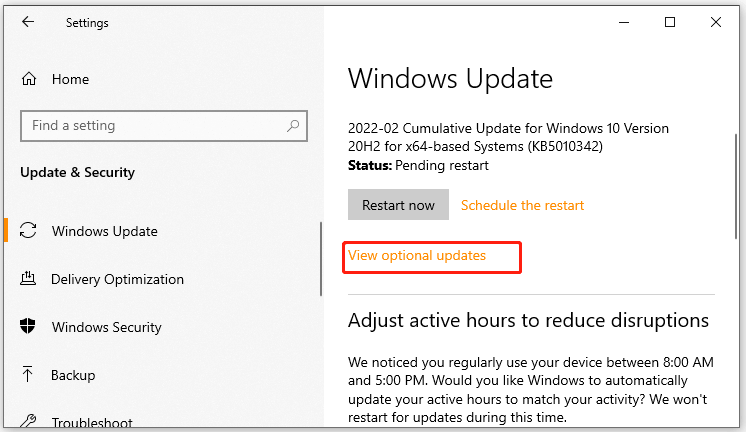
Step 2. Click on Check for updates button to start installing the Windows updates. Or, you can click View optional updates and install all available updates manually. After you install these updates, you can reboot your machine and check if the error gets fixed.
Fix 7. Reset Permissions to the WindowsApps Folder
Some users reported that the Windows cannot find MS Windows Store Purgecaches issue can be resolved by resetting certain permission to the WindowsApps folder. Here’s how:
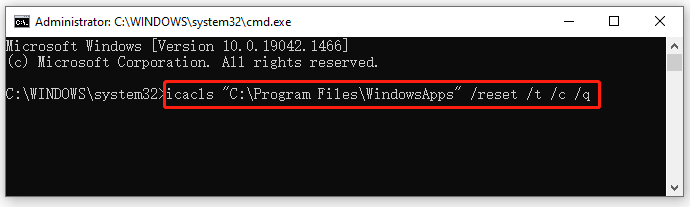
Step 1. Open an elevated Command Prompt window just like Step 1 in Fix 3.
Step 2. Type the following command and hit Enter to apply it.
icacls “C:Program FilesWindowsApps” /reset /t /c /q
Fix 8. Reinstall Windows Default Apps
If none of the above methods get rid of the error, you may consider reinstalling Windows default apps. To do so, follow the steps below carefully.
Step 1. Press Win + E keys to open File Explorer, and then navigate to the C:ProgramFiles path, right-click the WindowsApps or ModifiableWindowsApps folder, and select Properties.
Step 2. Go to the Security tab and click on Advanced.
Step 3. In the Advanced Security Settings window, click on Change next to the Owner section. Then type your user account in the Enter the object name to select area, and click on Check Name and then on OK.
Step 4. Select the checkbox for Replace owner on subcontainers and objects and click on Apply and OK to change the ownership.
Step 5. In the WindowsApps properties windows, go to the Security tab, click on Edit to change permissions and select the user account you set the ownership to, and then change permissions to Full Control. Click on Apply and OK to execute these changes.
Step 6. Open the elevated PowerShell window like Step 1 in Fix 2, and then copy and paste the following command and press Enter to reinstall the Windows Default Apps.
Get-AppXPackage | Foreach {Add-AppxPackage -DisableDevelopmentMode -Register $($_.InstallLocation)AppXManifest.xml}
Once completed, reboot your computer and see if the MS Windows Store Purgecaches the app didn’t start error disappears.
User Comments :