Surface Diagnostic Toolkit is a tool that can be used to test hardware on Surface computers. Where to download this tool? How to use it to perform hardware diagnostic? In this post, MiniTool Partition Wizard offers a detailed tutorial for you.
What Is Surface Diagnostic Toolkit
Surface Series are computers developed by Microsoft running Microsoft Windows operating systems. There are a variety of Surface models, such as Surface 2, Surface 3, Surface Go, Surface Go 2/3, Surface Pro, Surface Pro 2/3/4, Surface Book, etc.
Most of these models can be upgraded to Windows 11 free, a new operating system officially released on October 5, 2021. Microsoft also releases some new Surface laptops pre-installed Windows 11, and they are quite popular among Windows users.
To help Surface users figure out the culprit when the computer doesn’t work properly, Microsoft provides a program named Surface Diagnostic Toolkit. This program can do a series of hardware diagnostics to help users troubleshoot problems, such as:
- Battery test
- Bluetooth test
- Camera test
- Display and touchscreen brightness test
- Home button test
- Integrated keyboard test
- Microphone and speaker test
- Memory and storage test
- Network connectivity test
- Video out test
- Volume rocker test
- Windows update and system repair
- …
What devices are Microsoft Surface Diagnostic Toolkit compatible with? Please note that Surface Diagnostic Toolkit doesn’t work on Surface Pro or Surface Pro 2. If you want to use this Surface diagnostic tool, you need to have a Surface 3 device or a newer one.

Where to Get Microsoft Surface Diagnostic Toolkit
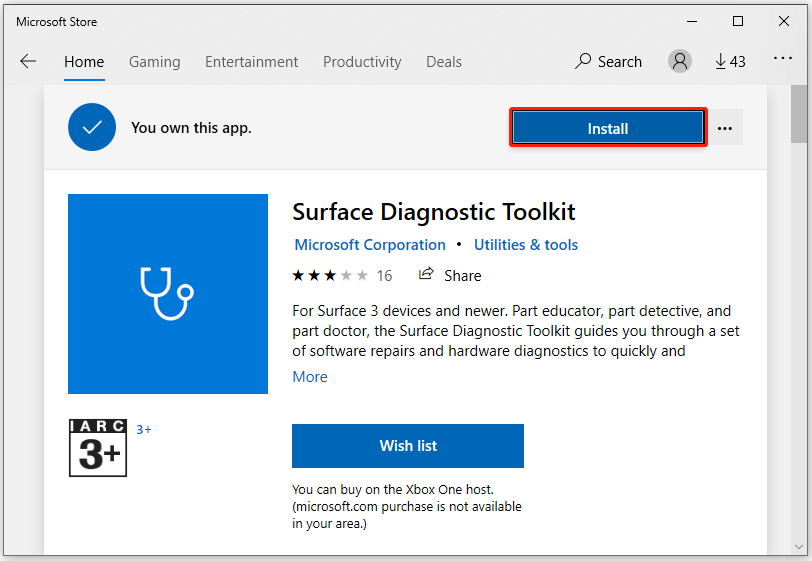
Microsoft Store provides the Surface Diagnostic Toolkit download free and you can open Microsoft Store and search for this tool. Then click the Get or Install button and Microsoft Store will download and install this tool automatically.
How to Use Microsoft Surface Diagnostic Toolkit
Before you start to use Microsoft Surface diagnostic tool, there are some things you need to keep in mind:
- Make sure the power and Internet are connected while using this tool.
- You need to save all the items you are working on and close all the apps before running Surface Diagnostic Toolkit.
Now, let’s see how to use Microsoft Surface Diagnostic Toolkit to troubleshoot hardware issues.
Step 1: Run the Surface diagnostic tool. When you see the End User License Agreement window, click Proceed to continue.
Step 2: Surface Diagnostic Toolkit allows you to choose Run all tests or Select tests. You just need to choose the option you want.
Step 3: If you select Run all tests, the testing will start immediately. During the process, you will be required to observe the test results and perform actions according to the on-screen instructions. When the testing ends, you will see a report and you can save or copy it.
Step 4: If you choose Select tests in Step 2, you will need to check the tests you want to run and uncheck the tests you don’t need. When all the items are configured, you can click Run tests to start the testing process. And you just need to follow the on-screen instructions to finish the operation.
The diagnosis usually takes about 15 minutes. Depending on your Internet connection speed and the updates you need to install during the process, the diagnosis might take longer. Please wait patiently and do not shut down your computer while running Surface Diagnostic Toolkit.

User Comments :