How to fix the error code localhost refused to connect on Chrome? If you are stuck in this error code, this post is what you need. In this post, you can find six different solutions. By the way, you can follow the MiniTool Partition Wizard website to get solutions to other tricky errors on Windows.
Localhost Refused to Connect Chrome
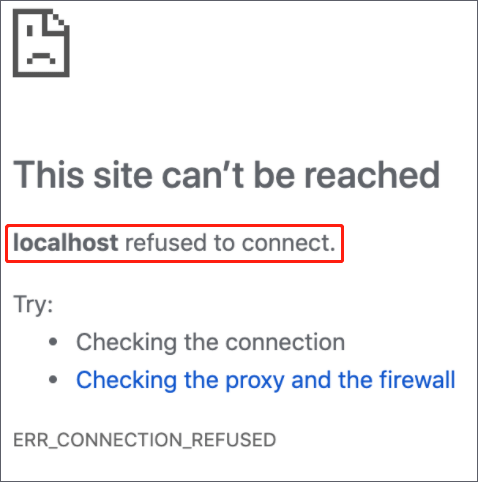
Localhost refused to connect is an error that appears on Google Chrome, along with the error code ERR_CONNECTION_REFUSED, and its appearance means that you are unable to access the webserver via localhost.
What causes “localhost refused to connect Chrome”? The possible reasons include:
- Firewall block
- Localhost not corresponding to 127.0.0.1
- WSL being used on Windows to run a web server
- Port 80 being used by another application
- Accessing the web server via a wrong port
- Insufficient permissions
Well, how to fix “localhost refused to connect Chrome”? The following solutions might help you get rid of the Chrome error. Scroll down and try them one by one.
How to Fix Localhost Refused to Connect Chrome?
Here are six solutions to the error “localhost refused to connect”. Try them one by one.
Fix 1: Change Firewall Settings
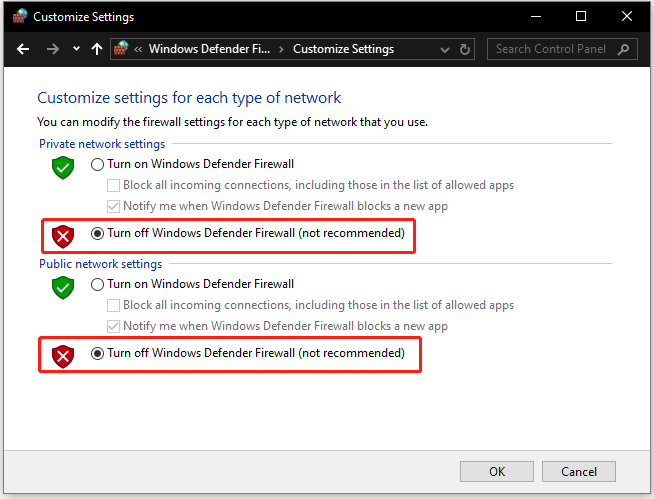
First, type firewall into the Windows search bar and hit the Enter key. Then, you should be inside the Windows Defender Firewall window where you need to click the Turn Windows Defender Firewall on or off option on the left side of the window. Next, tick both options called Turn off Windows Defender Firewall (not recommended) on the Customize Settings window. Finally, click the OK button to save the changes.
Now go back to Google Chrome and try to access the webpage. See if the error “localhost refused to connect” is removed.
MiniTool System Booster TrialClick to Download100%Clean & Safe
Fix 2: Access Localhost by Using 127.0.0.1
To do so, you need to launch XAMPP or WAMP to start the web server; then go to Google Chrome and type 127.0.0.1 and press the Enter key. See if you can access the web server now.
If you manage to do that, it means localhost is not pointing to this UP, and hence you will need to type 127.0.0.1/filename of localhost/filename when you need to access any projects/files on your web server.
Fix 3: Access Localhost via Port Number
If you run into the error “localhost refused to connect Chrome” when using the default port 80, it is recommended that you try to access the local web server by using the post number localhost:8080. To do that, just type this number in your browser.
Fix 4: Change Port Number of Apache Web Server
Do that in WAMP:
Step 1: Open Task Manager by right-clicking the taskbar and choosing the Task Manager option.
Step 2: End all processes related to WAMP. To do that, highlight the process and click the End task button.
Step 3: Press Windows + E to open File Explorer and go to the path: C:wampApache2conf.
Step 5: Find and open the file named httpd.conf with Notepad or any other editor.
Step 6: Find the following lines in that file:
Listen 80
ServerName localhost:80
Step 7: Replace those two lines with the following lines:
Listen 8080
ServerName localhost:8080
Step 8: Save the modified file and open WAMP to see if the error “localhost refused to connect” disappears.
Do that in XAMPP:
Step 1: Strat XAMPP from the Start menu, then right-click the XAMPP icon in the system tray on the taskbar to access the XAMPP Control Panel.
Step 2: Once inside the XAMPP Control Panel window, click the Stop button in front of the apache service.
Step 3: Go to File Explorer and navigate to the path: C:xamppapacheconf.
Step 4: Look for the file called httpd.conf and open it with Notepad.
Step 5: Repeat Step 6 – Step 7 mentioned above.
Step 6: Open XAMPP and see if the error “localhost refused to connect” disappears.
Fix 5: Delete the application.config File
Step 1: Open File Explorer and make sure the Show items option is selected under the View tab.
Step 2: Look for the .vs folder and find the config folder.
Step 3: Delete the application.config file from the config folder and close File Explorer.
Fix 6: Restart LxssManager Service
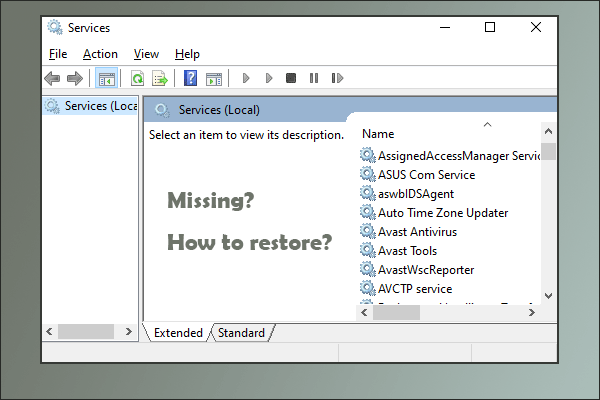
First, open Services on your computer and locate the LxssManager service. Then, right-click that service and choose Restart or Start. Finally, close Services.
All the six solutions to the error “localhost refused to connect” have been displayed. Try them one by one until you fix the error. Look forward to your good news.
User Comments :