iCUE (Corsair Utility Engine) is a piece of software that can help you control and manage every part of your computer. It can also customize and check your PC’s statistics. In addition, it can give you a better gaming experience by adjusting the RGB lighting and other operations.
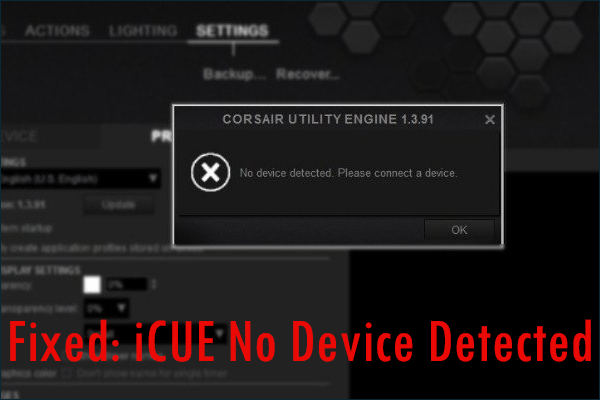
Corsair iCUE brings much convenience for you to manage your computer. However, you may also be troubled randomly by the software while iCUE not opening or working in your Windows 10/11.
Do you know how to fix the annoying issue? Here are some methods for you.
Method 1: Change the USB Port
If the USB ports you are using are damaged, Corsair iCUE cannot read the hardware on your PC. Therefore, when you run into the “iCUE not working” issue, the first thing you should do is to check if the USB ports are working correctly. If not, you ought to replace them.
If the issue persists after you use the good USB port, you need to go on with other methods.
Method 2: Delete the Cache Folder of Corsair
Sometimes the “Corsair iCUE not opening” issue may appear as well if certain cache files of Corsair iCUE get corrupted. In this case, it’s recommended to delete Corsair’s Cache folder.
To do this, follow the steps below.
Step 1: Right-click the Start icon on your desktop and select Task Manager.
Step 2: Under the Processes tab, right-click iCUE and select End task to close the application completely.
Step 3: Exit Task Manager. Then press the Windows and R keys together to open the Run dialog.
Step 4: Type %appdata% in the box and then press Enter.
Step 5: Find the Corsair folder in this content. Then right-click it and select Delete.
To avoid some unexpected errors happening, you can cut and paste the folder to another place before deleting it.
Step 6: After that, restart iCUE to see if the issue is resolved.
Method 3: Repair Corsair iCUE
Another way that may help you fix the “iCUE not opening” issue is to repair the software.
Step 1: Search for Control Panel in the search bar and open it from Best match.
Step 2: In Control Panel, go to Programs > Programs and Features.
Step 3: Right-click Corsair iCUE and select Change.
Step 4: In the next window, click Repair.
After you finish repairing Fix Corsair iCUE, restart the software to check if the issue is fixed.
Method 4: Update Device Drivers
The “Corsair iCUE not working” issue might be caused by the outdated device drivers on your computer. Therefore, to fix the issue, you can attempt to update device drivers.
Once you finish updating your device drivers on your computer, Corsair iCUE might be able to run properly.
Method 5: Reinstall Corsair iCUE
If you fail to get rid of the “iCUE not opening” issue with the above solutions, we recommend you try reinstalling the Corsair iCUE software.
Step 1: Right-click the Start icon on your desktop and select Run.
Step 2: In the Run dialog, type appwiz.cpl and then press Enter.
Step 3: In the Uninstall or change a program window, right-click Corsair iCUE and select Uninstall.
Step 4: Once you remove the Corsair iCUE from your Windows 10/11 successfully, go to the official download page to reinstall the latest version of iCUE.
After the process is completed, restart iCUE and it may work well this time.
All these methods mentioned in this post are available, you can try them one by one when you get stuck in the “iCUE not opening/working” issue. If you have any other ideas about how to fix the error, you can share them with us in our comment part.
User Comments :