If you want to perform the same operation on multiple objects, it is tedious to set them one by one. Don’t worry. You can learn how to group objects in PowerPoint in this post. MiniTool Partition Wizard shares three simple ways to group in PowerPoint with you.
About PowerPoint Group
In PowerPoint, you can rotate, flip, move or resize multiple shapes, pictures, or other objects at the same time by grouping them. You can also group those objects to change their attributes at one time. For example, you can add a shape fill or effect, or an effect to a picture.
However, you may encounter the issue of the group option greyed out when you have a PowerPoint group. You should be aware of the following situations that may lead to that issue.
1. You have selected only one object: You can’t group objects in PowerPoint if you have selected one object only. Just select multiple objects at the same time.
2. You have selected placeholders: You can’t group placeholders with other types of objects like shapes, pictures, or text boxes. It is the most common reason that you can’t group in PowerPoint. If there are placeholders on your target slide, you have to delete them. Click here to learn how to delete placeholders.
3. You have selected tables, embedded worksheets, or GIF images: If you have inserted tables, embedded worksheets, or GIF images, you can’t group them with other objects.
Also read: Microsoft PowerPoint Download for Windows 10/11, Mac, Mobile
To learn how to group in PowerPoint, you can choose one way from the three options below.
Option 1: Group in PowerPoint by Right-Clicking Target Object
If you are a beginner of slideshow-making, you can try this comprehensive way to group in PowerPoint.
Step 1: After opening your target PowerPoint, you ought to press the Shift or Ctrl button while clicking the objects you want to group.
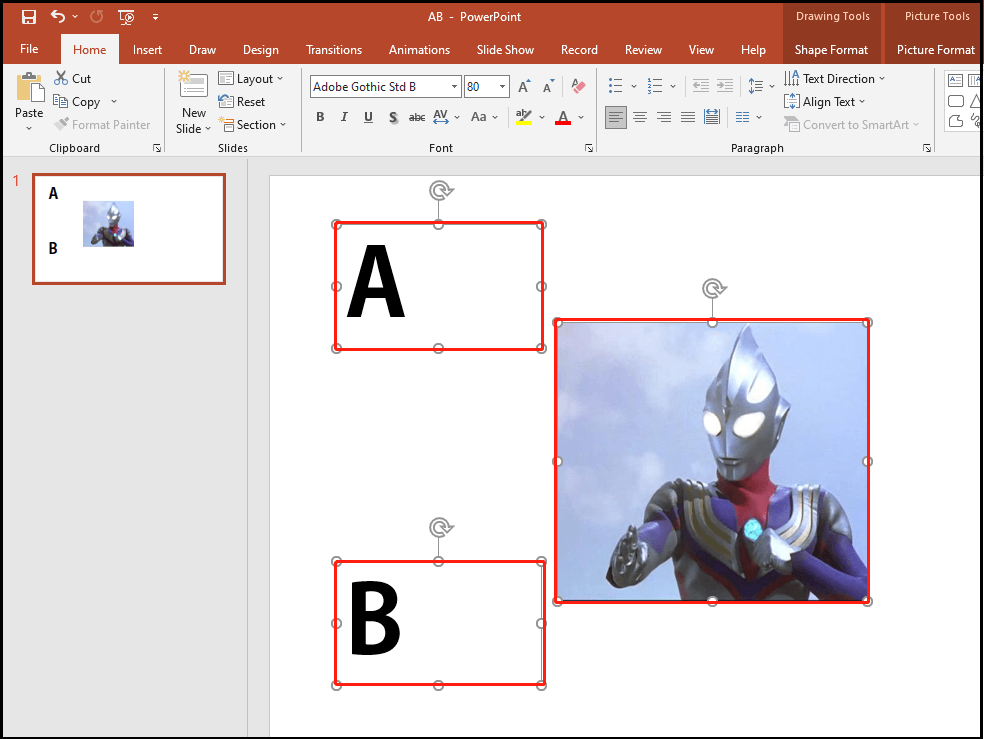
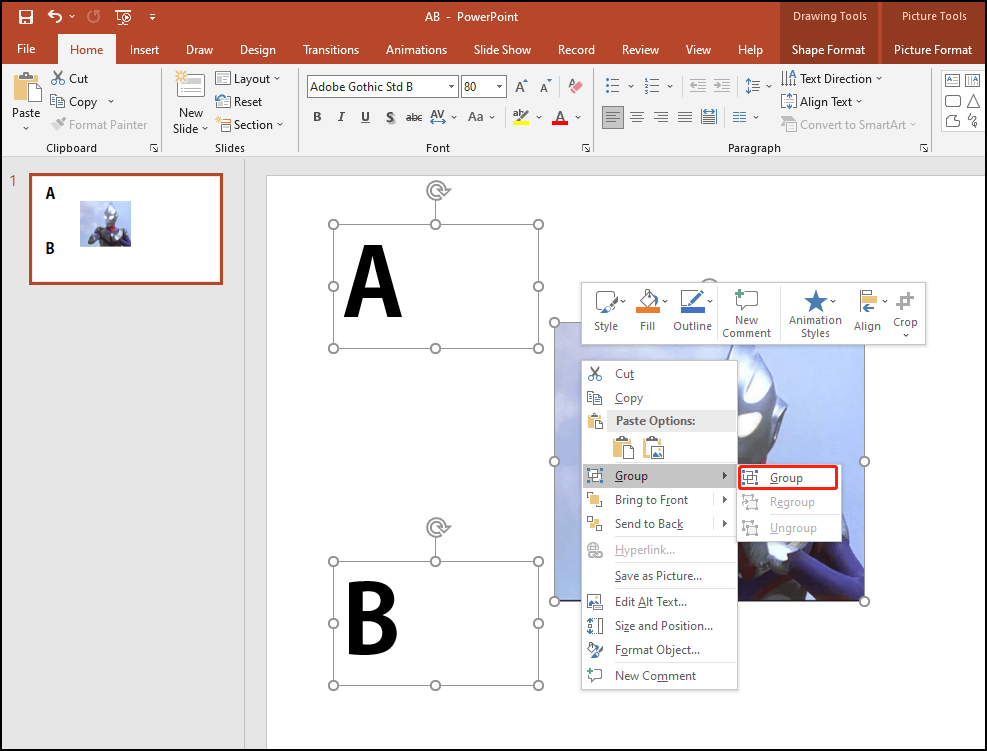
Step 2: Right-click one of your target objects and scroll your mouse to the Group option. And then, simply hit Group in the sub-menu. Here, we take the image for example.
Step 3: You have grouped your target objects. Now, check it and begin to rotate, flip, move or do any operations in the new object.

Option 2: Group in PowerPoint via the Shape Format Tab
If you are familiar with the tabs, you can follow the steps below to learn how to group in PowerPoint.
Step 1: After opening your target PowerPoint, you should press the Shift or Ctrl button while clicking your target objects.
Step 2: Click the Shape Format tab on the top of the interface.
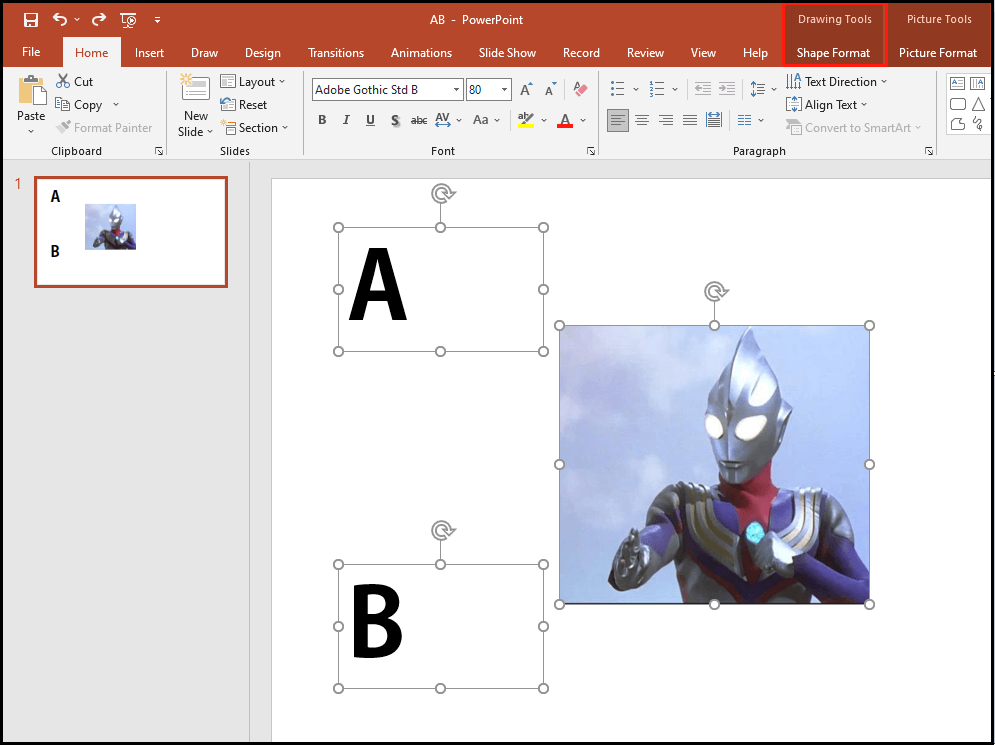
Step 3: Now, you need to pay attention to the change of the interface and hit Group. Click Group from the drop-down menu.

Now, you have managed to group objects in PowerPoint. If you want to learn more about the tabs, click here to have a look.
Option 3: Group in PowerPoint via keyboard shortcuts
If you are good at using keyboard shortcuts, you can have a PowerPoint group very easily. Just follow the steps below to learn how to group in PowerPoint.
Step 1: After opening your target PowerPoint, you should press the Shift or Ctrl button while clicking the objects you want to group.
Step 2: By pressing the Ctrl + G keys, all the objects will be grouped.
Is it simple? If you can use shortcut keys very proficiently, we recommend that you choose this method to group objects in PowerPoint.
Also read: Have A Try! Here Are Some Useful Zoom Keyboard Shortcuts
User Comments :