Margins are the blank space surrounding your Google Docs file, whose main purpose is to keep the document’s content from colliding with the document’s edges. However, some users don’t know how to change margins in Google Docs. Here, MiniTool Partition Wizard shows you two methods.
Changing margins can make the document more aesthetic. Well, how to change margins in Google Docs? There are two methods, and you can choose one of them to change the margins on Google Docs.
How to Change Margins in Page Setup
One way to change the margins on Google Docs is to go to the Page Setup dialog box. Here is a complete guide:
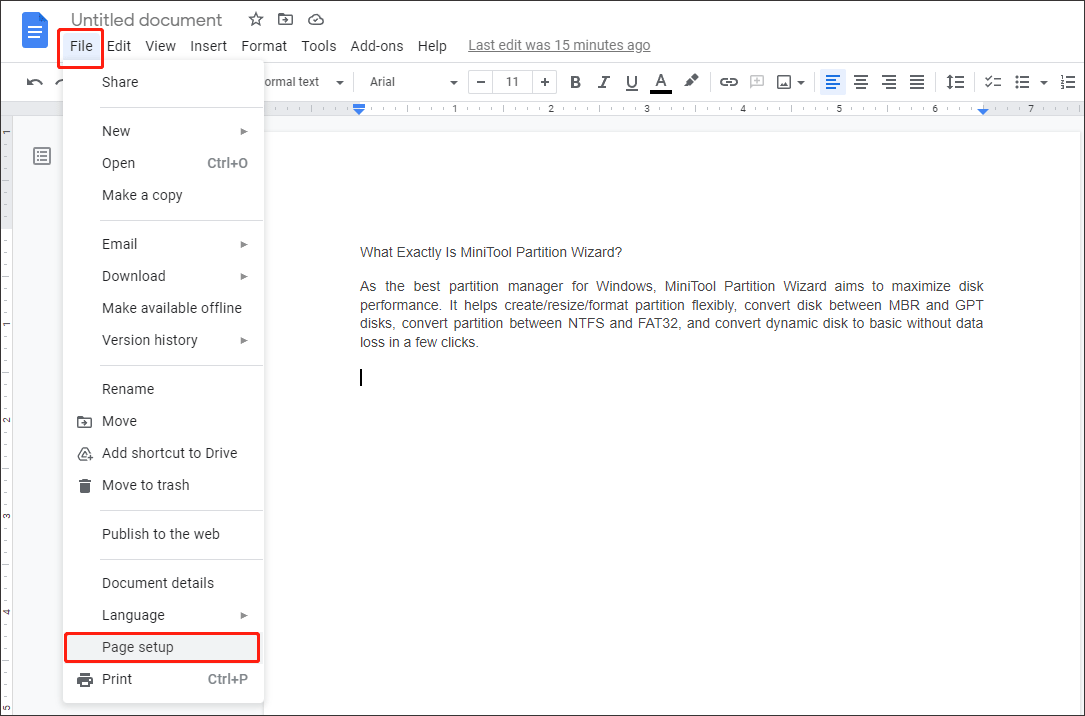
Step 1: Click File, and then click Page setup from the dropdown menu.
Step 2: Now you can enter your desired margins and click OK.
1. Generally, the default margins are set to one inch on each side. If you want to change the default margins, you can enter your desired margins. Then click the Set as default button, followed by the OK.
2. Whether your margins are measured in centimeters or inches depends on the default language of your Google Account.
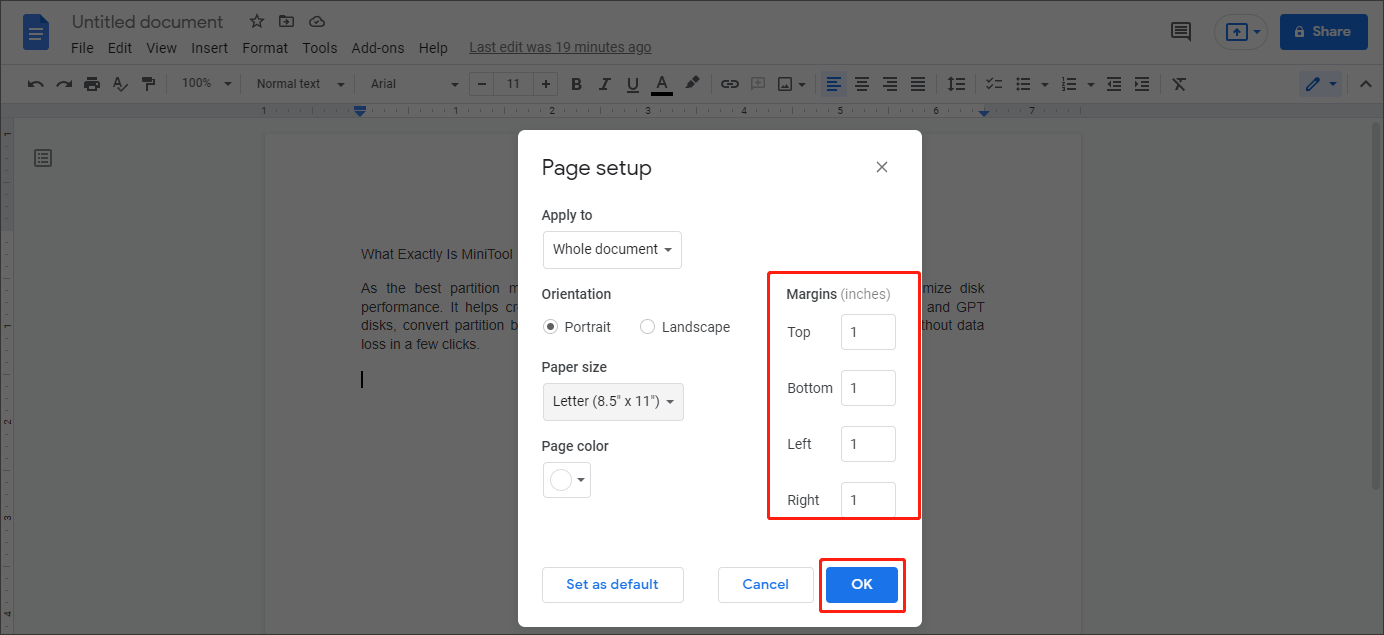
In the Page setup interface, there are some other settings, like Orientation, Paper size, and Page color.
- The Orientation option is to set an orientation type. There are two types for users to select. Portrait is the default orientation setting where the document is in taller-than-wide shape or has a vertical layout, while Landscape orientation refers to a document that is in wider-than-tall shape or has a horizontal layout.
- The Paper size option is to choose a paper size from a list of common page sizes which includes the common letter sized document, as well as legal, tabloid, and other sizes.
- The Page color option is to select a page color to set the background color for the Google Doc.
After you complete the settings, just click OK. And then you will get a new interface.
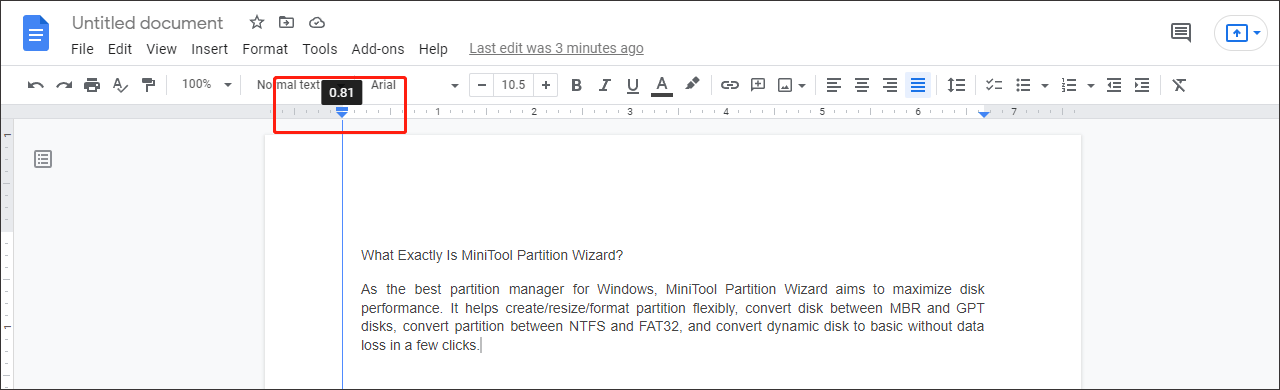
How to Change Margins Using the Ruler
Another way to change the margins on Google Docs is to use the ruler. The steps are as follow:
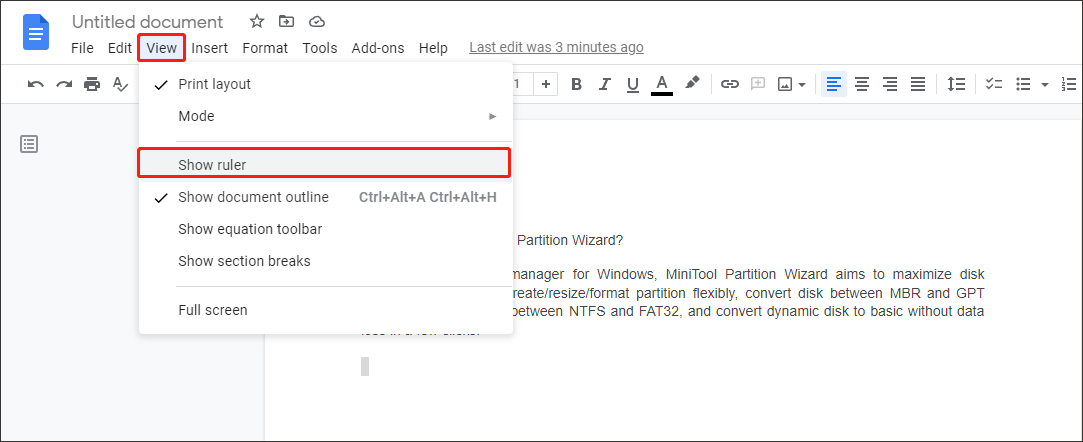
Step 1: Show ruler. If the ruler doesn’t show, you can click View and then select Show ruler. (If your ruler is visible, just ignore this step.)
Step 2: Go to the gray portion of the ruler, and your cursor will become a double-headed arrow.
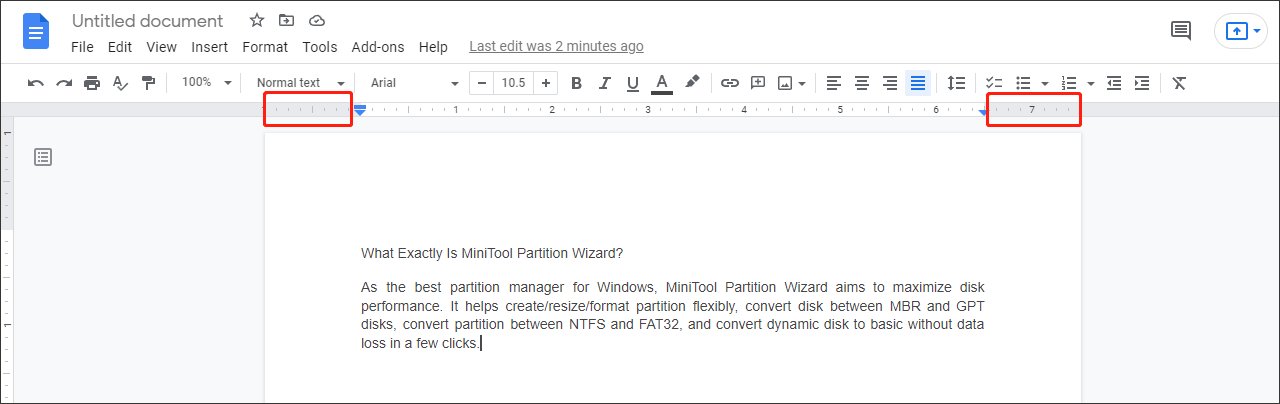
Step 3: Move the cursor into the gray portion of the ruler. Click and drag to change the margins.
This is how to change the horizontal margins, and you can change the vertical margins in the same way. The vertical margin Ruler is located on the left-hand side of the page.
Once you reach the position you want to use, release the mouse button. The margins on Google Docs will be changed automatically.
How to Indent Second Line in Word?
That’s all about how to change margins in Google Docs. Do you have any questions about this topic? Please leave them in the comment zone and we will try to answer them as soon as possible.
User Comments :