It is by default that automount is enabled in Windows. When Windows detects a new disk connected to the computer, Windows will automatically mount the new disk and assign a drive letter. If you want to disable automatic mounting of new disks, you can read this essay of MiniTool Partition Wizard.
If the automount is disabled, any new basic disk connected to the computer will not be mounted automatically and assigned drive letters. How to stop auto-mounting of drives? And how to enable automatic mounting of new drives when the automount feature is disabled? Here are several methods below to disable or enable auto-mounting of new drives.
How to Disable or Enable Auto-Mounting of New Disks
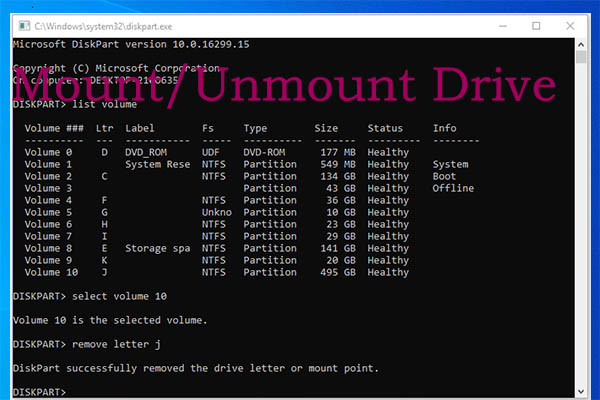
First, you can check if the automount feature is enabled or disabled currently. Press Win + R keys on the keyboard to open Run box. Then type diskpart in the box to open it. In the pop-up window, type automount and press Enter key to execute the command.

After checking, you can refer to the following methods to disable or enable auto-mounting of new drives.
Method 1. Use Diskaprt
You can use diskpart to disable automatic mounting of new disks. Just follow the detailed steps below.
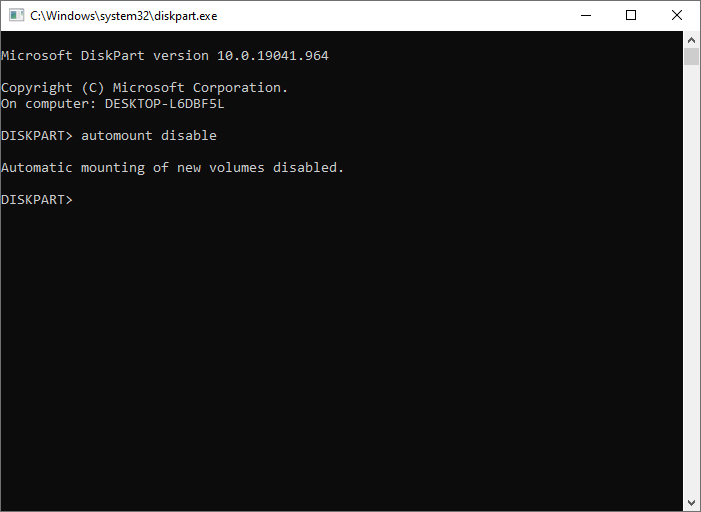
Step 1. Press Win + R keys to open Run box. Then type diskpart in the box to open it.
Step 2. In the pop-up window, type automount disable command and press Enter key.
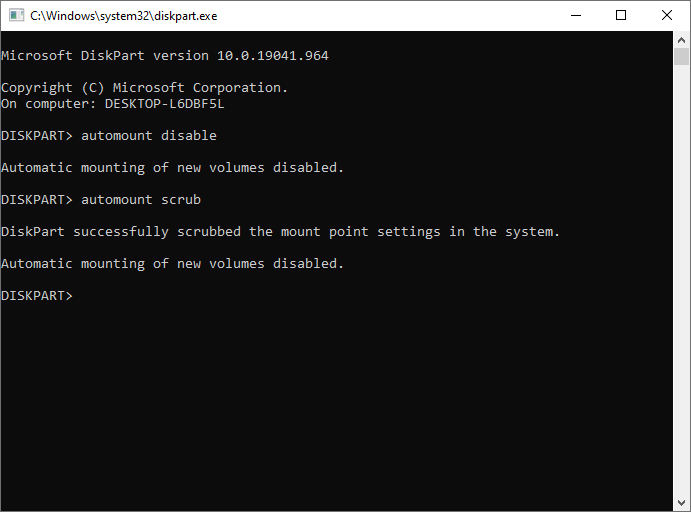
Step 3. Now automatic mounting of new volumes is disabled. If you want to remove drive letters of previously connected drives, you can continue typing automount scrub command in the window. Then press Enter key.
Step 4. Type exit command to exit diskpart. Then restart your computer to apply the change.
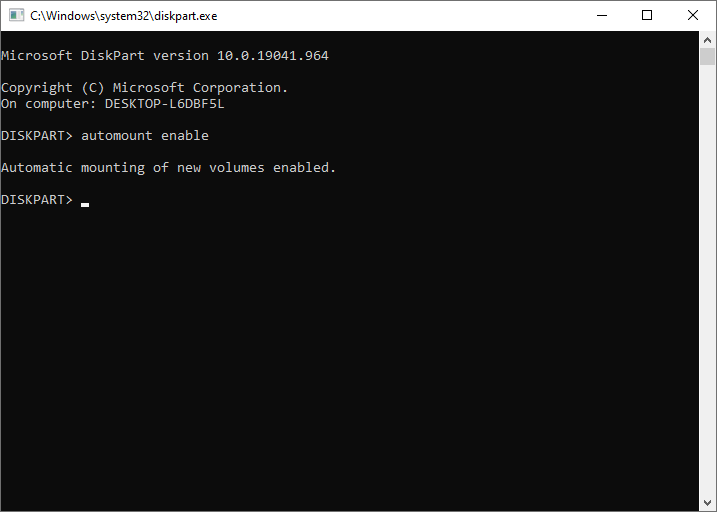
If you want to enable automatic mounting of new drives, you can open diskpart and type the following command. Press Enter key to execute the command. Then exit diskpart and restart the computer.
automount enable
Method 2. Use Mountvol Command
You can also run Command Prompt to turn off automount feature. The detailed steps are as follows.
Step 1. Run Command Prompt as administrator and execute the following command. Remember to press Enter key.
mountvol /n
If you want to remove all the drive letters of previously connected drives, type mountvol /r command.

Step 2. Now close the Command Prompt window and restart your PC.
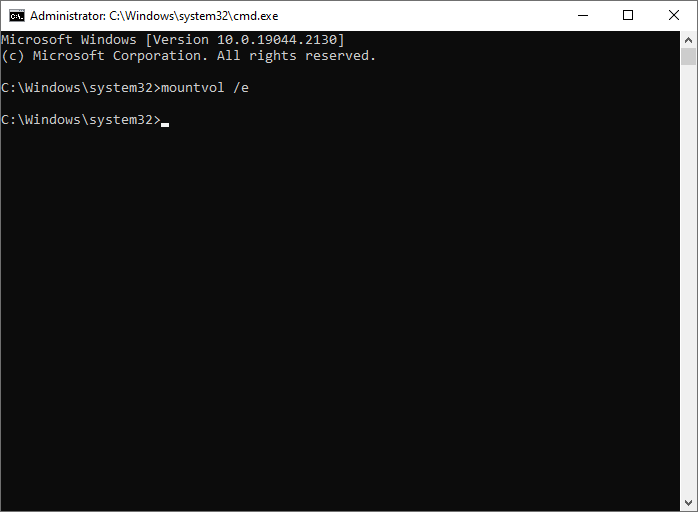
If you want to enable automatic mounting of new drives by using Command Prompt. You can run Command Prompt as administrator. Then type mountvol /e command in the window. After enabling, restart your PC for changes to take effect.
Method 3. Use the Registry Editor
Besides, you can stop auto-mounting of drives or enable automatic mounting of new drives by using Registry Editor.
Step 1. Press Win + R keys to open Run box. Then type regedit in the box to open it.
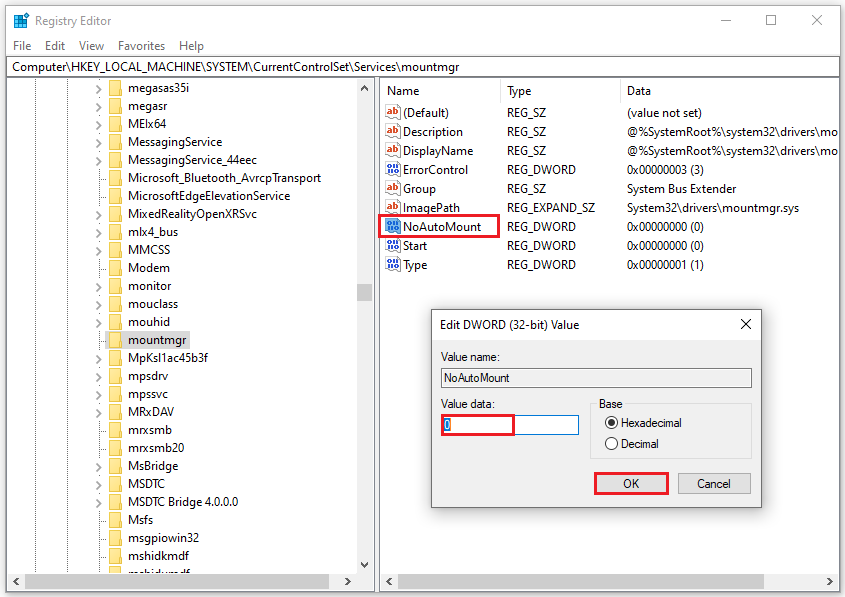
Step 2. In the pop-up window, navigate to Computer\HKEY_LOCAL_MACHINE\SYSTEM\CurrentControlSet\Services\mountmgr.
Step 3. Find and double-click the NoAutoMount DWORD. In the pop-up window, change the Value data to 0 to enable it. If you want to disable automatic mounting of new disks, you can change the Value data to 1.
Now restart your computer to apply the changes.
Wrapping Things Up
When you want to disable or enable automatic mounting of new disks, just feel free to have a try on above methods. We hope this guide can completely solve your issue. If you have some suggestions or any other good ideas, please share with us.
User Comments :