Color Management can help users configure color accuracy. Unfortunately, it is reported that this tool doesn’t work on Windows 11. If you are wondering how to fix Windows 11 Color Management, you should not miss this post provided by MiniTool Partition Wizard.
What Is Color Management?
Have you noticed that the color you see is different on different devices? It happens due to the different graphics cards used for the monitors. However, it is quite unfriendly to users who work in a color-managed environment, such as photographers, graphics designers, etc. Color Management can solve the problem.
Color Management is used in digital imaging systems. On Windows, it enables users to assign needed color profiles to different display devices, which can provide the best color experience across devices.
To access Color Management, you just need to press Windows + S to open the search utility, search for Color Management, and then open it. Under the All Profiles tab, you can configure the color profile according to your needs.
Unfortunately, some users reported that Color Management doesn’t work in Windows 11, the latest operating system provided by Microsoft. It is the successor to Windows 10 and is quite popular among Windows users.
If you have the same problem, you can try the following fixes.
Fix 1: Update Your Graphics Card Driver
An outdated or corrupted graphics card driver could lead to Windows 11 Color Management not working. To solve the problem, you should install the latest graphics card driver. And here is how to do it:
Step 1: Right-click the Windows button on your taskbar and select Device Manager.
Step 2: Double-click Display adapters. Then right-click your graphics card and select Update driver.
Step 3: In the pop-up window, select Search automatically for drivers. Then follow the on-screen instructions.
For more methods to update the graphics card driver on Windows 11, you can click here.
Fix 2: Update Windows 11 System Software
Since Windows 11 was released, Microsoft keeps released updates regularly to release bug fixes and new features. If there are accumulated updates available on your device, it is recommended to install them.
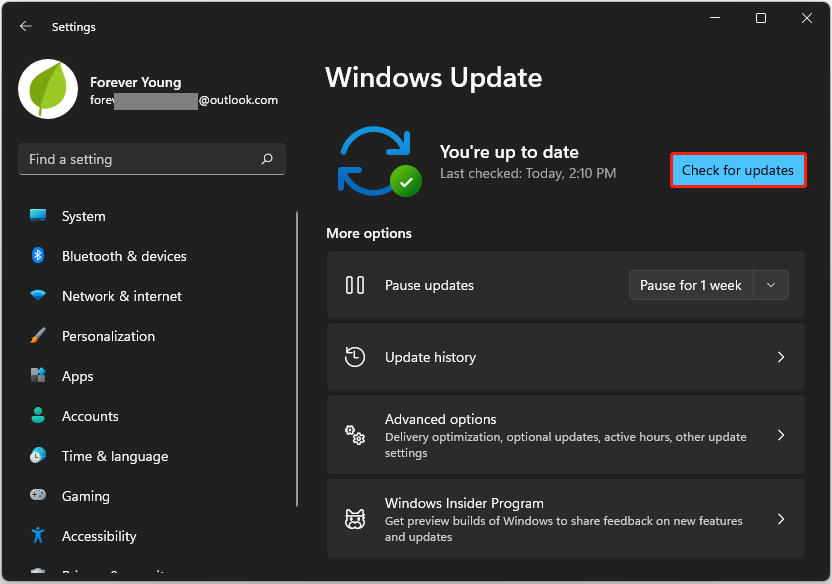
To update Windows 11, you can press Windows + I to open Windows Settings. In the left pane, select Windows Update. Then click the Check for updates button to search for available updates. Follow the on-screen instructions to download and install the new update.
Fix 3: Reset the Application
If Windows 11 Color Management not working happens on only one or two applications, you can try resetting the problematic application(s) to solve the problem.
Step 1: Open Windows Settings.
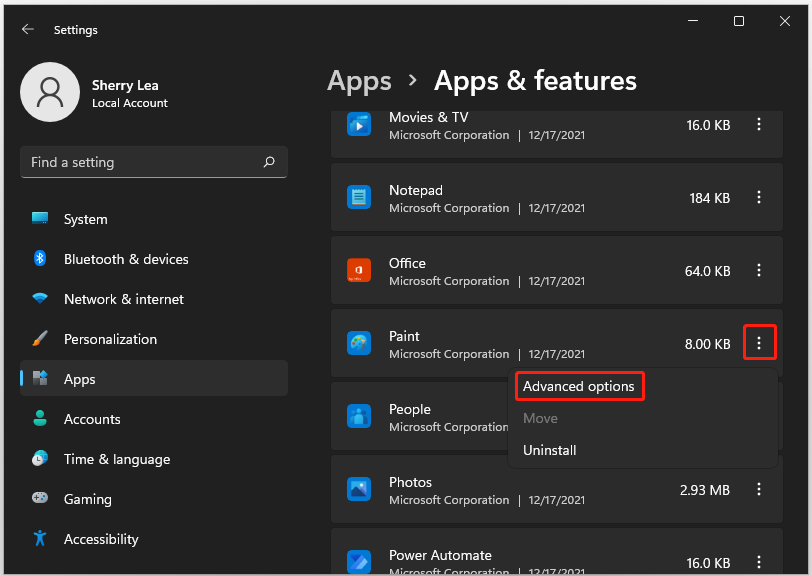
Step 2: Select App in the left pane. In the right pane, click Apps & features.
Step 3: Scroll down to the app, and click the three-dot icon. Then select Advanced options.
Step 4: Click the Reset button. In the pop-up menu, click Reset to confirm the operation.
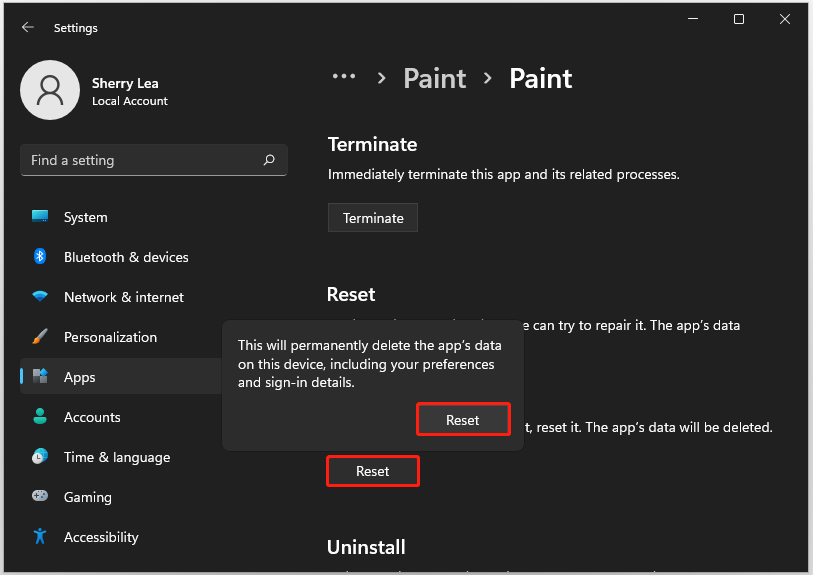
Then you just need to wait until the operation is finished and check whether the Color Management works.
Fix 4: Downgrade to Windows 10
If you don’t receive any updates and the above fixes don’t help, you might need to go back to Windows 10 to solve the Windows 11 Color Management issue.
Windows 11 allows you to go back to Windows 10 in 10 days after upgrading to Windows 11. If you are in the period, you can go to Settings > System > Recovery > Previous version of Windows to downgrade to Windows 10. Otherwise, you need to reinstall Windows 10 to solve the problem.
For more detailed steps, you can refer to our previous post: Downgrade/Uninstall Windows 11 and Go Back to Windows 10.
User Comments :