During the process of updating Windows 10 on your computer, it is possible for you to be stuck in some issues. And one of them is “Windows 10 failed to update error code 80240020”. If you don’t know how to resolve the error, you can follow this guide.
Method 1: Run the Windows Update Troubleshooter
The Windows Update troubleshooter is a built-in tool that can fix common issues you meet during the update. Therefore, if you encounter the Windows 10 update error 80240020, you can try the Windows Update troubleshooter to repair it first.
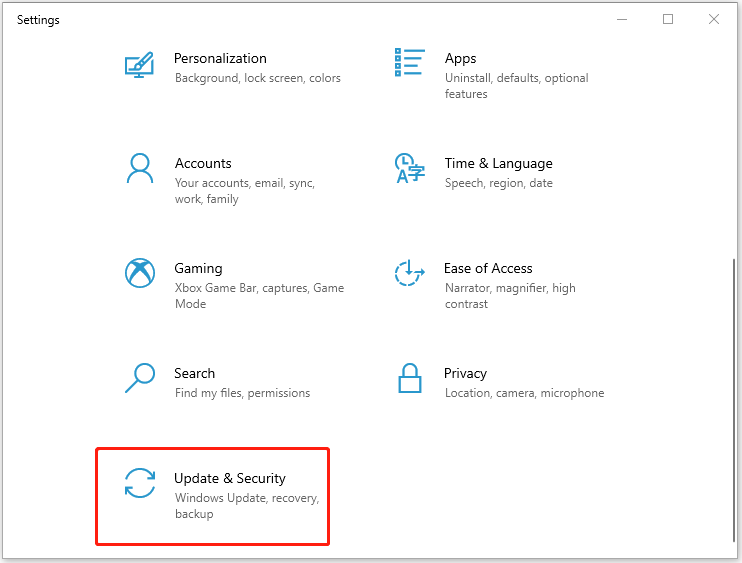
Step 1: Press Windows and I together to open Windows Settings. Then select Update & Security in the Settings window.
Step 2: Go to Troubleshoot, and then select Additional troubleshooters from the right pane.
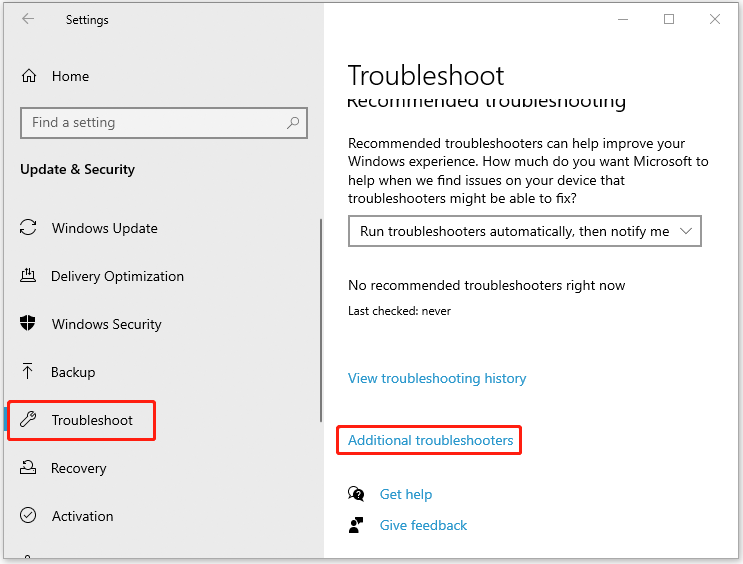
Step 3: Find Windows Update in the Get up and running section and click Run the troubleshooter.

Step 4: The troubleshooter will start detecting issues automatically. If any issues are found, follow the instructions shown to you to repair them.
After the process is completed, try to update your Windows 10 again to see if the error has been fixed.
Method 2: Modify Registry Keys
Modifying the registry key may help you get rid of the “Windows 10 couldn’t be installed error code 80240020” as well. You can execute the operation with the steps below.
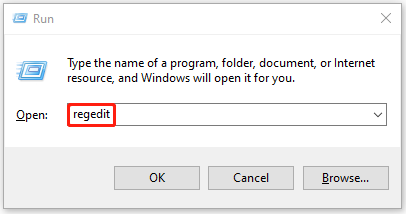
Step 1: Press Windows + R to open the Run dialog.
Step 2: Type regedit in the box and then press Enter to open Registry Editor.
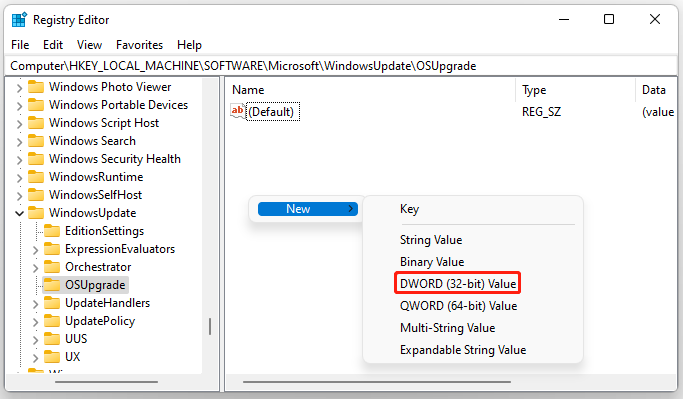
Step 3: Go to the following path: Computer\HKEY_LOCAL_MACHINE\SOFTWARE\Microsoft\WindowsUpdate\OSUpgrade
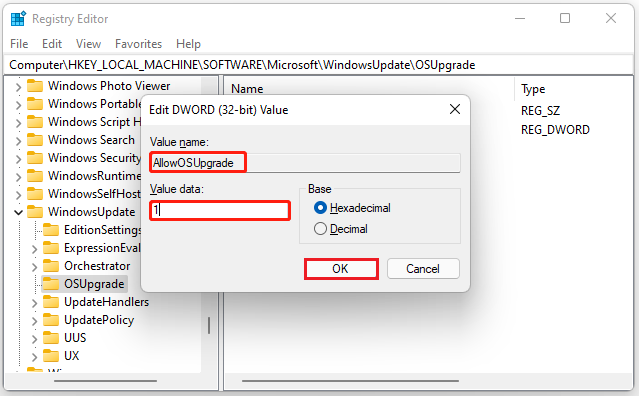
Step 4: In the OSUpgrade folder, right-click any empty place and click New. Then select DWORD (32-bit) Value.
Step 5: Name the key as AllowOSUpgrade and set its value as 1. Then click OK and close Registry Editor.
After the operation, restart your computer and try to update Windows to check if the error has disappeared.
Method 3: Empty the SoftwareDistribution Folder
The SoftwareDistribution folder stores temporary files that are required for Windows Update. If some files in the folder get corrupted, you may receive the “Windows 10 failed to update error code 80240020”. In this case, you are supposed to empty the folder to repair the error.
Step 1: Open Command Prompt as administrator.
Step 2: In the Command Prompt panel, type net stop wuauserv and press Enter to stop the Windows Update service temporarily.
Step 3: Press Windows + E to open File Explorer and then go to the C:\Windows\SoftwareDistribution folder. Delete all the contents in this folder.
Step 4: Run Command Prompt as administrator again. Type net start wuauserv and press Enter to start the Windows Update service.
Once you finish the steps above, try to update Windows one more time, and Windows 10 update error 80240020 might have been repaired.
Method 4: Reset the Windows Update Components
Windows 10 couldn’t be installed error code 80240020 is probably caused due to problematic Windows Update components. On this occasion, you can attempt to reset Windows Update components. In this way, you may resolve the Windows 10 update error 80240020 successfully.
Don’t worry if you get into trouble with the Windows 10 update error 80240020. Try these methods mentioned in this post to fix it. If you have any other questions about the error, you can leave a message in our comments part.
User Comments :