In this post, MiniTool introduces the USB selective suspend feature. What’s the function of the feature? It is used to conserve battery power. Should you enable it or disable it? You can try disabling it when your USB devices go wrong.
USB Selective Suspend
What is USB selective suspend? To put it simply, USB selective suspend is a feature for power saving and is especially useful in portable computers.
How does the feature work? The feature can allow your operating system to put your USB devices in a very low-power state when they are not actively in use.
As we know, when a device is connected through a USB port and the port is not suspended, a schedule for data transfer over that port is actively engaged in the physical memory of the system. This consumes power. Why? The reason is that direct memory accesses transfers going on with the scheduler can impede the CPU from entering a low-power state. Therefore, you need to enable the USB selective suspend feature to save battery power.
Will the feature affect the operation of other ports on the hub? The short answer is NO. According to Microsoft, USB selective suspend allows the hub driver to suspend an individual port without affecting the operation of the other ports on the hub.
For those who run Windows OS on portable computers, this feature is a great bonus as it can be used to prolong the battery life. However, the USB selective suspend feature on Windows computers can also trigger some problems, like USB ports disconnecting at random, USB devices not unrecognized, and more. When the above issues happen, you should disable the USB selective suspend.
Always leave the feature disabled? It is not recommended and you should leave the feature enabled if there is nothing goes wrong with your USB devices.
How to Disable USB Selective Suspend?
The following tutorial on how to disable USB selective suspend is carried out on Windows 10.
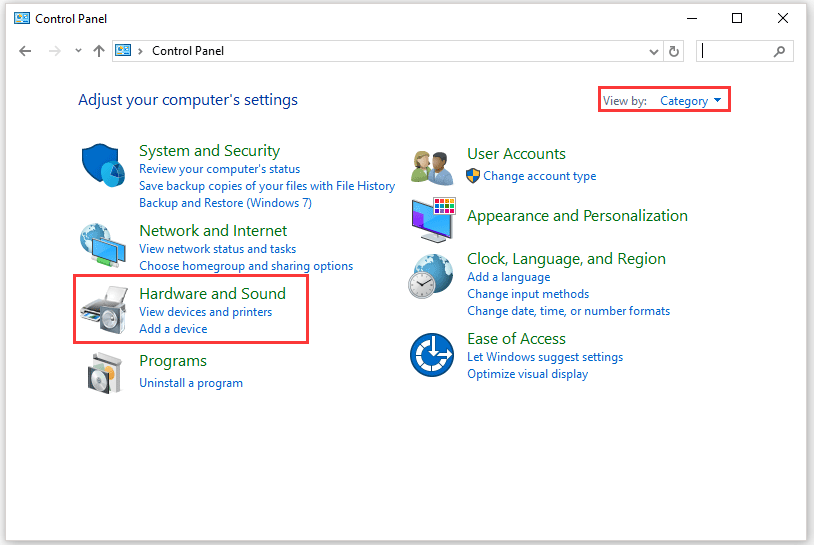
Step 1: Input Control Panel in Cortana’s search bar and then hit the Enter key.
Step 2: On Control Panel, switch to the Category option next to View by and then click the Hardware and Sound option.
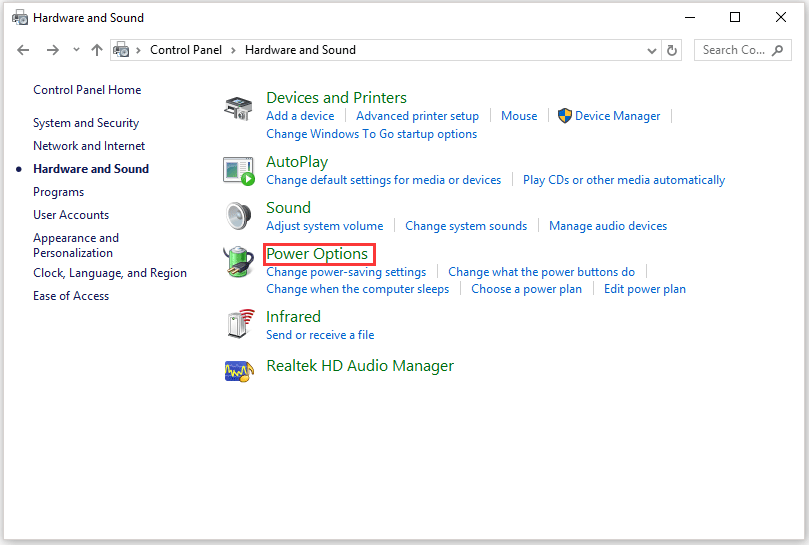
Step 3: Select Power Options from the right side.
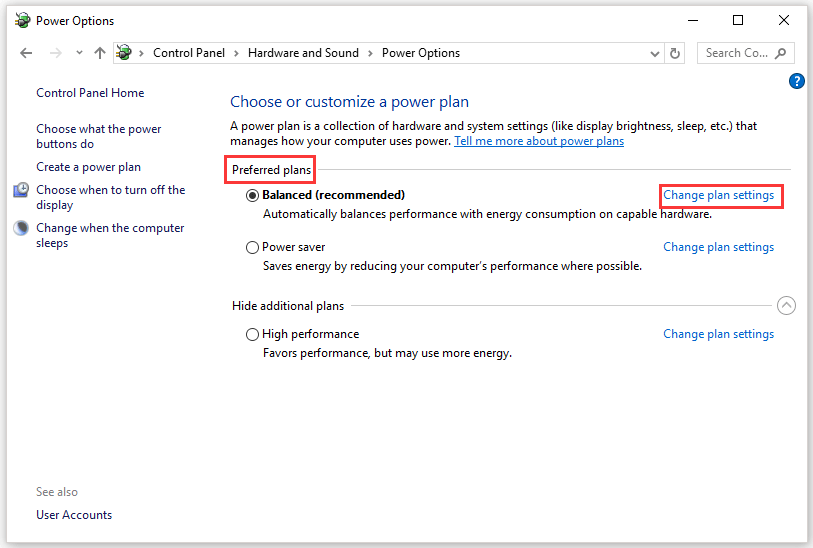
Step 4: Click Change plan settings in the Preferred plans section.
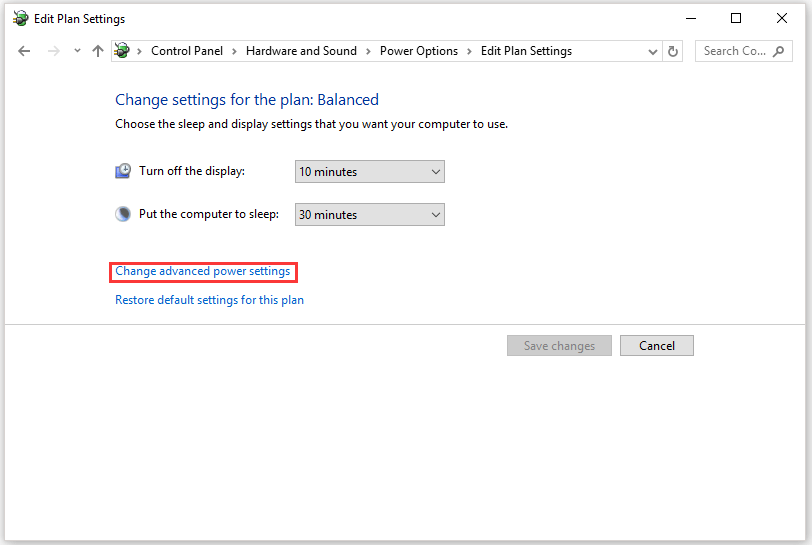
Step 5: On the new window, click the Change advanced power settings option.
Step 6: Find USB settings from the list and expand it. Then you will see USB selective suspend settings and you also need to expand it. Finally, switch Enable to Disable.
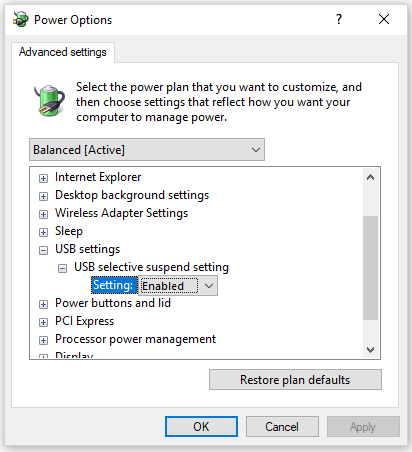
Step 7: Click Apply > OK to execute the change.
Once you finish the above steps, your operating system will no longer power off your USB devices that you connect to your computer and the USB device problems caused by the USB selective suspend should be solved.
Do you want to know how long you can continue to use your Windows 10 computer on battery backup? If yes, you can read the following recommended article.

Final Thoughts
The USB selective suspend is used for power saving and it is especially useful for laptop users. So, for power saving, please enable the feature. If you run into some USB device problems after enabling the feature, you can try disabling the feature and see if the problems have been solved.
User Comments :