Windows 11 is the latest operating system developed by Microsoft. Recently, a new feature – “desktop stickers” is available on this operating system. If you are interested, you can follow this post from the MiniTool Partition Wizard website to enable desktop stickers on Windows 11.
Windows 11, the successor to Windows 10, is a new operating system released by Microsoft in October 2021. As a new operating system, Windows 11 has a long road to go. Microsoft keeps releasing updates regularly for bug fixes, improvements, and new features on Windows 11.
Today, I’d like to share a tutorial on how to use Windows 11 desktop stickers, a new feature added in Windows 11 22H2 build. It can personalize your desktop in a cute style.
Something You Must Know About Windows 11 Desktop Stickers
As mentioned, Windows 11 desktop stickers are available in the Windows 11 22H2 build, and you can only receive this build in Dev and Beta Channels.
If you receive this Windows 11 22H2 update, you should download and install it. Otherwise, you cannot use Windows 11 desktop stickers.
To figure out your current Windows version, you can press Windows + R to open the Run window. Then input winver and press Enter.
How to Enable Desktop Stickers on Windows 11
The “desktop stickers” feature is disabled by default. If you want to use this feature, you need to enable desktop stickers on Windows 11 manually first. And here are the detailed steps.
You need to modify registry keys during the operation. You can back up your registry keys or create a system restore point in advance, just in case. If you change or delete any crucial values by mistake, unexpected problems may come out.
Step 1: Press Windows + R to invoke the Run window. Then input regedit and press Enter to open Registry Editor.
Step 2: Copy the following path and paste it to the address bar. Then press Enter to navigate to the target path quickly:
HKEY_LOCAL_MACHINE\SOFTWARE\Microsoft\PolicyManager\current\device\
Alternatively, you can find the path by clicking the registry keys one by one.
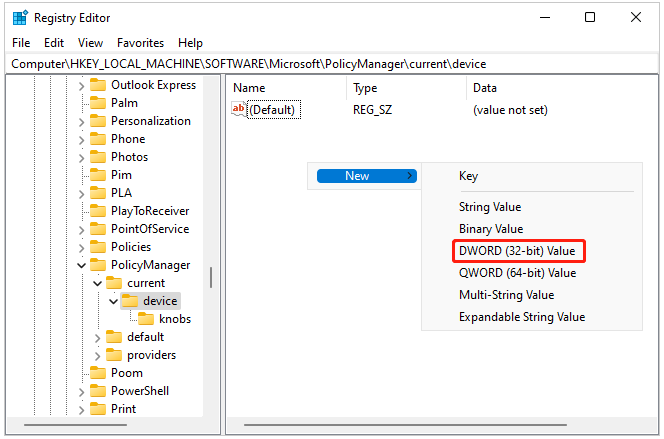
Step 3: Right-click any empty space on the right pane and select New > DWORD (32-bit) Value. Then name the new value as EnableStickers.
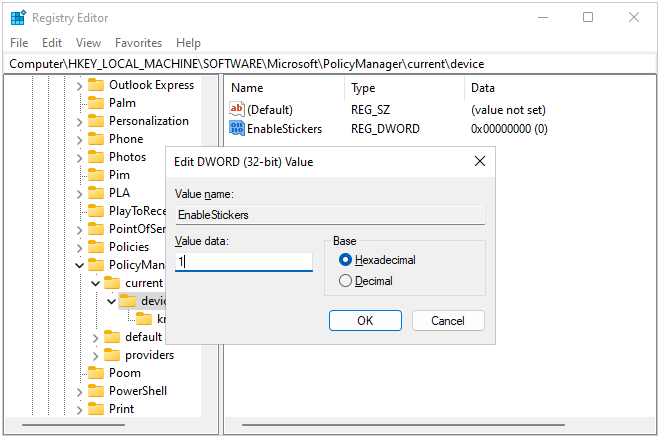
Step 4: Double-click the new value and change its value data to 1.
Step 5: Exit Registry Editor and press Shift + Ctrl + Esc to open Task Manager. Then restart Windows Explorer.
When you want to disable Windows 11 desktop stickers, you just need to open Registry Editor again, find the same value, and change the value data to 0.
How to Use Windows 11 Desktop Stickers
Once you enable desktop stickers on Windows 11, you can add stickers to your desktop wallpaper. You can follow this tutorial.
Step 1: Press Windows + I to open Windows Settings quickly.
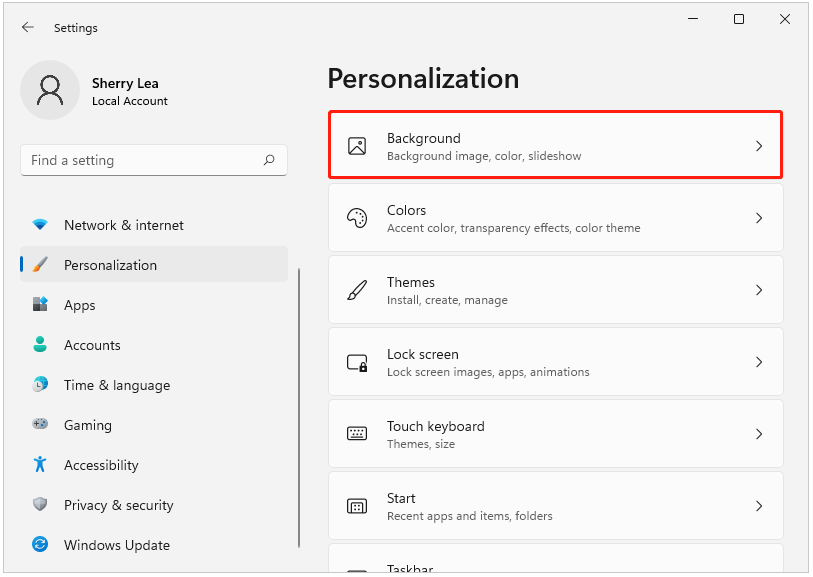
Step 2: In the left pane, select Personalization.
Step 3: Click Background in the right pane.
Step 4: Find the Choose stickers for your wallpaper option. Then click the Add stickers button.
Step 5: In the pop-up window, select a sticker to add it to your desktop. You can drag the sticker to put it anywhere on the desktop and adjust the size of the sticker according to your needs.
Please note that once you exit the stickers window, you cannot adjust the sticker pinned on your desktop. If you want to move or delete it after that, you just need to open settings and go to the stickers window again, and then double-click the sticker on your desktop to modify it.
User Comments :