Creating timeline slide is an efficient way to show the information you want others know more clearly. In addition to the introduction of timeline, MiniTool Partition Wizard tells you how to create a timeline in PowerPoint.
What is Timeline in PowerPoint?
If you have learned history, you may know about some timelines of some great events in history. Taking the ancient Roman history for example, you could distinguish the Roman Kingdom (753-509 BC), Roman Republic (509-27 BC) and Roman Empire (27 BC-476 AD) clearly by using a timeline.
Timelines could express a list of events in orders. They are typically long bars with dates. You can use the scales to represent the time between two events.
Because of the usefulness in clearly presenting information, timeline is also a feature in Microsoft PowerPoint. In your study or work, you could create a timeline in PowerPoint to express the stages of your projects.
Also read: Microsoft PowerPoint Download for Windows 10/11, Mac, Mobile
How to Create a Timeline in PowerPoint?
If you want to clarify your presentation of a process, you can follow the following steps to create a timeline in PowerPoint.
Create a Basic Timeline
There are many choices to create a timeline slide in PowerPoint. This post shares the steps to create a basic timeline with you.
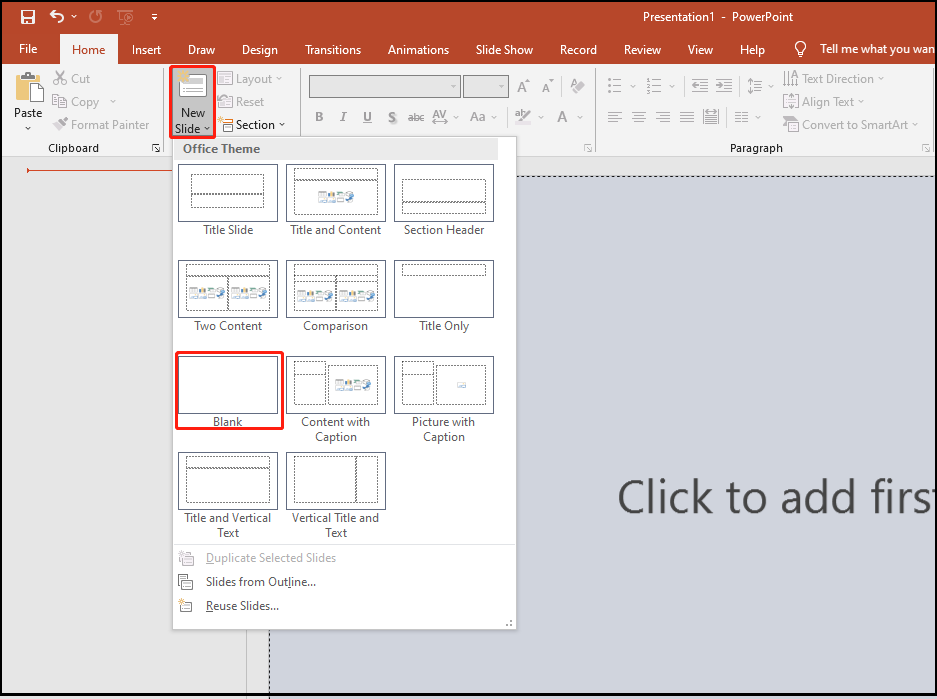
Step 1: After opening PowerPoint, you are supposed to create a new slide. Hit New Slide and select the Blank option.
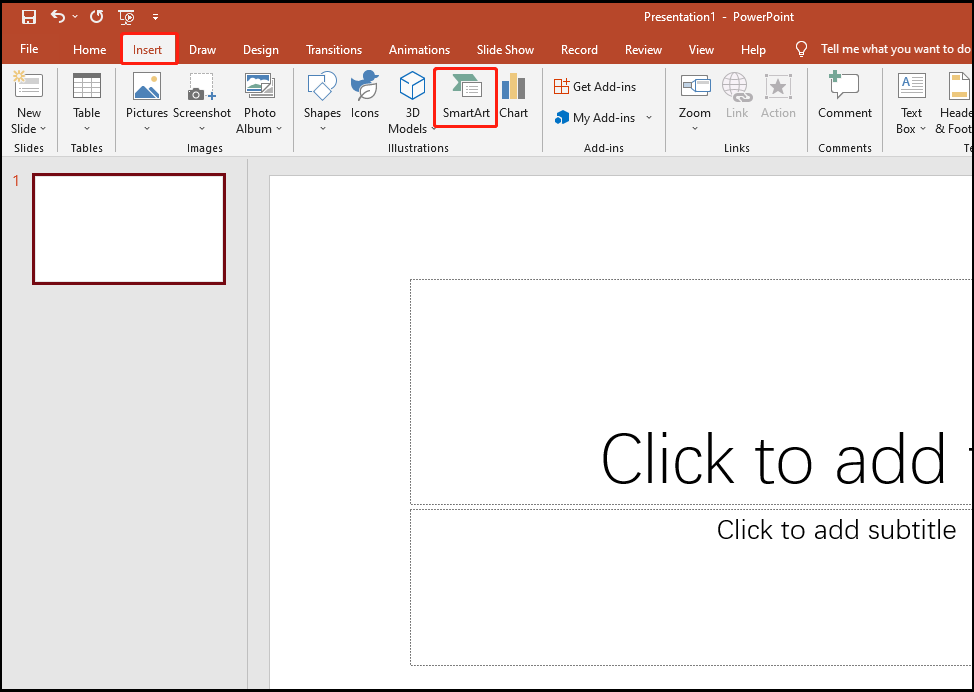
Step 2: You have created a new slide successfully. Now, you ought to choose the Insert tab and hit SmartArt.
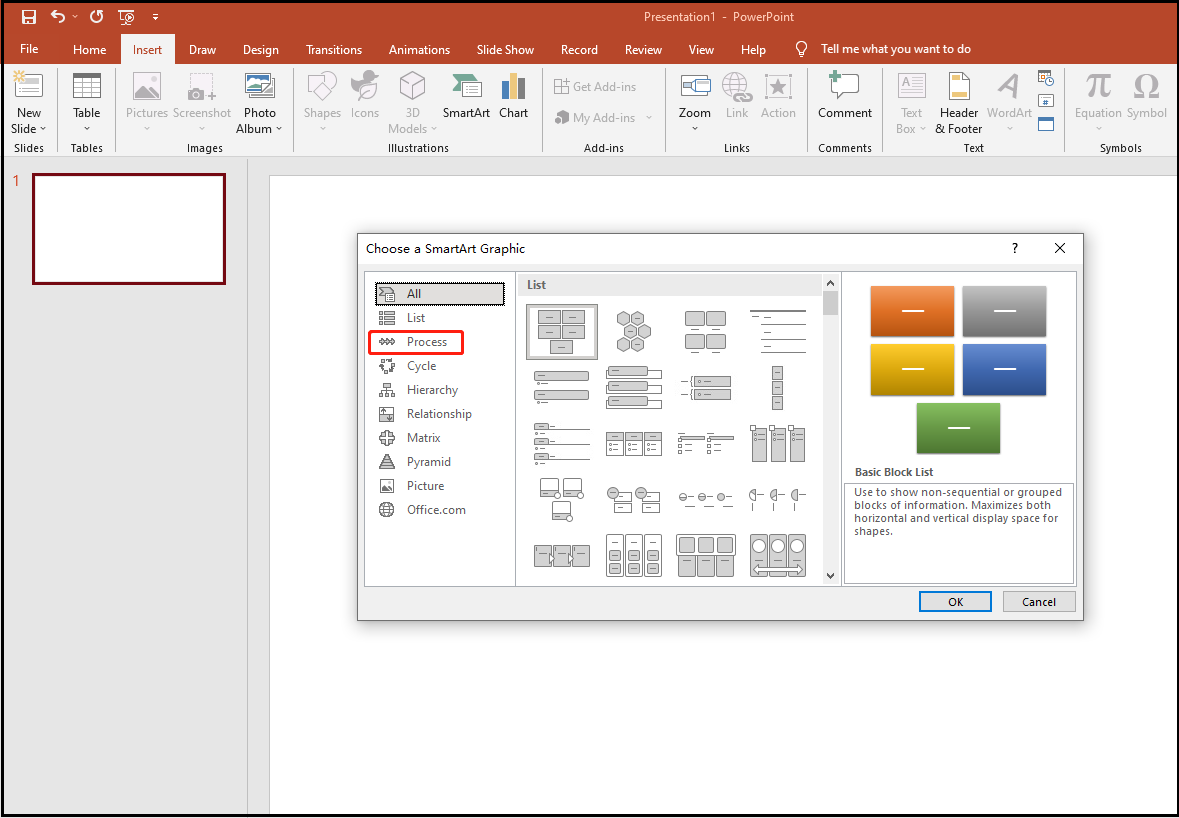
Step 3: From the new popup window, you can find the lists in the left panel. Choose the option of Process.
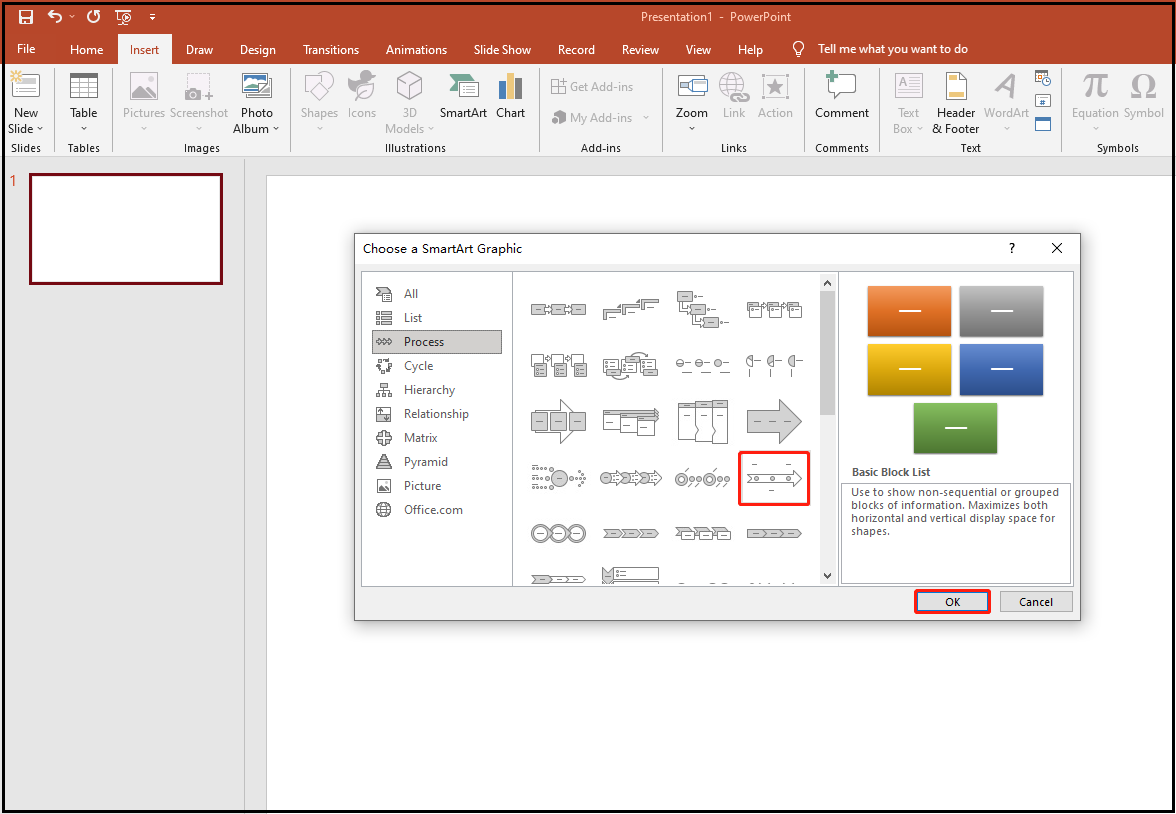
Step 4: Scroll your mouse from the top of the list to the selection of Basic Timeline. Then hit Basic Timeline and choose OK.
You have managed to create a basic timeline. It’s time for you to type the data of your project.
Add Your Information
There are two options you could choose to input the information of stages.
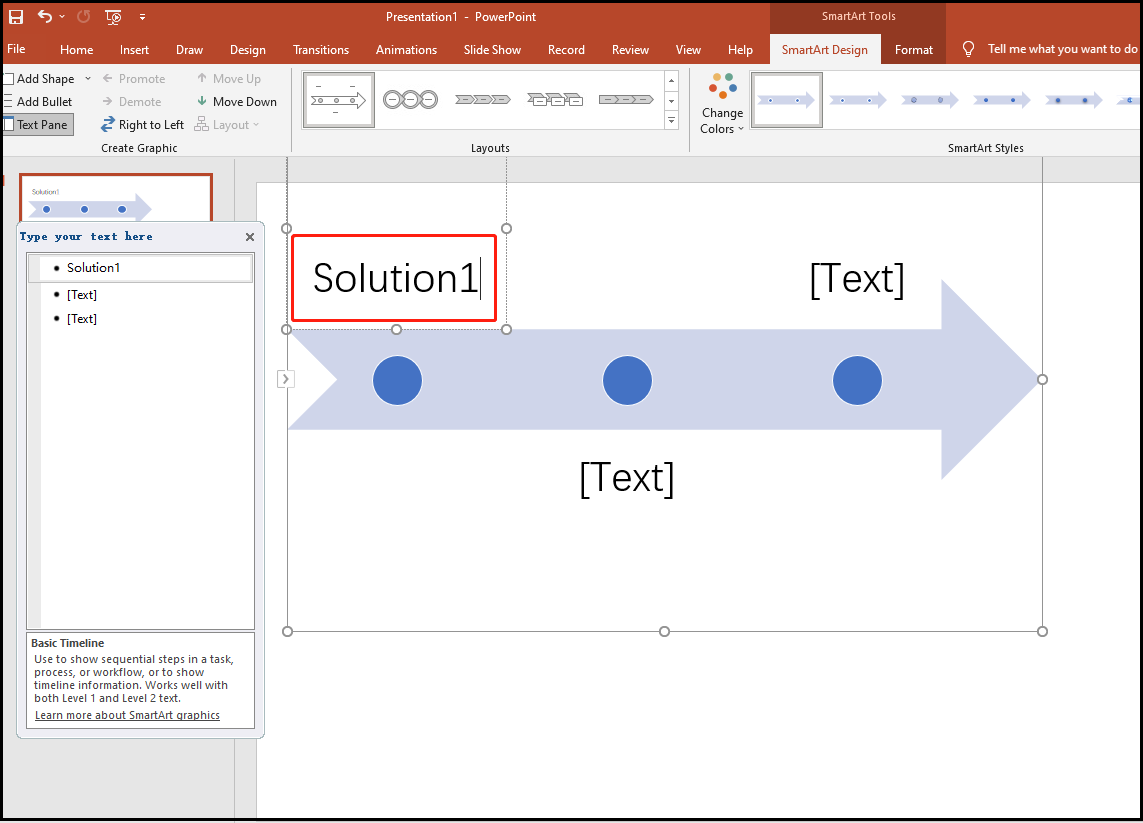
Option 1: Type the information inside the graphic directly. This picture gives you an example.
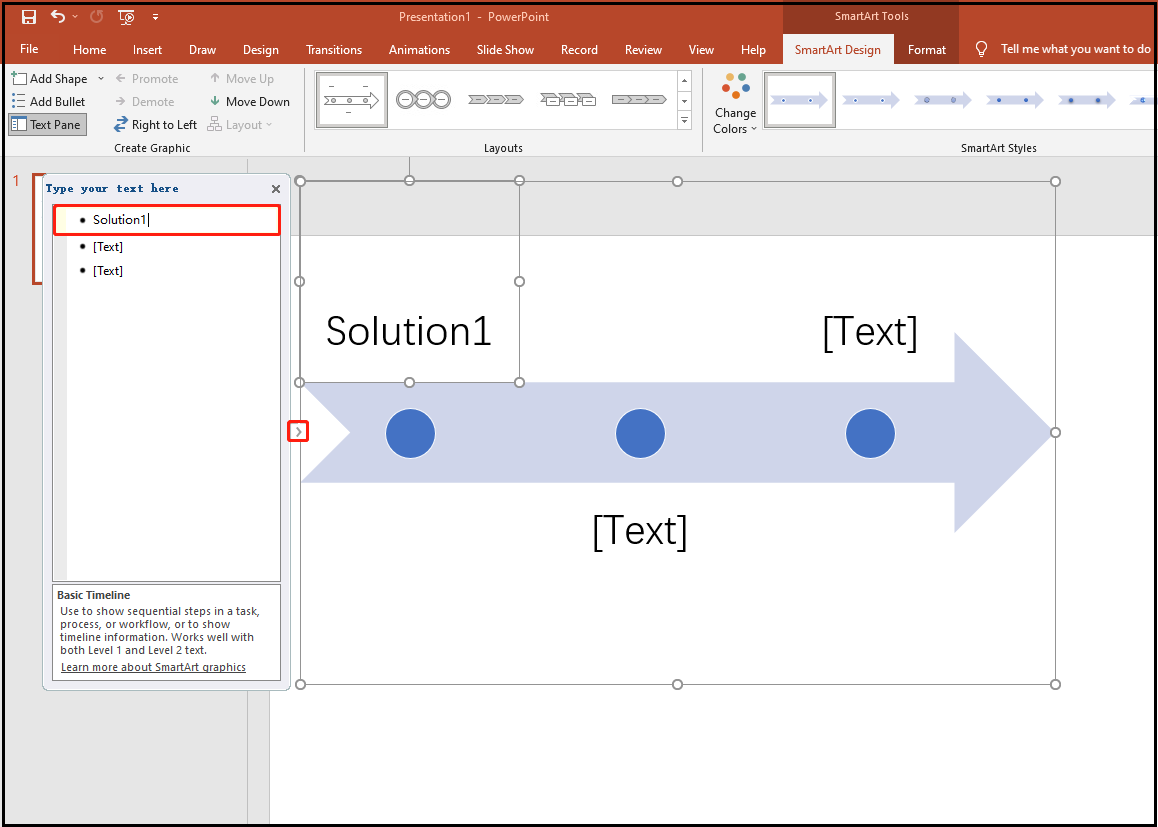
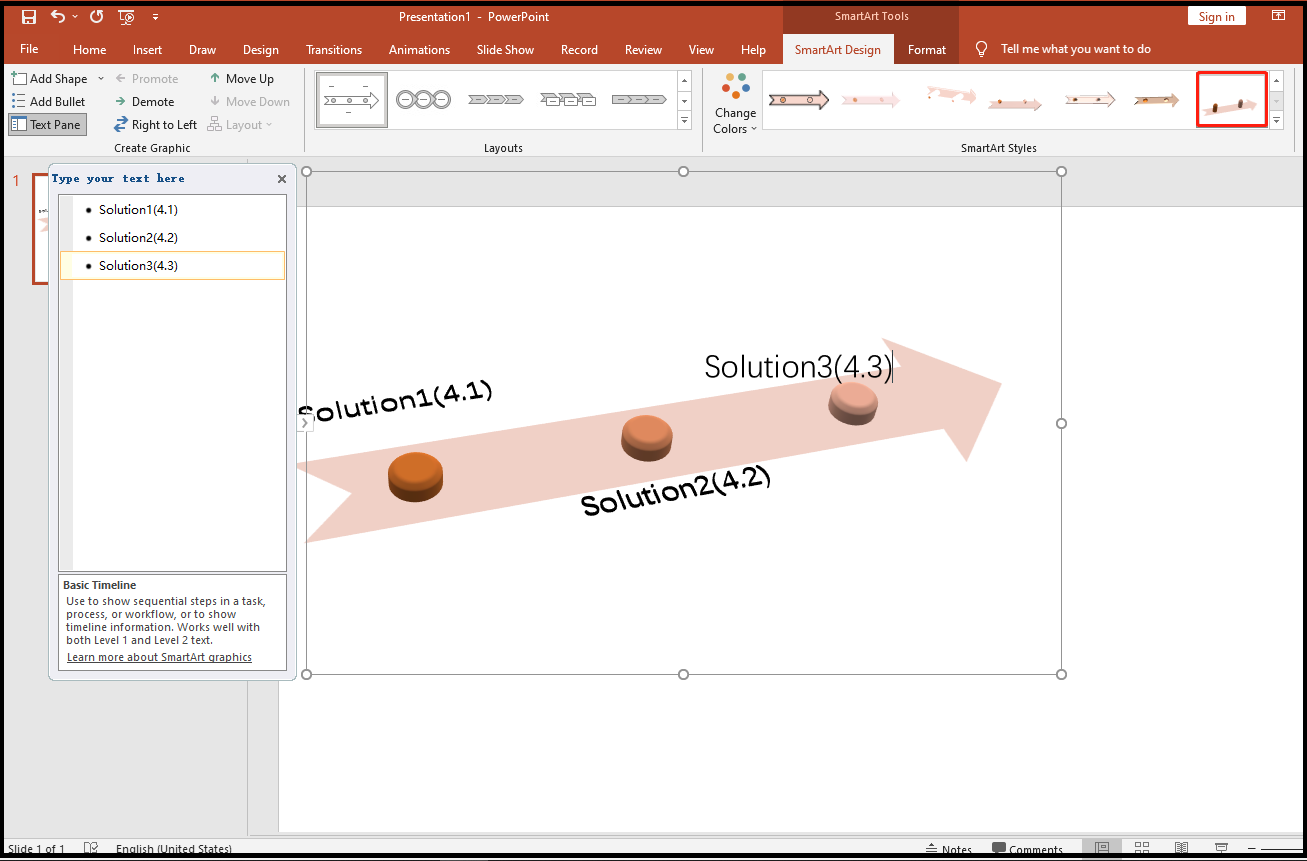
Option 2: Hit the Text Pane to type the information. The next picture shows you the details.
Now, you have finished the steps of creating a basic timeline in PowerPoint. If you want your timeline more artistic or to show the process more visually, you can customize your timeline.
Customize the Timeline
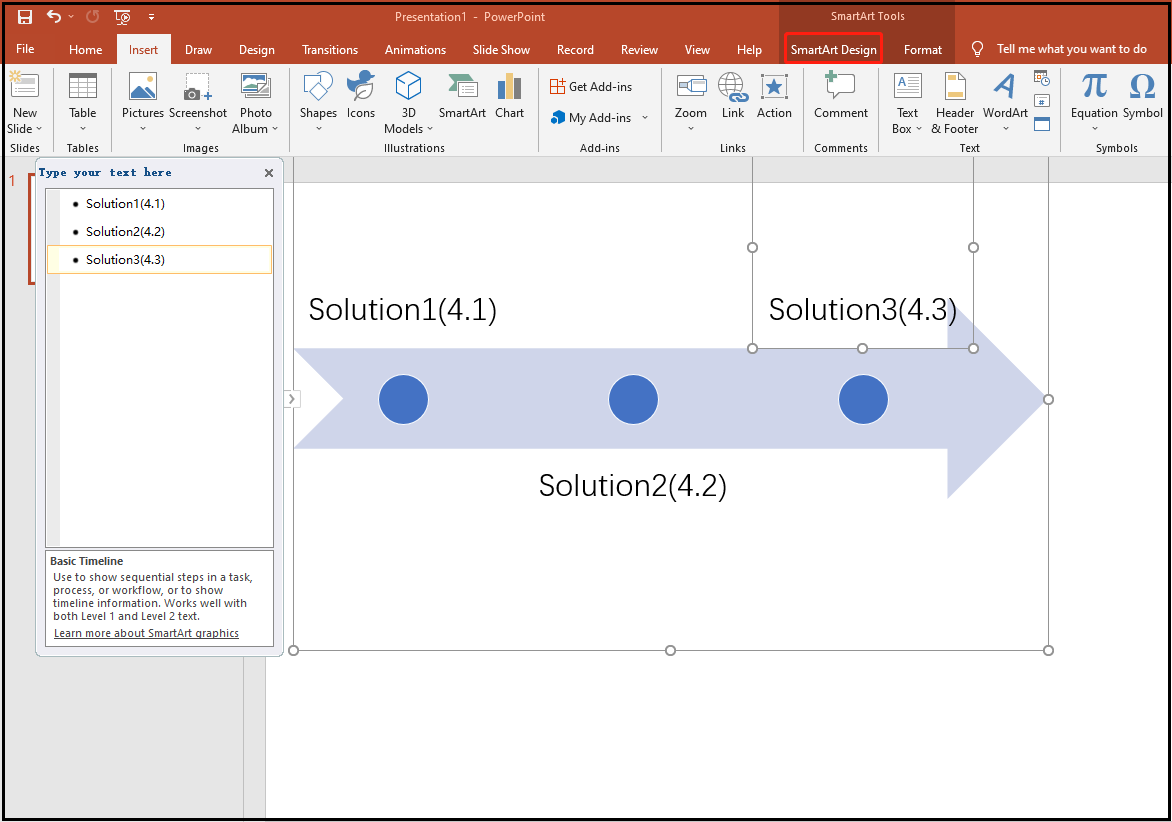
Step 1: The first step you need to do is to click the SmartArt Design tab on the top of the interface.
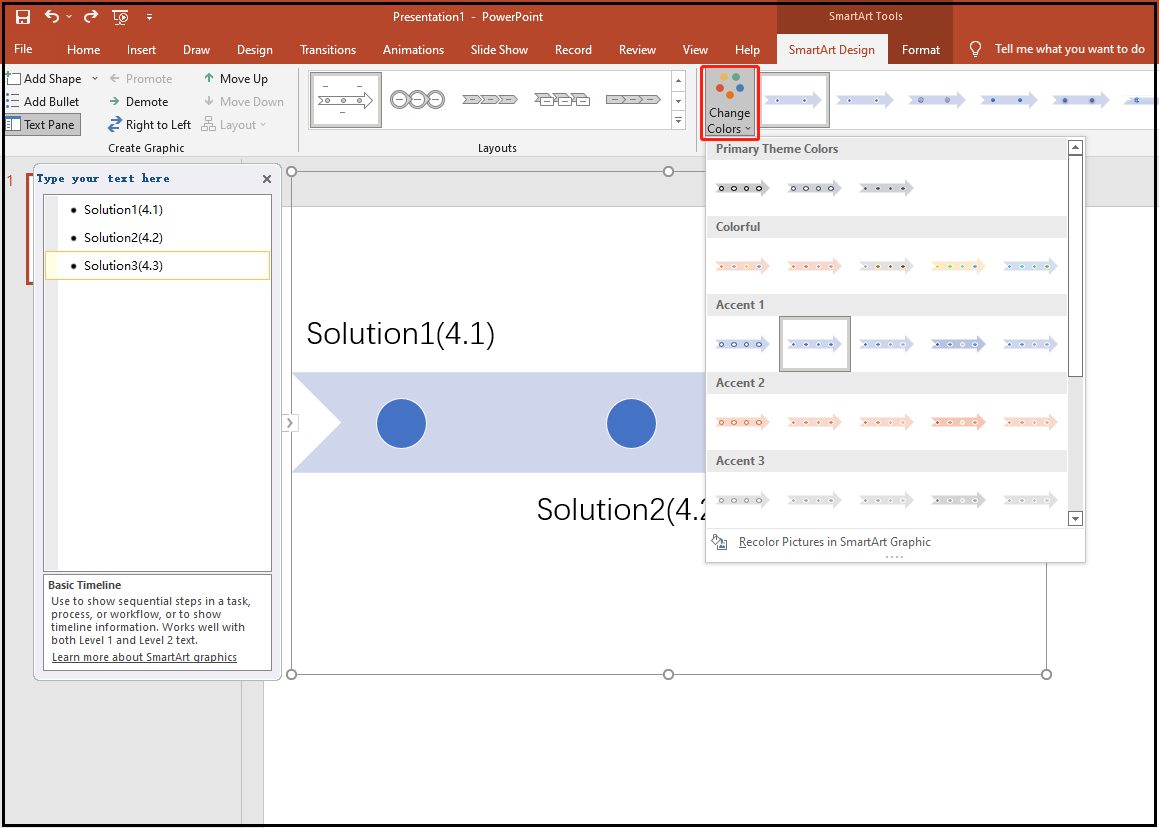
Step 2: If you want to change the colors of your timeline, you ought to hit the option of Change Colors.
Step 3: After changing the color of your timeline in PowerPoint, you can choose the shapes of your timeline by scrolling the mouse in the SmartArt Styles section.
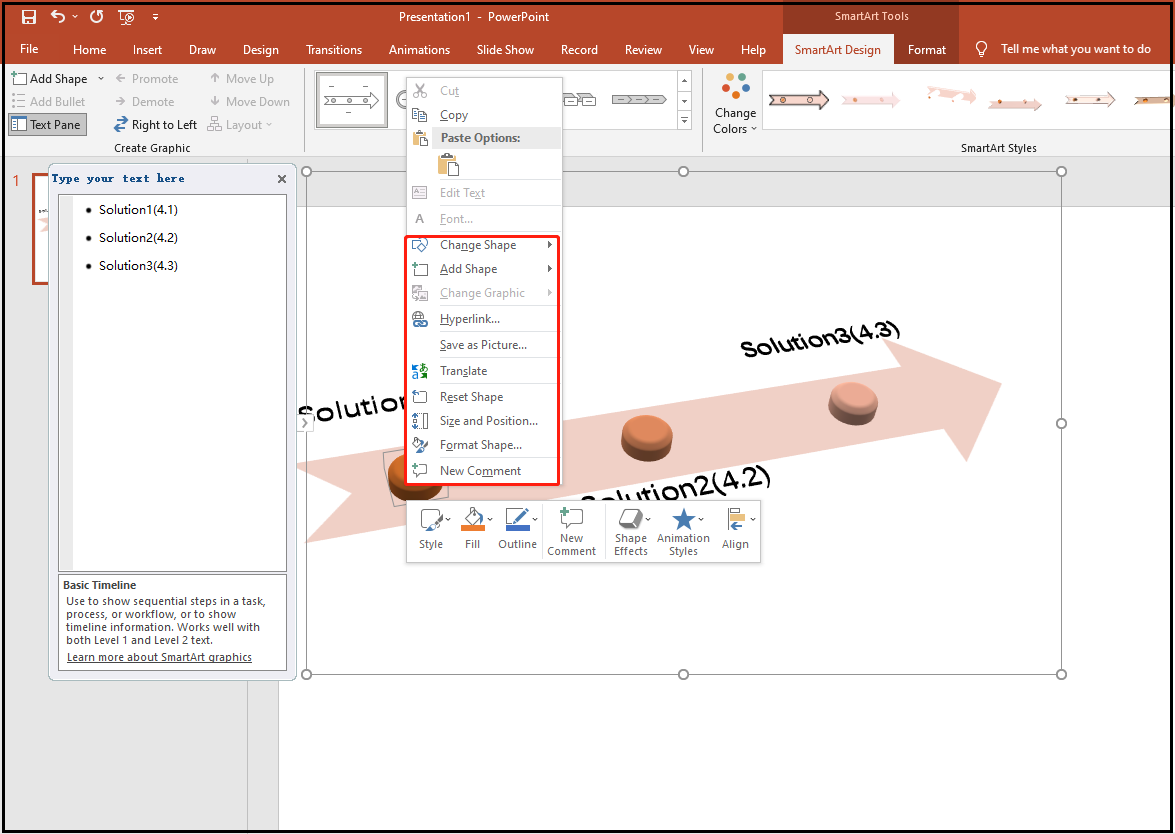
Step 4: If you want change the milestones in your timeline, you can right-click the target milestones. There are many selections in the circled. Just try to design your unique timeline.
If you want see more templates about timeline, you may click here to have a look.
That’ all we want to share about the timeline creation operation in PowerPoint with you.
Read more: Download Best Free PowerPoint Templates 2022 – Top 5 Sites
Bottom Line
To create a timeline is an effective way to make your presentation in PowerPoint clearer. This post introduces the timeline slide and discusses the operations of making a timeline in PowerPoint. If you have more templates which deserve our attention, you can share them with us.
User Comments :