A lot of people are using plugins in their daily life. Unfortunately, some of them reported that they got an error “couldn’t load plugin” on Google Chrome. To solve the problem, MiniTool Partition Wizard puts together some fixes in this post.
A plugin is a software component that adds an additional feature to an existing computer program. The “couldn’t load plugin error” on Google Chrome usually happens on Flash plugin and PDF plugin. How to fix couldn’t load plugin error? You can check the following fixes and have a try.
Fix 1: Make Sure Your Chrome Is Updated
When you face the “Chrome couldn’t load plugin” error, the first thing you need to do is to check if you have installed the latest Chrome version as well as plugins. You just need to:
Step 1: Open Google Chrome.
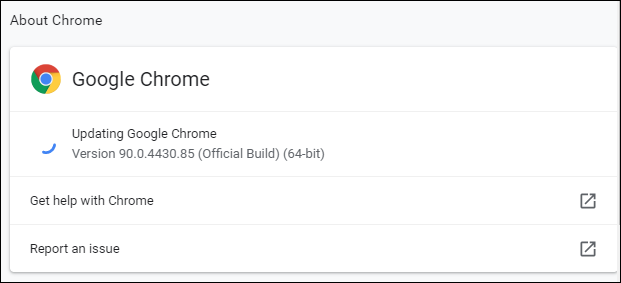
Step 2: Click the three-dot icon in the upper right corner. Then select Help > About Google Chrome.
Step 3: Google Chrome will check for available updates and install them automatically. You just need to wait patiently. If there are no updates, you will see the message “Google Chrome is up to date”.
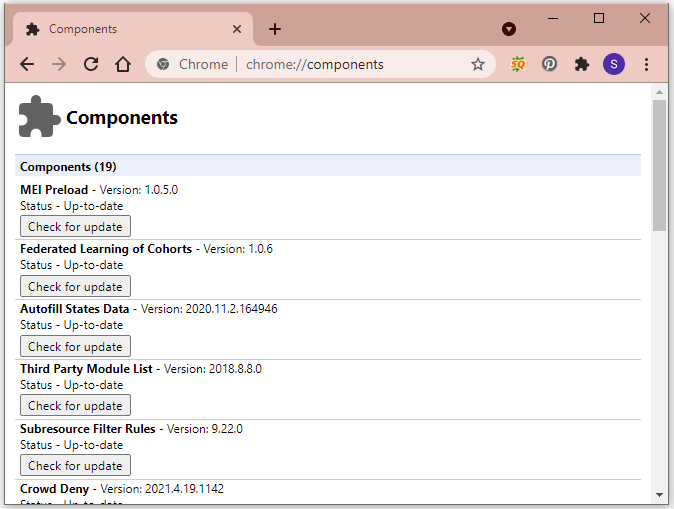
Step 4: Input “chrome://components” in the address bar and press Enter. Then check and make sure all the installed components are up to date.
After updating your Google Chrome and its components, you can check if the “Chrome couldn’t load plugin error” has been solved. If it appears again, you need to move on to the next solution.
Fix 2: Set Ask First for Your Flash Settings
You might have already known that flash is no longer supported by major browsers. If you are still using old Flash, you might encounter errors like “couldn’t load plugin”. To solve the problem, you can try changing the settings for Flash.
The Flash settings only appear on Google Chrome that has installed the Adobe Flash Player. Yet, as of 2021, Adobe has ended support for the Flash Player plugin. Flash content, including audio and video, will no longer play back in any version of Chrome. So, this method is no longer workable anymore.
Step 1: Type “chrome://settings/content” in the address bar of Google Chrome and press Enter.
Step 2: Scroll down to find Flash and click it. Then select Ask first (recommended) instead of Block sites from running Flash.
Fix 3: Delete PepperFlash Folder
Pepper Flash Player is maintained by Google, and is newer than Adobe Flash Player. In some cases, users solved the “Chrome couldn’t load plugin” error by deleting the PepperFlash folder. And here are the detailed steps.
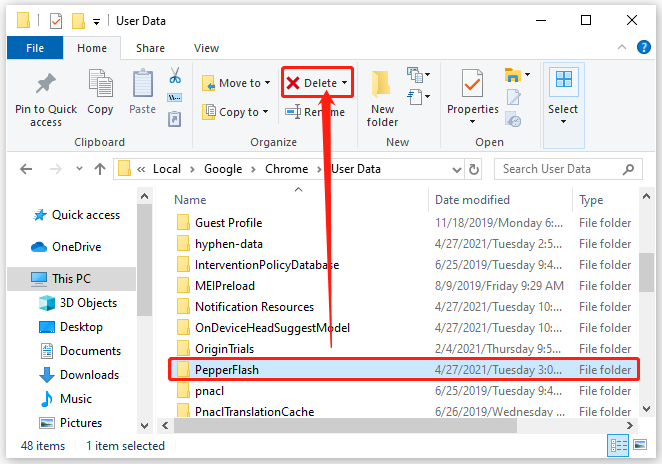
Step 1: Press Win + E to open File Explorer.
Step 2: Navigate to the following location: C:Usersuser_nameAppDataLocalGoogleChromeUser Data.
Step 3: Delete the PepperFlash folder.
Then you can open Google Chrome and check whether the problem disappears. If it still exists, you can also try renaming the pepflashplayer.dll file:
You just need to open File Explorer and go to C:Program Files (x86)GoogleChromeApplication90.0.4430.93PepperFlash. Then rename the pepflashplayer.dll file to pepflashplayerX.dll. After that, you can restart Chrome and check if it works properly.
Fix 4: Run SFC Scan
Corrupted or missing system files could also lead to the “Chrome couldn’t load plugin” error. In this case, you should run System File Checker (SFC), a Windows 10 built-in tool for checking and fixing system files.
Step 1: Press Win + S to open the Windows Search utility. Then search for Command Prompt, right-click it, and select Run as administrator.
Step 2: In Command Prompt, input the command sfc /scannow and press Enter.
When the process is finished, restart your computer and check if Google Chrome works properly.
User Comments :