It’s great to be able to work in a non-native tongue. But, what should you do if the default language by Microsoft office is not the one you are proficient in? MiniTool Partition Wizard guides you to change Word language.
About Language Change in Word
If you are not proficient in Chinese but it is the default language in Word, what will happen? Undoubtedly, this will cause some inconvenience to your work. It’s time for you to change Word language to fit your need.
You can change language in Office Word 2019, Word 2016, Word 2013, Word 2010, Word Online, and Word for Mac using offered steps. You can add a language, choose the UI display language, and set the authoring and proofing language in Word with this guide.
How to Change Word Language?
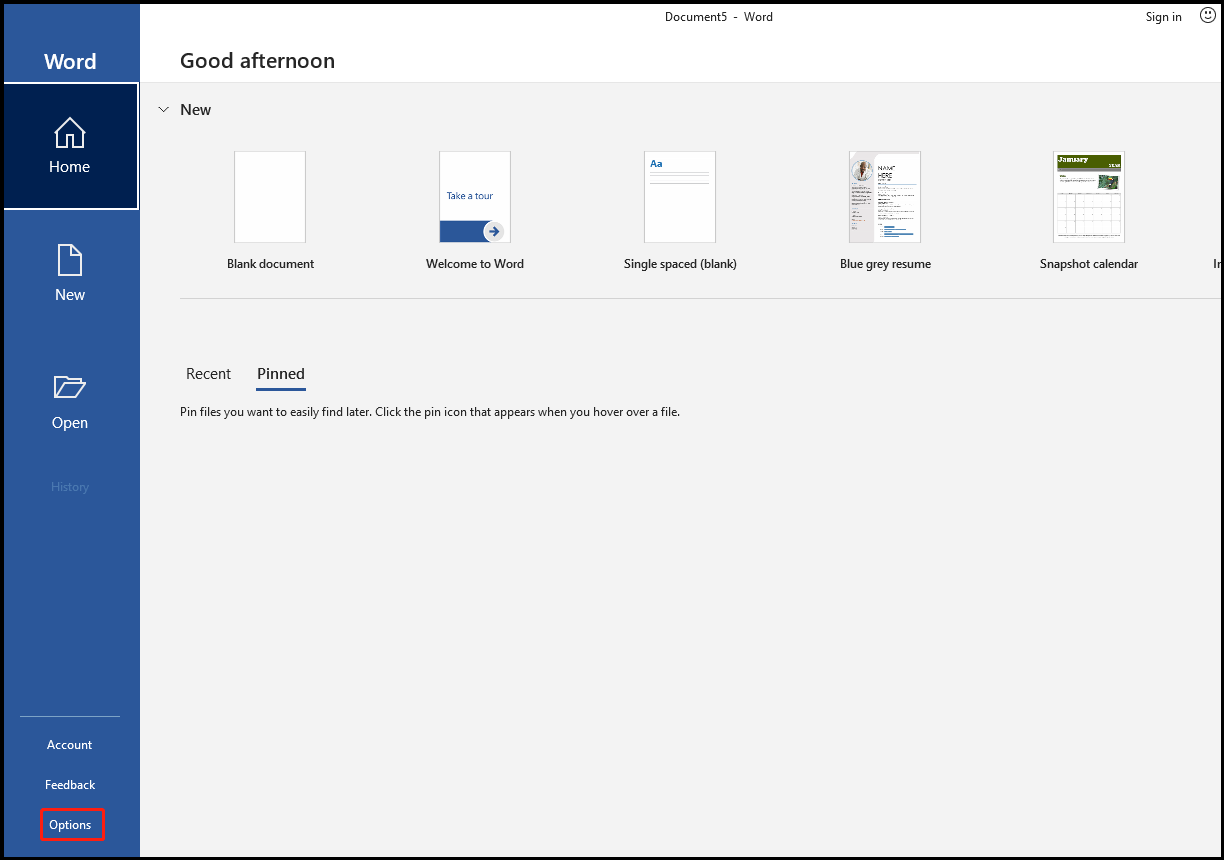
Step 1: After opening Word, the first thing you need to do is to hit Options.
Step 2: There is a popup window. Now, you are supposed to scroll your mouse to the option of Language and hit it.
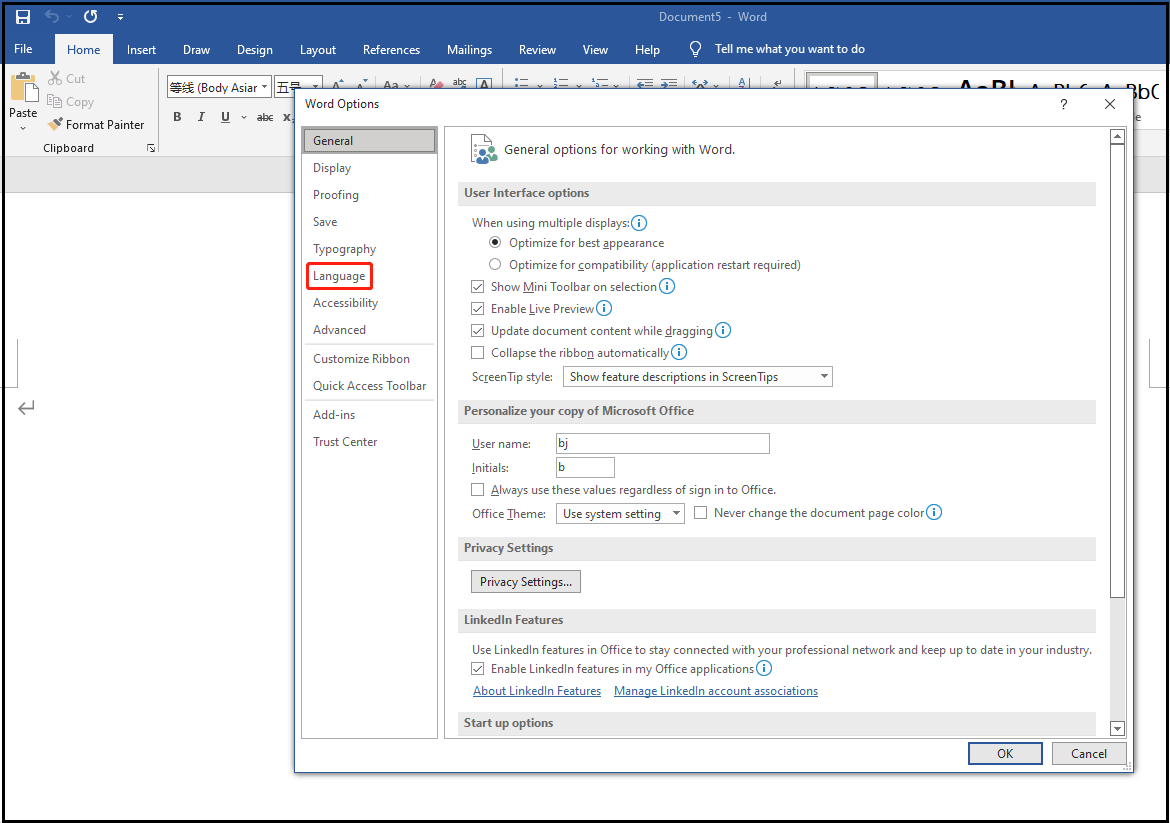
After hitting, the interface of Language in Word appears.
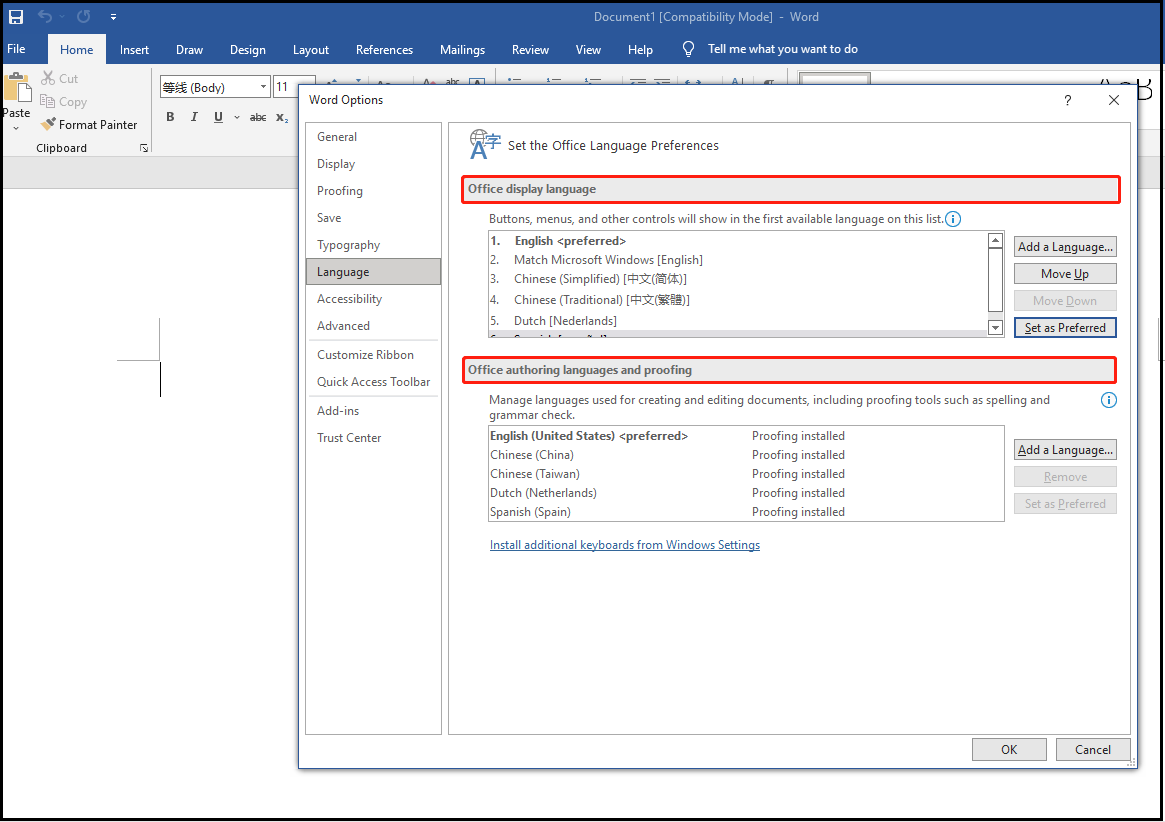
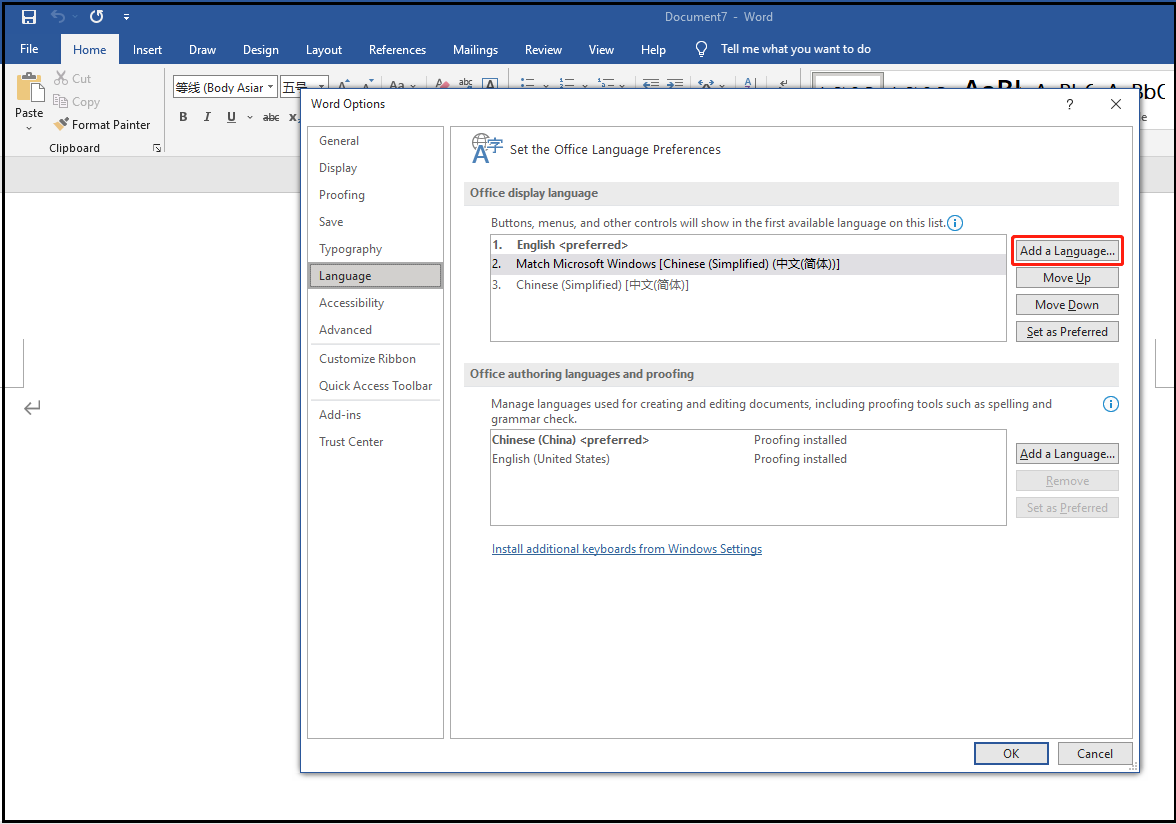
Step 3: The next picture shows you the selections to change Word language. Depending on your purpose, you could click the button in the circled section. Just as you see, you can add a language or change the priority of the languages you have added.
How to Add a Language in Word?
If you want to add a language in Word to improve your work efficiency, you should follow the following steps.
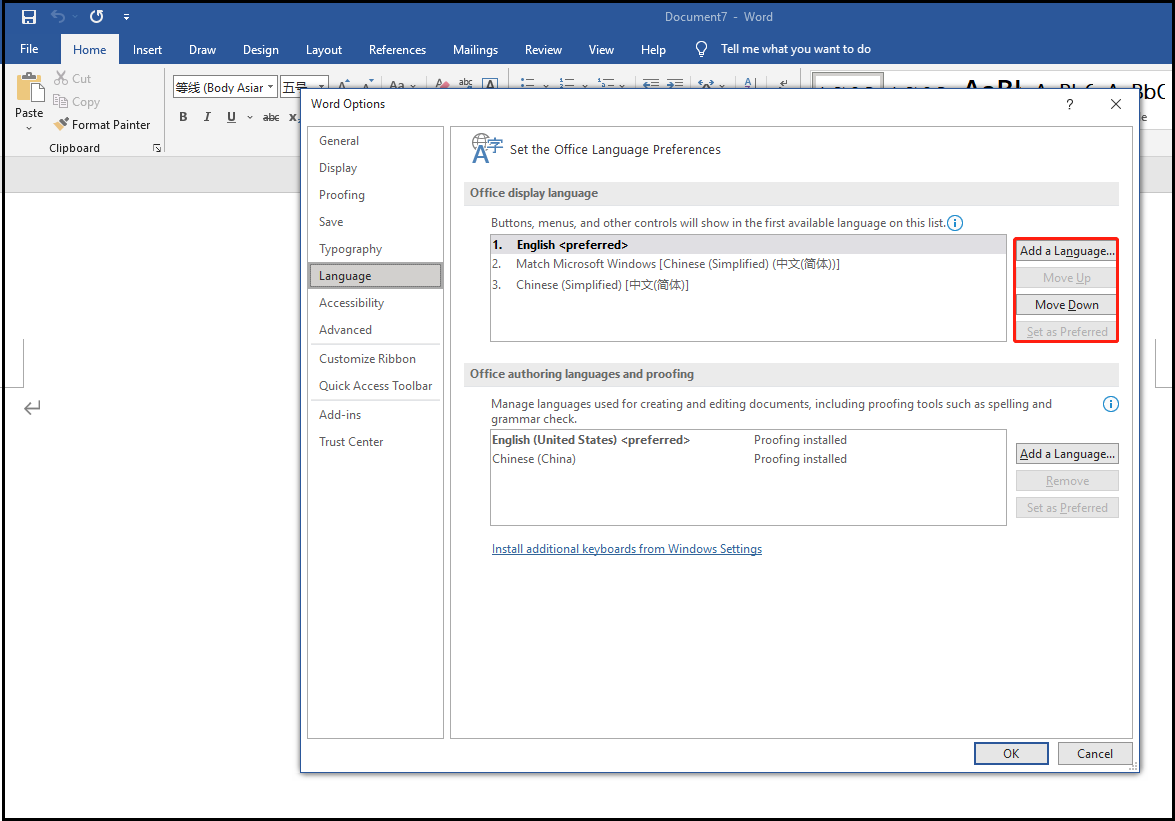
Step 1: Hit the circled one-Add a Language.
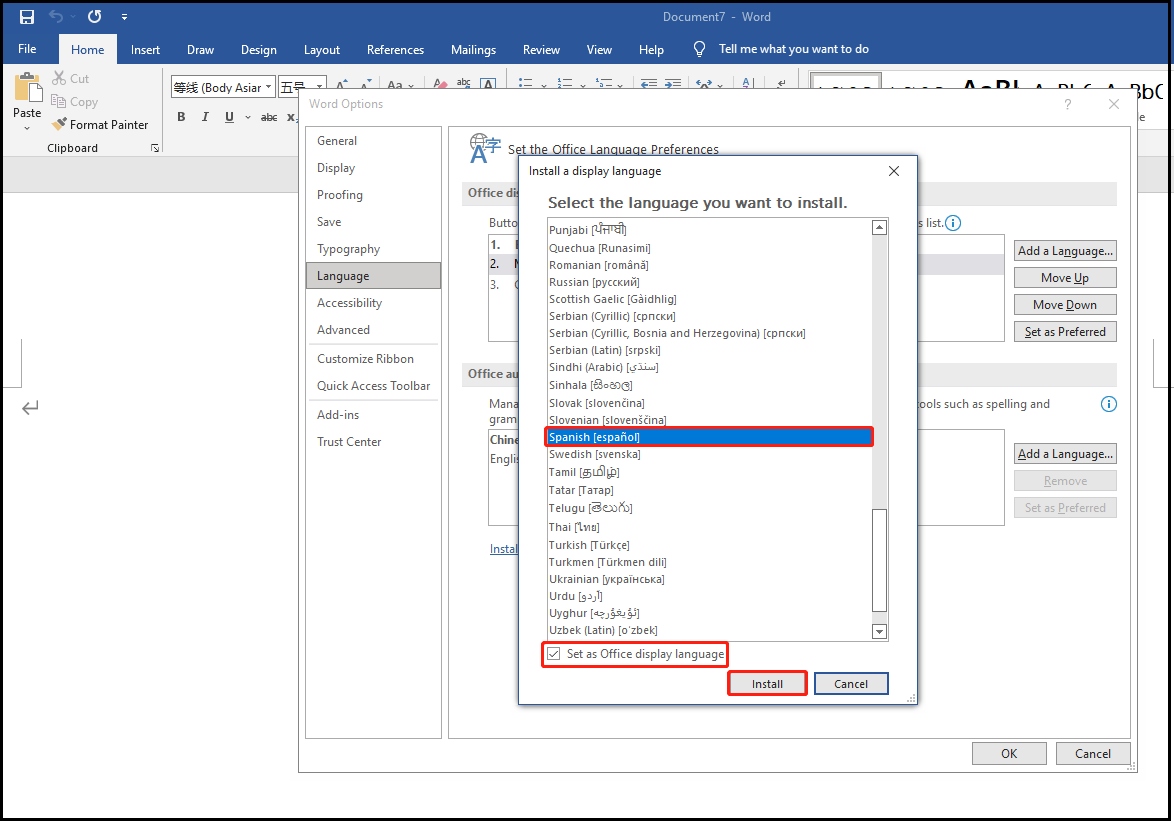
Step 2: Now, there is a new popup window. Supposing that you want to add in Spanish, scroll your mouse from top of the list to Spanish and hit it. Then you need to click the Set as Office display language option, which means that you will use this language in Office. Do not forget to hit Install at last.
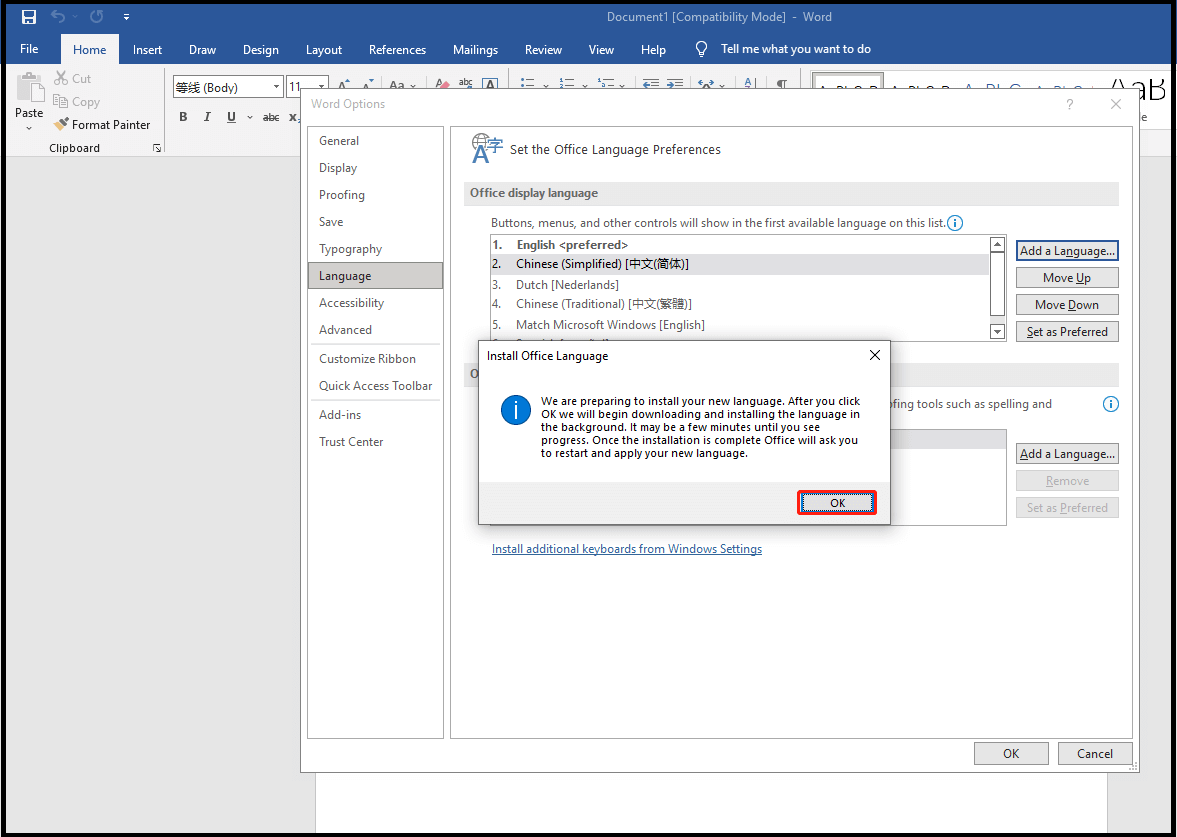
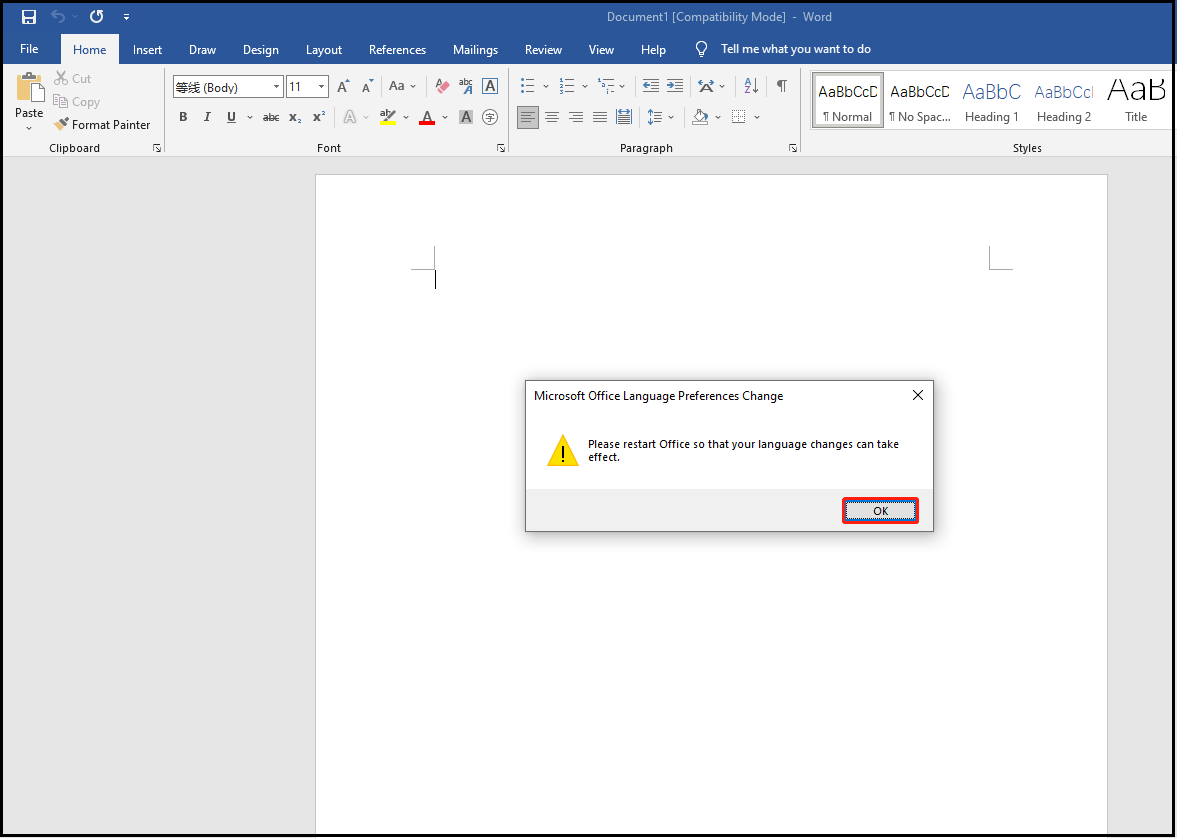
Step 3: In the next picture, here’s a tip before official installation of Office. After reading it, you ought to hit the option of OK.
Well, that’s all we want to share about the steps to add a language in Word.
How to Change the Priority of the Languages?
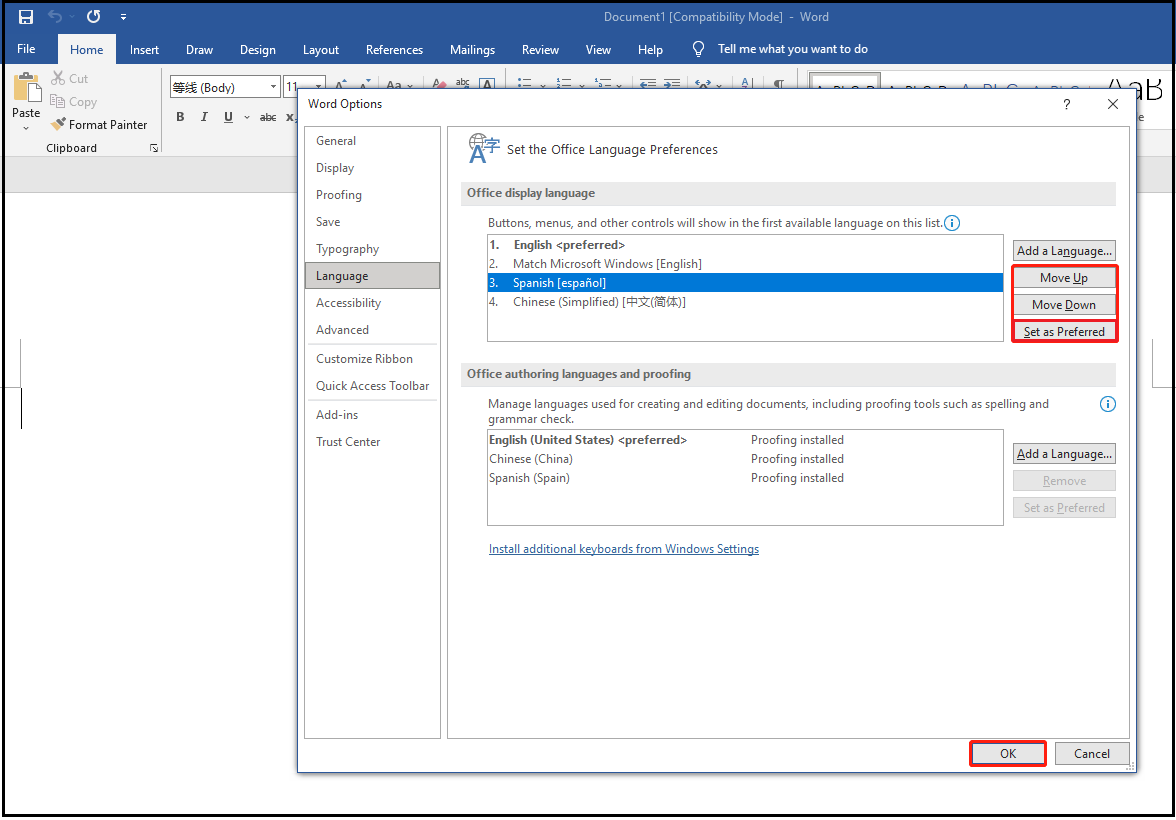
Step 1: If you want to change the priority of the languages, you can hit the options in the circle as shown in the next picture.
- Move Up: You can move your target up from the list of languages. As your guessing, if you move the target to the top of the list, it will be the display language.
- Move Down: If you don’t want the current language to be the display language, move it down with this option.
- Set as Preferred: If you want to use a language as a preferred one in Word, you should choose it.
Here, taking Set as Preferred for example. You should choose Set as Preferred and hit OK now.
Step 2: Just follow the tip in the new popup window, you should hit OK and restart Office.
Read also: How Can You Change Language on Windows 10?
Bottom Line
If you are annoyed by the language barrier in Word, you should try to find a way to solve. From this post, you have learned how to change language in Word including adding a language and changing the priorities of languages. If you have any ideas about this topic, share them with us!
User Comments :