If you want to change the default audio output on Windows 11, this tutorial is what you need. In this post, MiniTool would show you how to change the default audio output on Windows 11 with detailed steps.
When the current audio output not working or you don’t want to use it, you can change the default audio output on Windows 11. Here comes the question. How to change the default audio output on Windows 11? Here are 4 available methods for you. Try them now!
Method 1: Change the Default Audio Output on Windows 11 via Settings
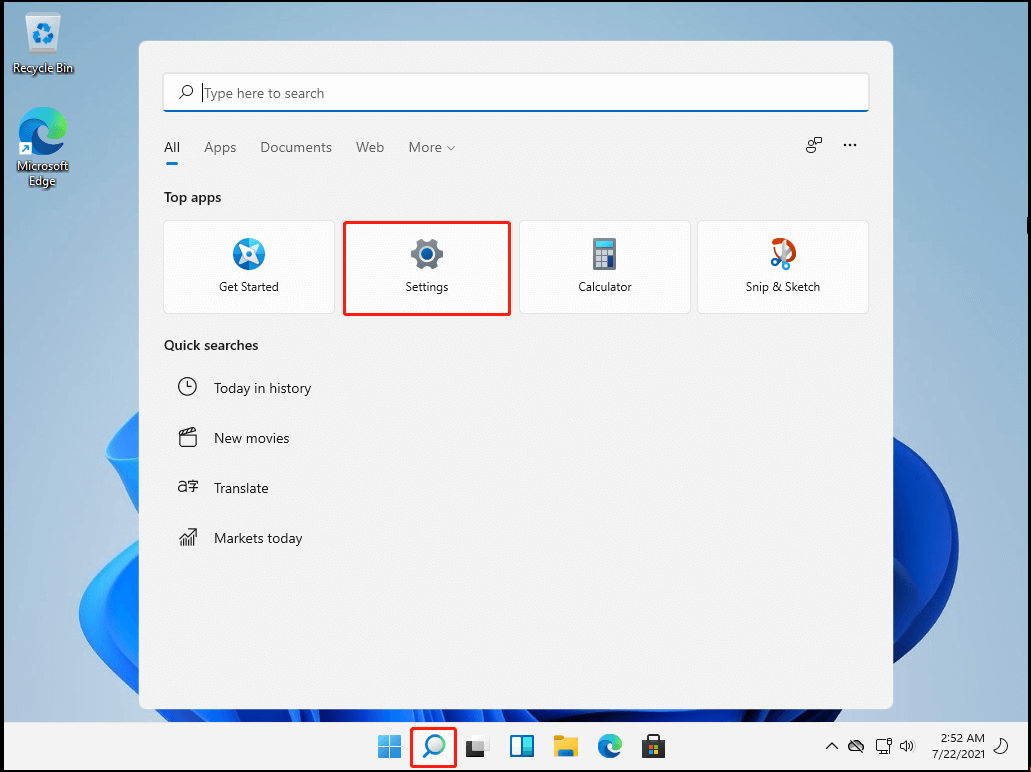
Step 1: Click on the search icon at the bottom of the Windows 11 desktop and then click Settings in the prompted window.
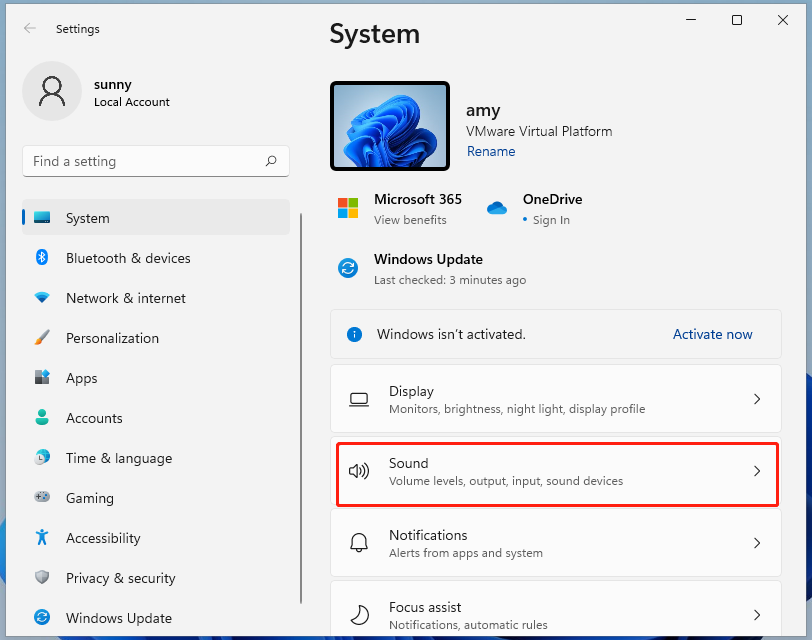
Step 2: Click on the Sound option under the System category.
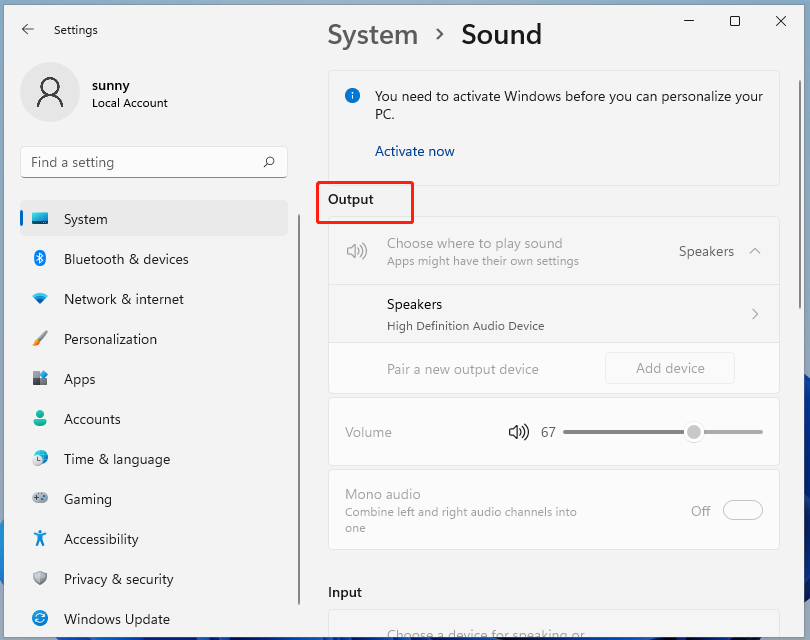
Step 3: You can see all the connected audio devices under the Output section. Click the audio output device you want to use from the list.
Method 2: Change the Default Audio Output on Windows 11 via Taskbar
You are also allowed to change the default audio output via Taskbar. Here’s how to do.
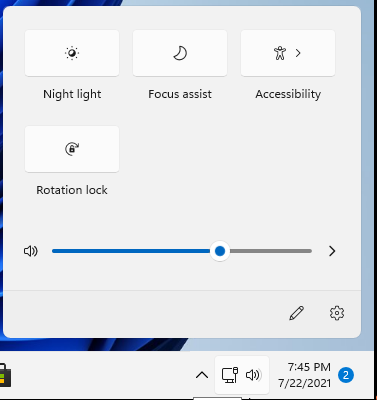
Step 1: Click on the Volume icon on the Taskbar area. By doing so, you can open a menu.
Step 2: Tap on the expansion arrow above the master volume control.
Step 3: In the next window, all the connected audio output devices will be listed. To change the default audio output on Windows 11, you just need to pick a desired one from the list.
Also read: Top 5 Solutions to Widgets Not Working on Windows 11
Method 3: Change the Default Audio Output on Windows 11 via Sound Control Panel
Here’s the tutorial on change the default audio output on Windows 11 via Sound Control Panel.
Step 1: Open the Control Panel from the Run window. To do that, you should open the Run window by pressing Windows and R keys at the same time, and then input control and hit Enter.
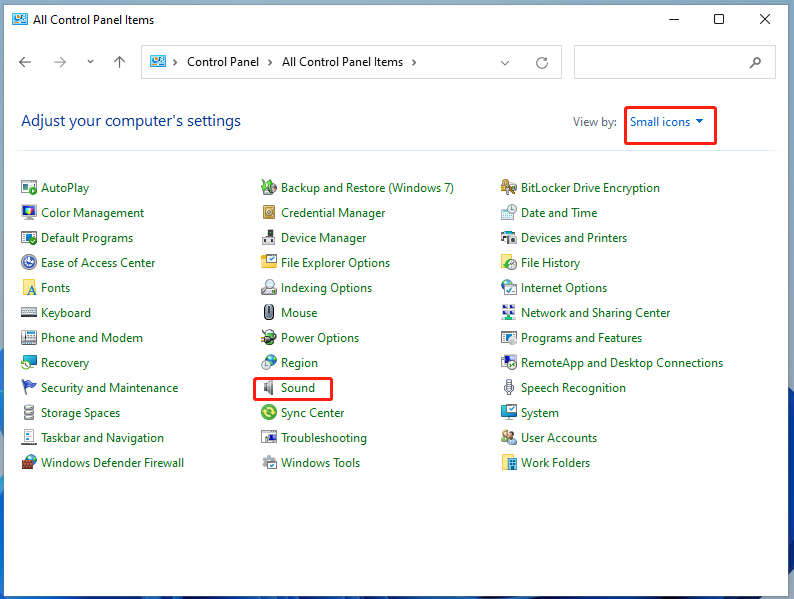
Step 2: In the Control Panel window, change the View by category to Small icons. Then click on the Sound option.
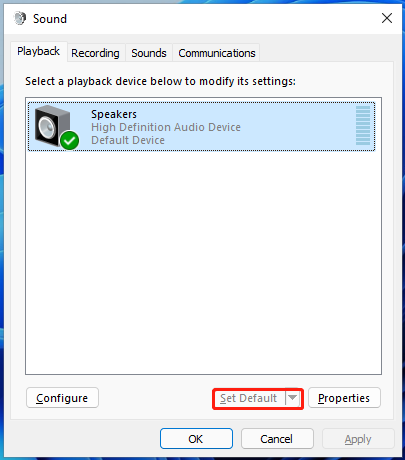
Step 3: In the normal case, you can see all the audio output devices under the Playback tab. Click on the device you would like to utilize from the list and click Set default option at the bottom of the window. Alternatively, you can also right-click on the target audio output device and click the Set as Default Device option in the pop-up menu.
Recommended reading: Windows 11 Bluetooth Not Working [Reasons & Fixes]
Method 4: Change the Default Audio Output on Windows 11 via Game Bar
If you want to change the default audio output on Windows 11 through the Game Bar, you can follow the steps below.
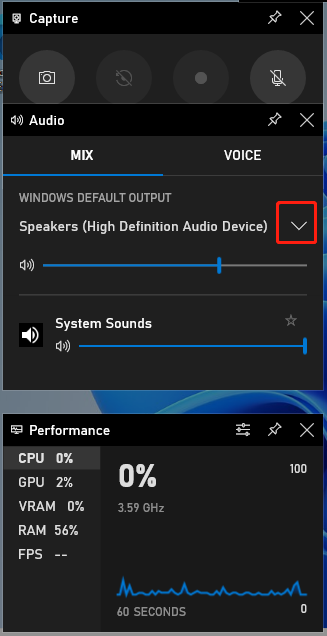
Step 1: Open the Game Bar by pressing Windows and G keys.
Step 2: Click on the arrow icon behind the Speakers. Then you can see all the connected audio output devices on the computer. To change the default audio output, simply click on the device you preferred from the list.
How to change the default audio output on Windows 11? This post has told you the answers. Check them now!
User Comments :