When there are 4 primary partitions on an MBR disk, users are unable to create a new partition. To create more than 4 partitions, users need to set primary partition as logical. Using MiniTool Partition Wizard can set partition as logical in just a few clicks.
About Set Partition as Logical
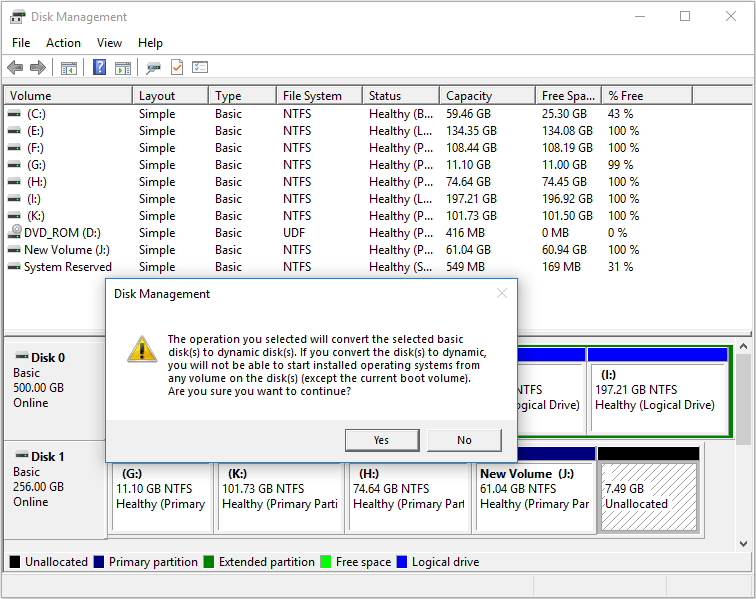
One of the biggest limitations of MBR disk is that it can support up to 4 primary partitions (or 3 primary partitions plus 1 extended partition). Imagine this. users already have 4 primary partitions but still need to create more partitions with free space on this disk, users will receive this prompt when trying to create new partitions in Disk Management.
What are users supposed to do to work this out?
Certainly, the best way to solve this problem is to set partition as logical. After that, users can get as many logical partitions as they want by adjusting the size of existing partitions.
Now, the only obstacle is how to set partition as logical. Considering that users are not familiar with such task at all, we feel glad to offer a wonderful tool named MiniTool Partition Wizard.
Detailed tips can be found in each interface of this tool, so users got nothing to worry about.
How to Set Partition as Logical
Here’s the MiniTool Partition Wizard tutorial for setting a primary partition as logical; it only consists of three steps.
MiniTool Partition Wizard FreeClick to Download100%Clean & Safe
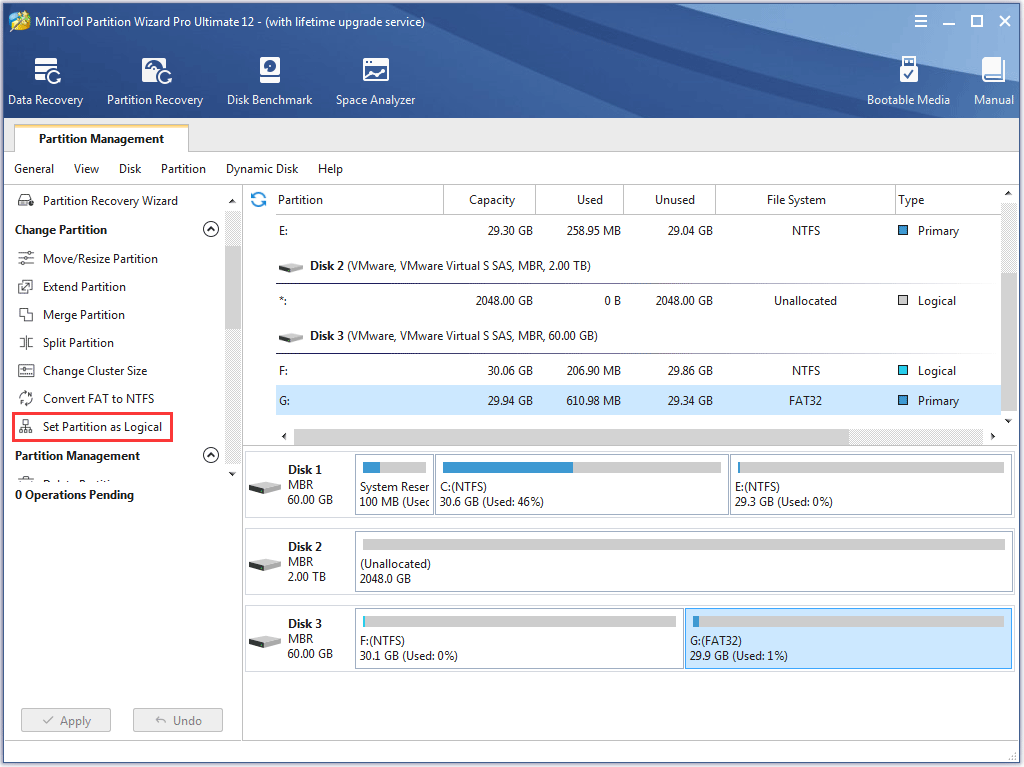
Step 1. Choose any one primary partition that users want to set as logical from the main interface of the software (except for the one that includes system files). Then choose Set Partition as Logical function directly from Change Partition list in left action panel.
Of course, users can also activate Set Partition as Logical function through following ways.
- right click the target partition -> choose Set Partition as Logical;
- select Partition in menu bar -> choose Modify -> choose Set Partition as Logical.
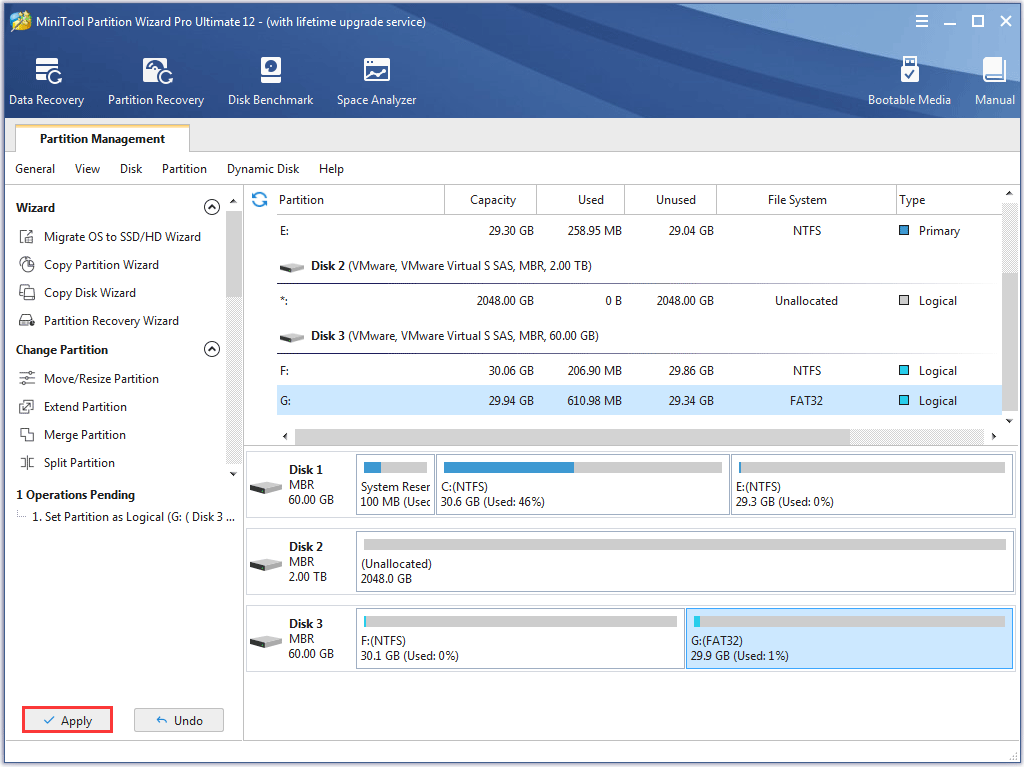
Step 2. Tap Apply button in the toolbar to execute pending operation immediately.
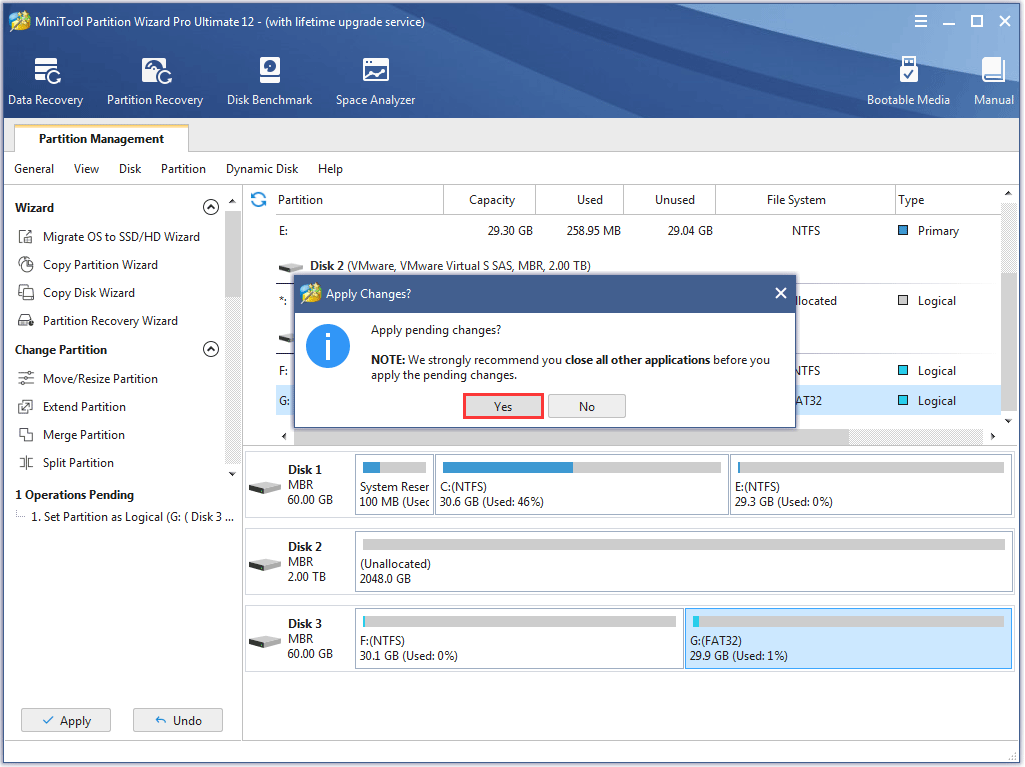
Step 3. Click Yes in the prompt window to allow changes.
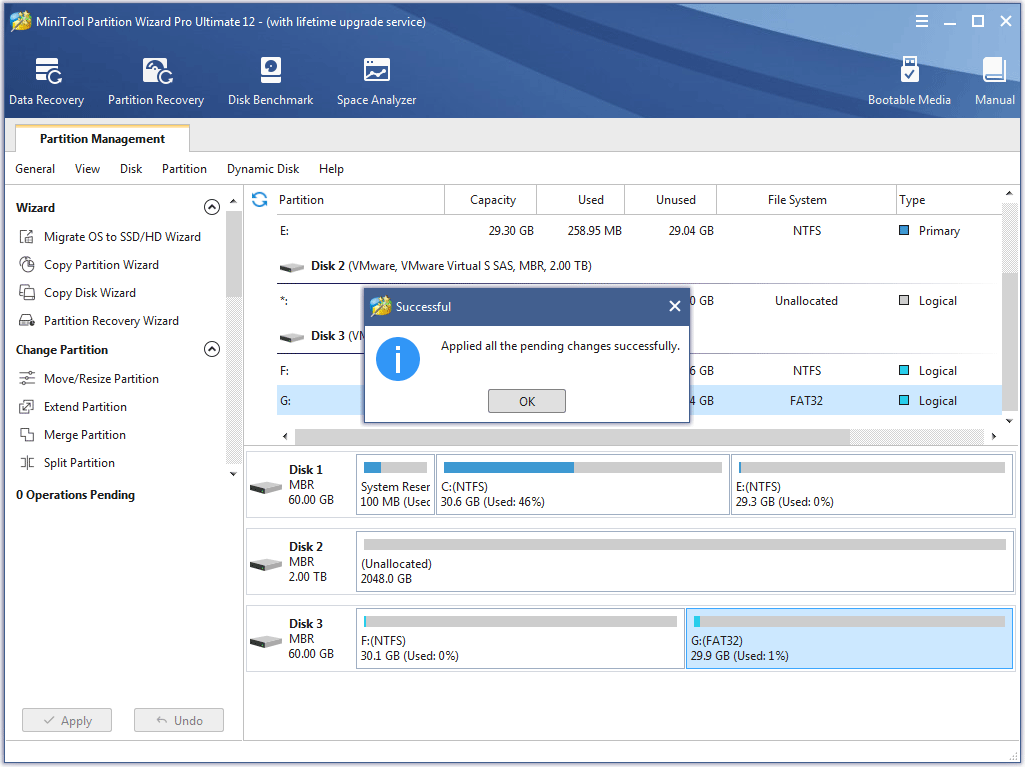
Step 4. Tap OK button in successful prompt window to end the whole task.
User Comments :